I feel like a common theme throughout my posts is that we decide to do something solely based on how we want it to look, then end up regretting it once we realize how difficult our desired look is to actually implement. Case(s) in point:
From Decked Out:
When starting out, we had the ingenious idea of installing a flat roof membrane across the back half of our house and topping it with a large deck… But did we ever take a step back during the design phase to question whether it would be worth the extra effort? Of course not.
From Overhead:
- Make a proposal regarding every exterior detail of the house, prior to doing any building (or having any true understanding of the level of complication)
- Begin building
- Get to a specific component and curse your early proposal because your uninformed design decision is really hard to implement
- Repeat step three until house is done
From Trim and Proper:
Because we couldn’t just build a nice, symmetric, square house, every single corner required something completely different. Each penetration (of which there are way too many) was completely different, and creating trim for them demanded some creative building skills. Then there were the added complications of roof edges, porches, and zig-zagging stem walls.
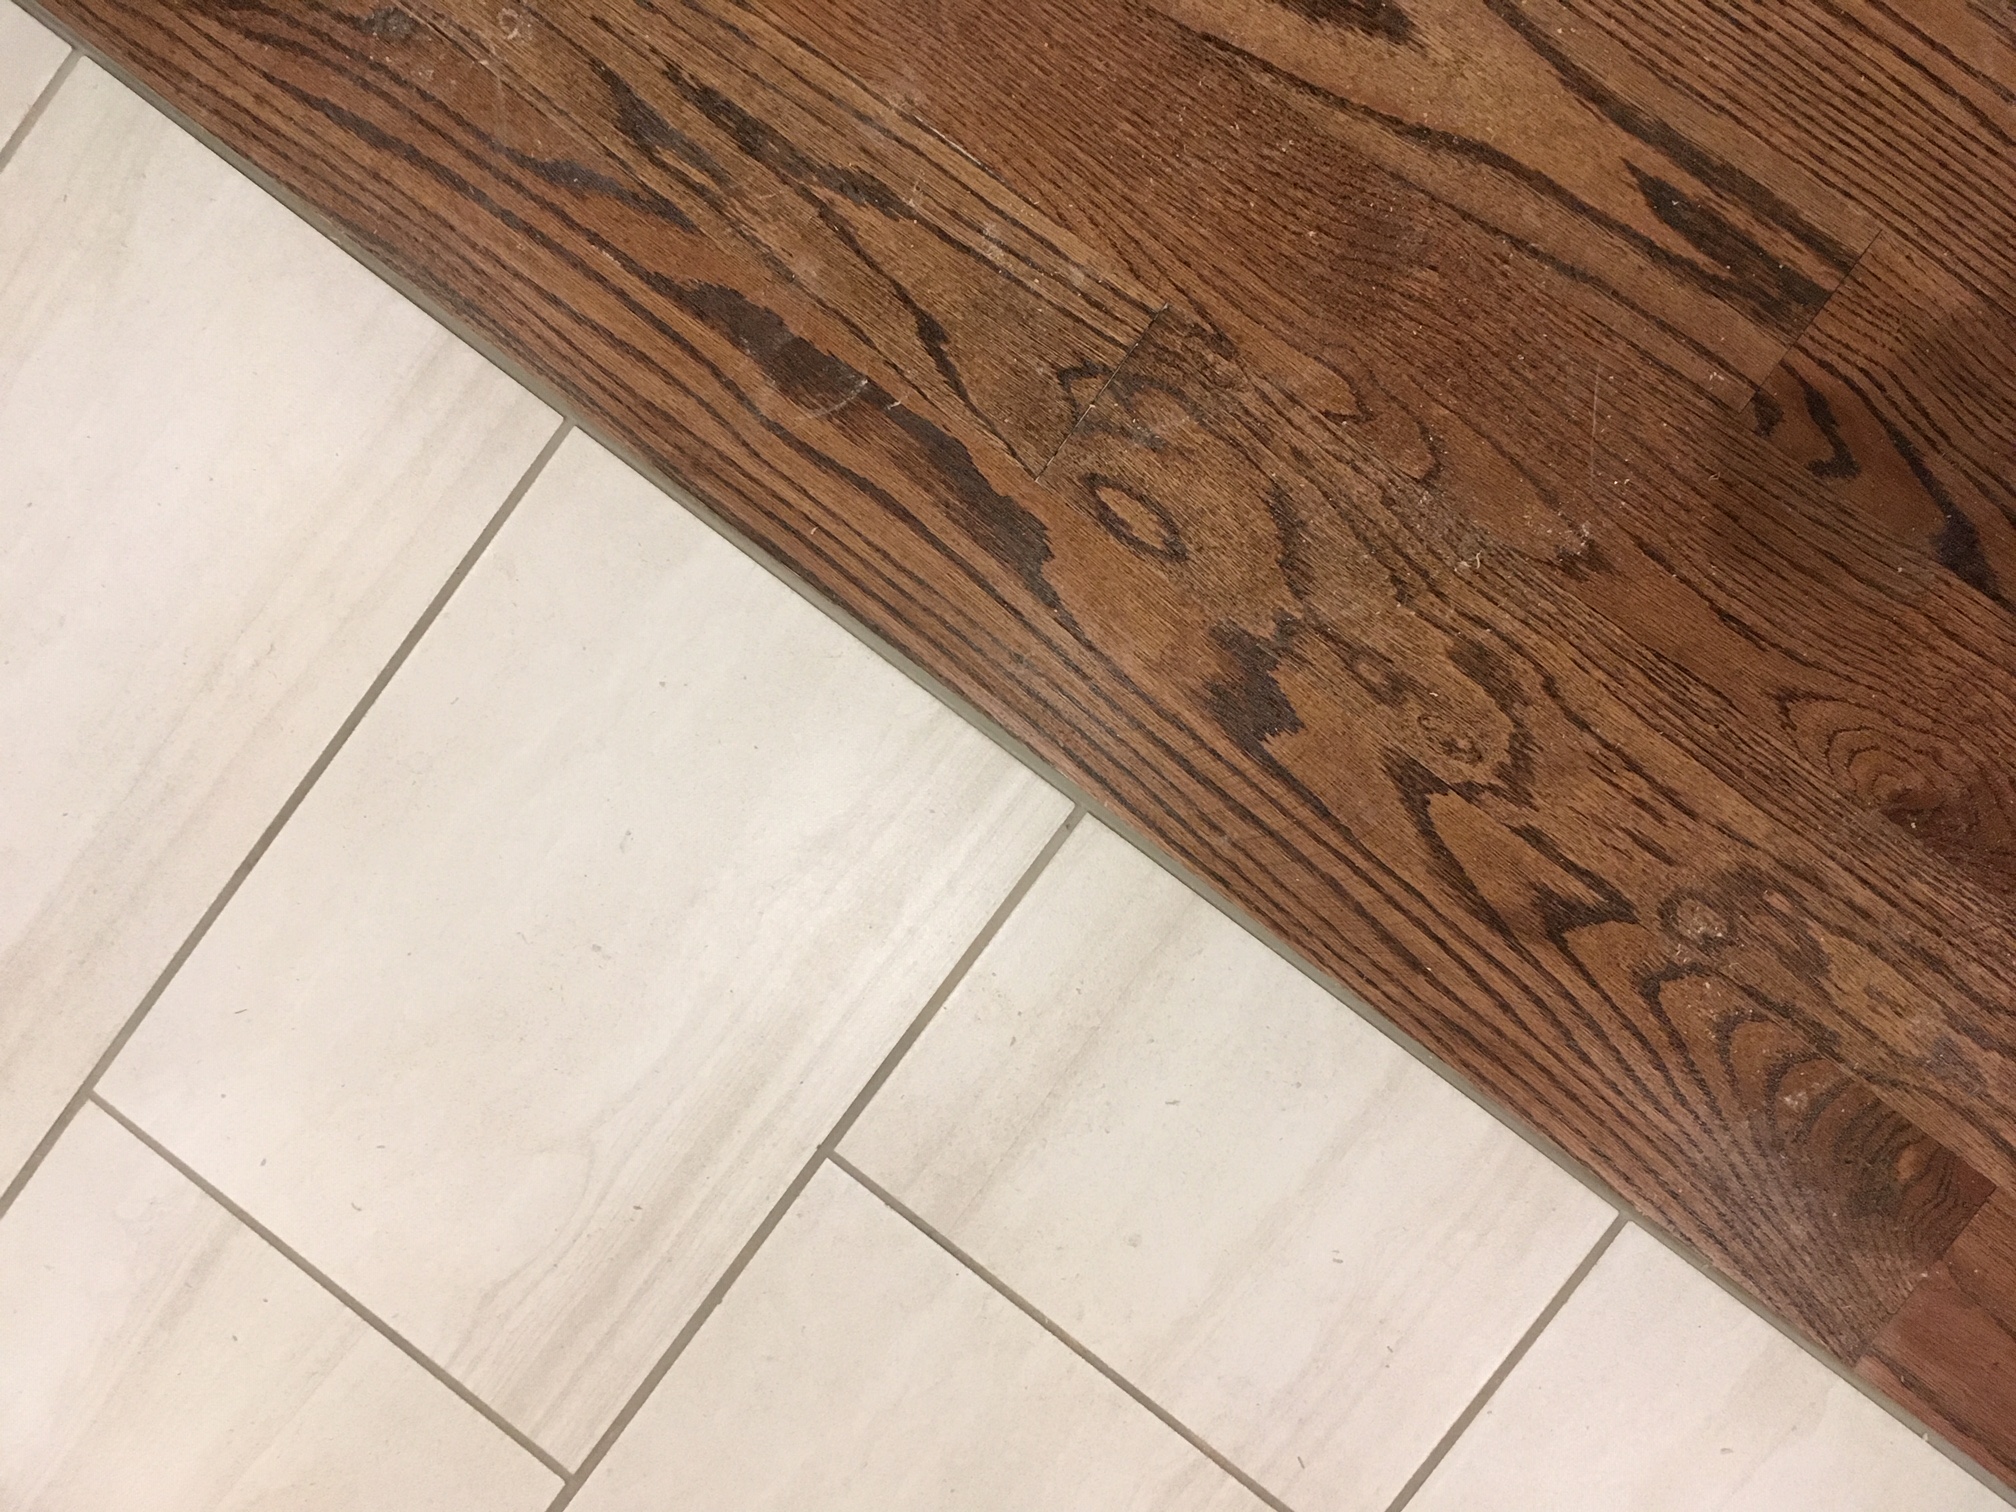
From Laying Tile:
Although we continually regretted the decision to tile such a large portion of the house, the tile floors are complete and turned out looking great!
Needless to say, the stairs yet again fall into this category of “looks great, but was it really worth the effort?” (John says ‘Yes’). Things I now regret saying:
- “We need to have an open staircase. Those look amazing.”
- “Why yes, of course we should add a full staircase that only goes out to a porch.”
- “Naturally, we need two staircases going from the half floor to the second floor!”
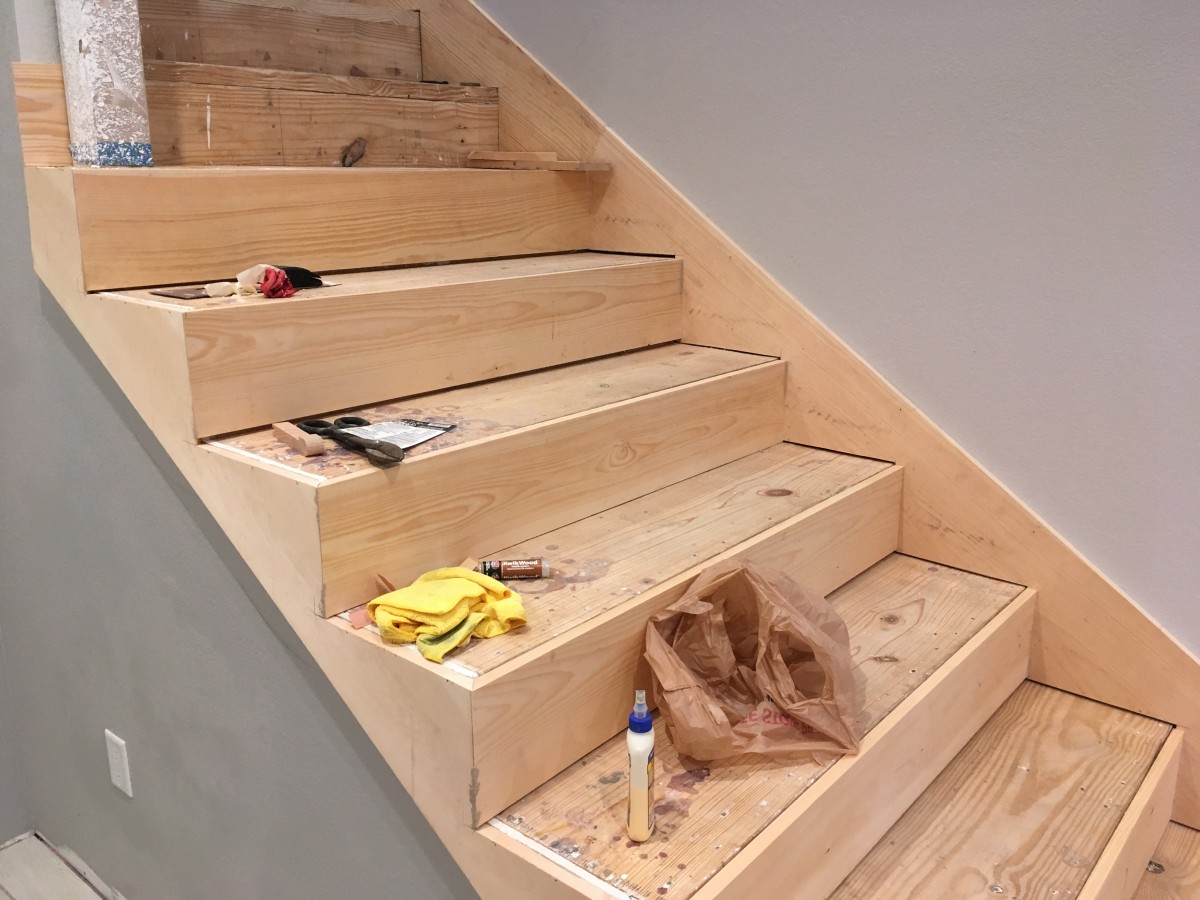
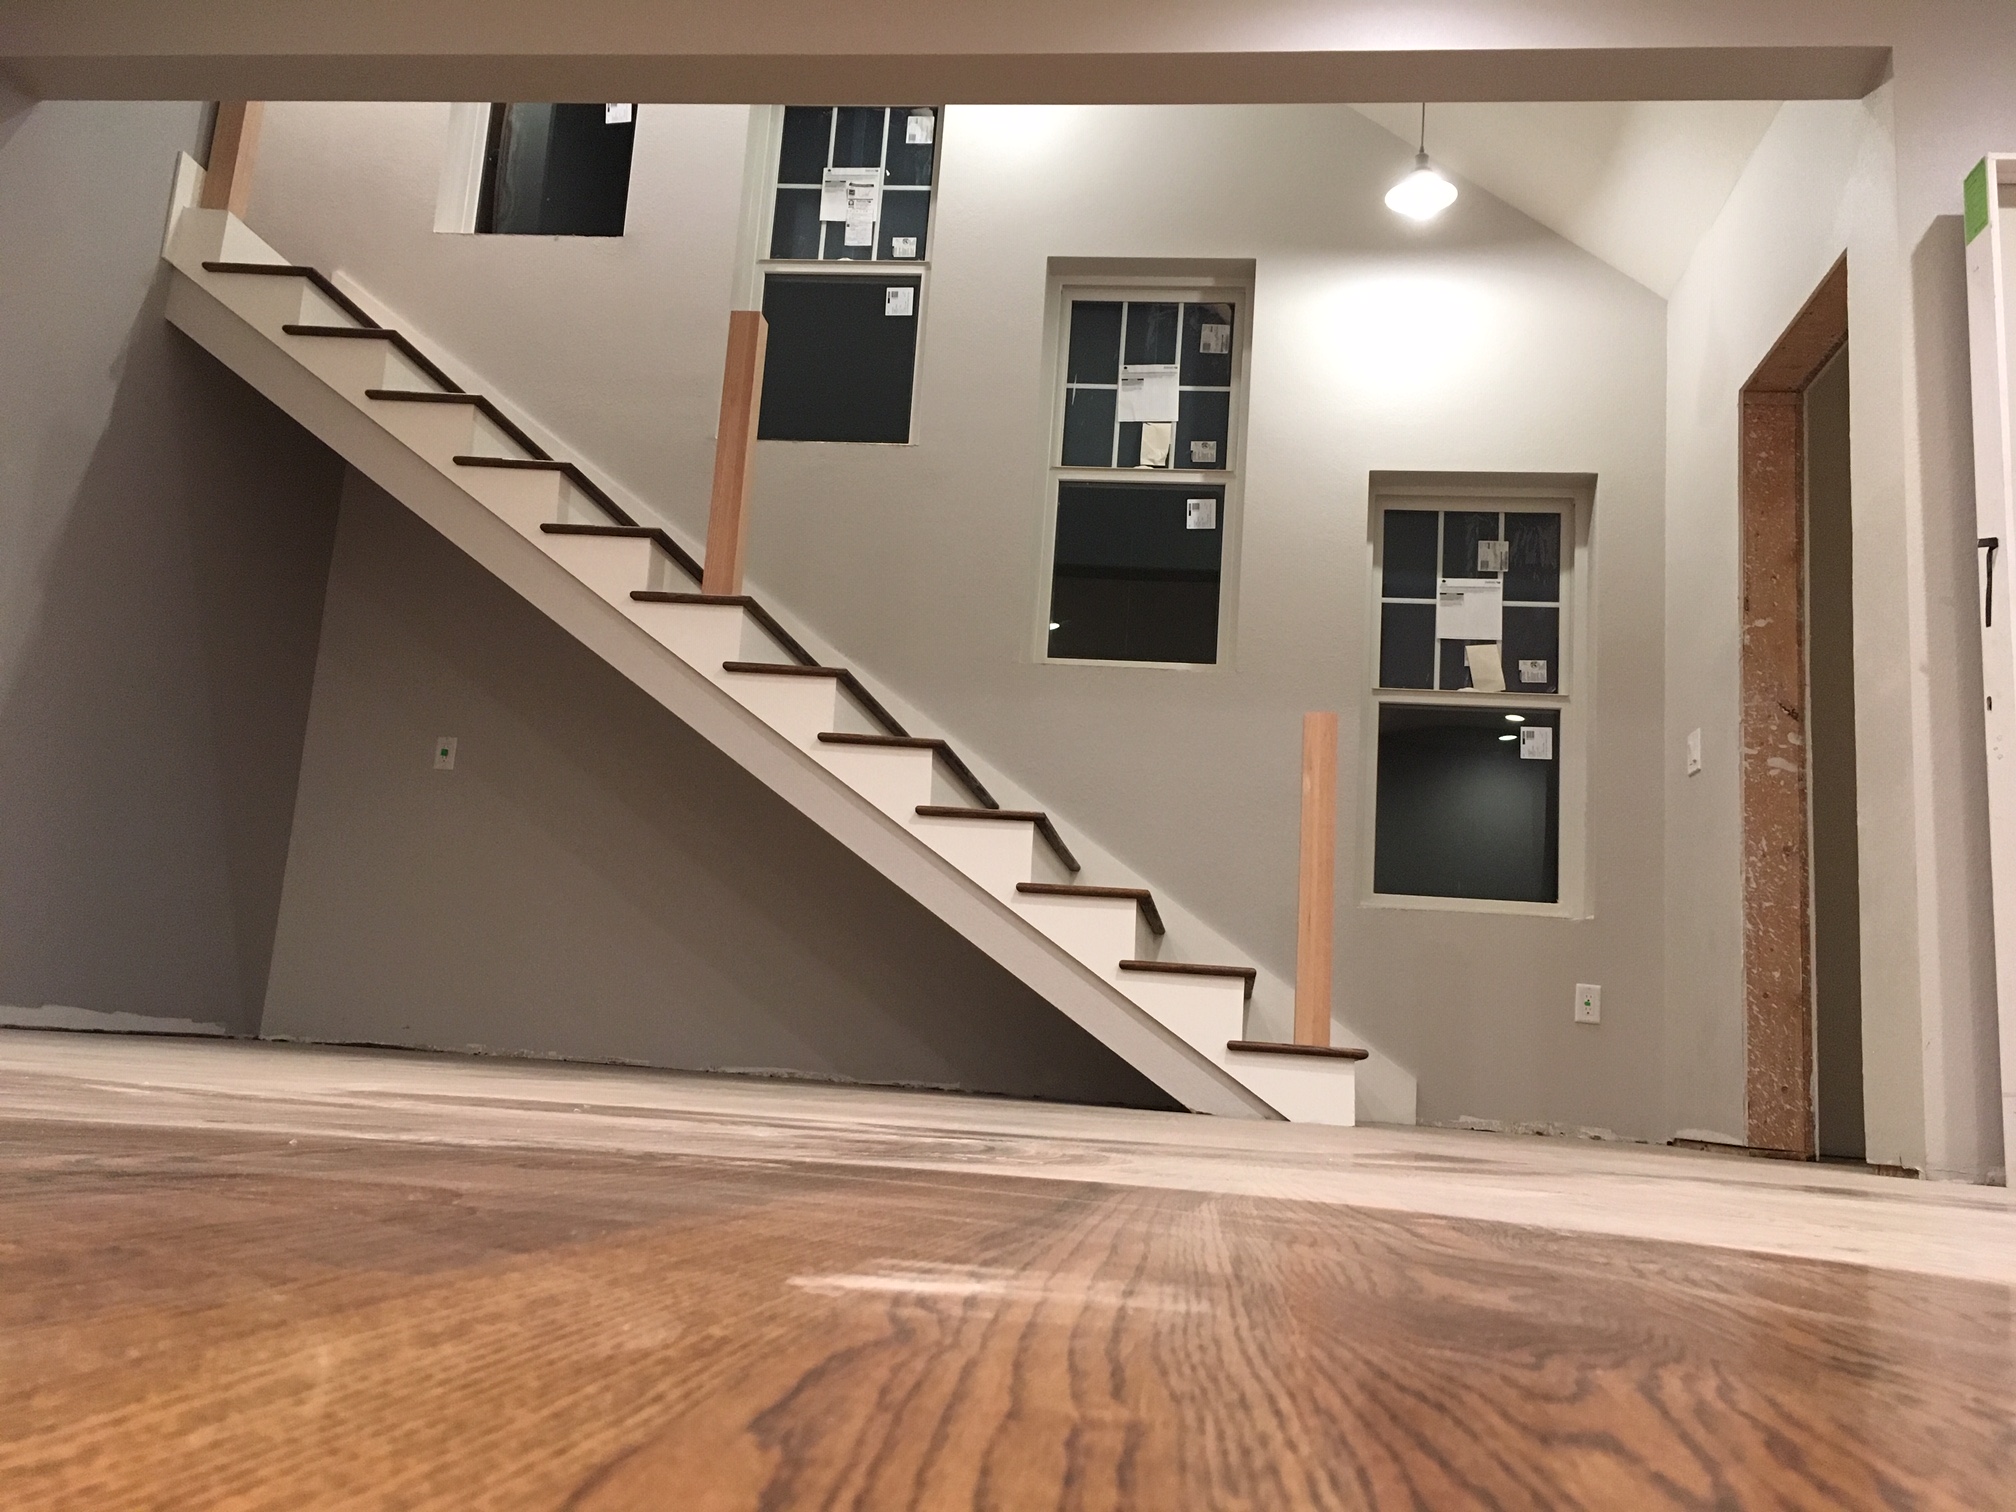
Because we were dead set on having open stairs – where the wood hangs over the edge of each step – we needed to attach the stair skirts and risers before we could even begin to lay down steps.
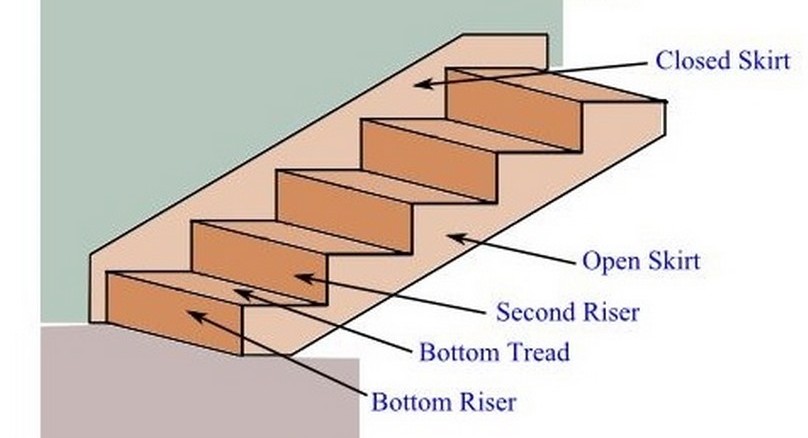
The closed skirts were a cinch compared to the open skirts; while each step had to get cut into it, the depth and height only had to be close enough, as the step and riser would ultimately cover the cut edges.
For the open skirt, the vertical line where each riser meets the skirt remains visible, and the best aesthetic for each joint is two 45° angle cuts, which make the visible seam directly at the outside 90 degree corner. The difficulty here is that every single step on the open skirt board had to meet up precisely with its mating 45 degree skirt… our longest staircase had 13 of these super-precise cuts, and a single incorrect cut would ruin the entire skirt. There was a very small adjustment offset that could be performed by placing the riser slightly further from the 2×8 backer, but doing so also made it harder to install the threads (as we discovered later on).
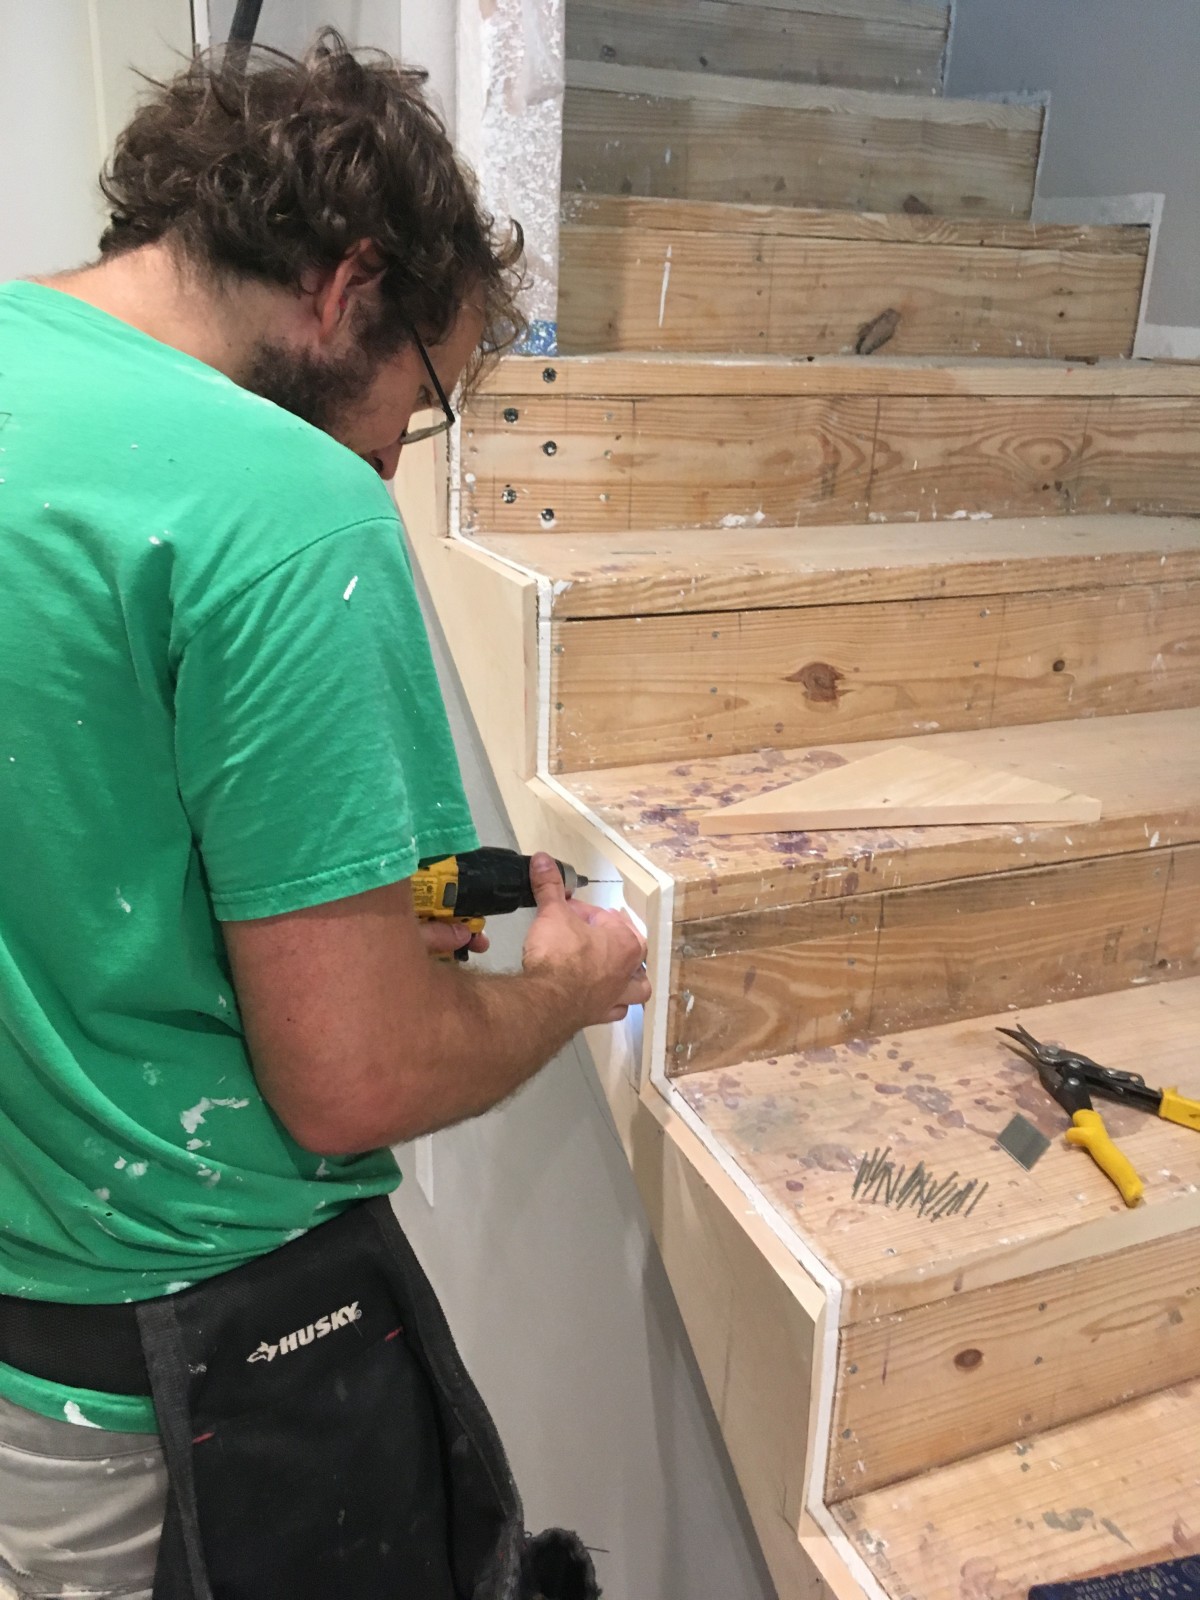
John attaching an open skirt. You can see the angles where the risers will meet the skirt seamlessly.
We didn’t have a cutting tool even remotely designed for this precision cut, so John ended up making each critical cut with a regular old circular saw (with a blade nearly as expensive as the saw itself). He kludged together a wooden jig that even took into account the blade deflection, as the only way to properly make each cut was to pull the saw backwards while cutting (not a particularly safe method). No pressure. We eventually manufactured all four open skirts to our liking.
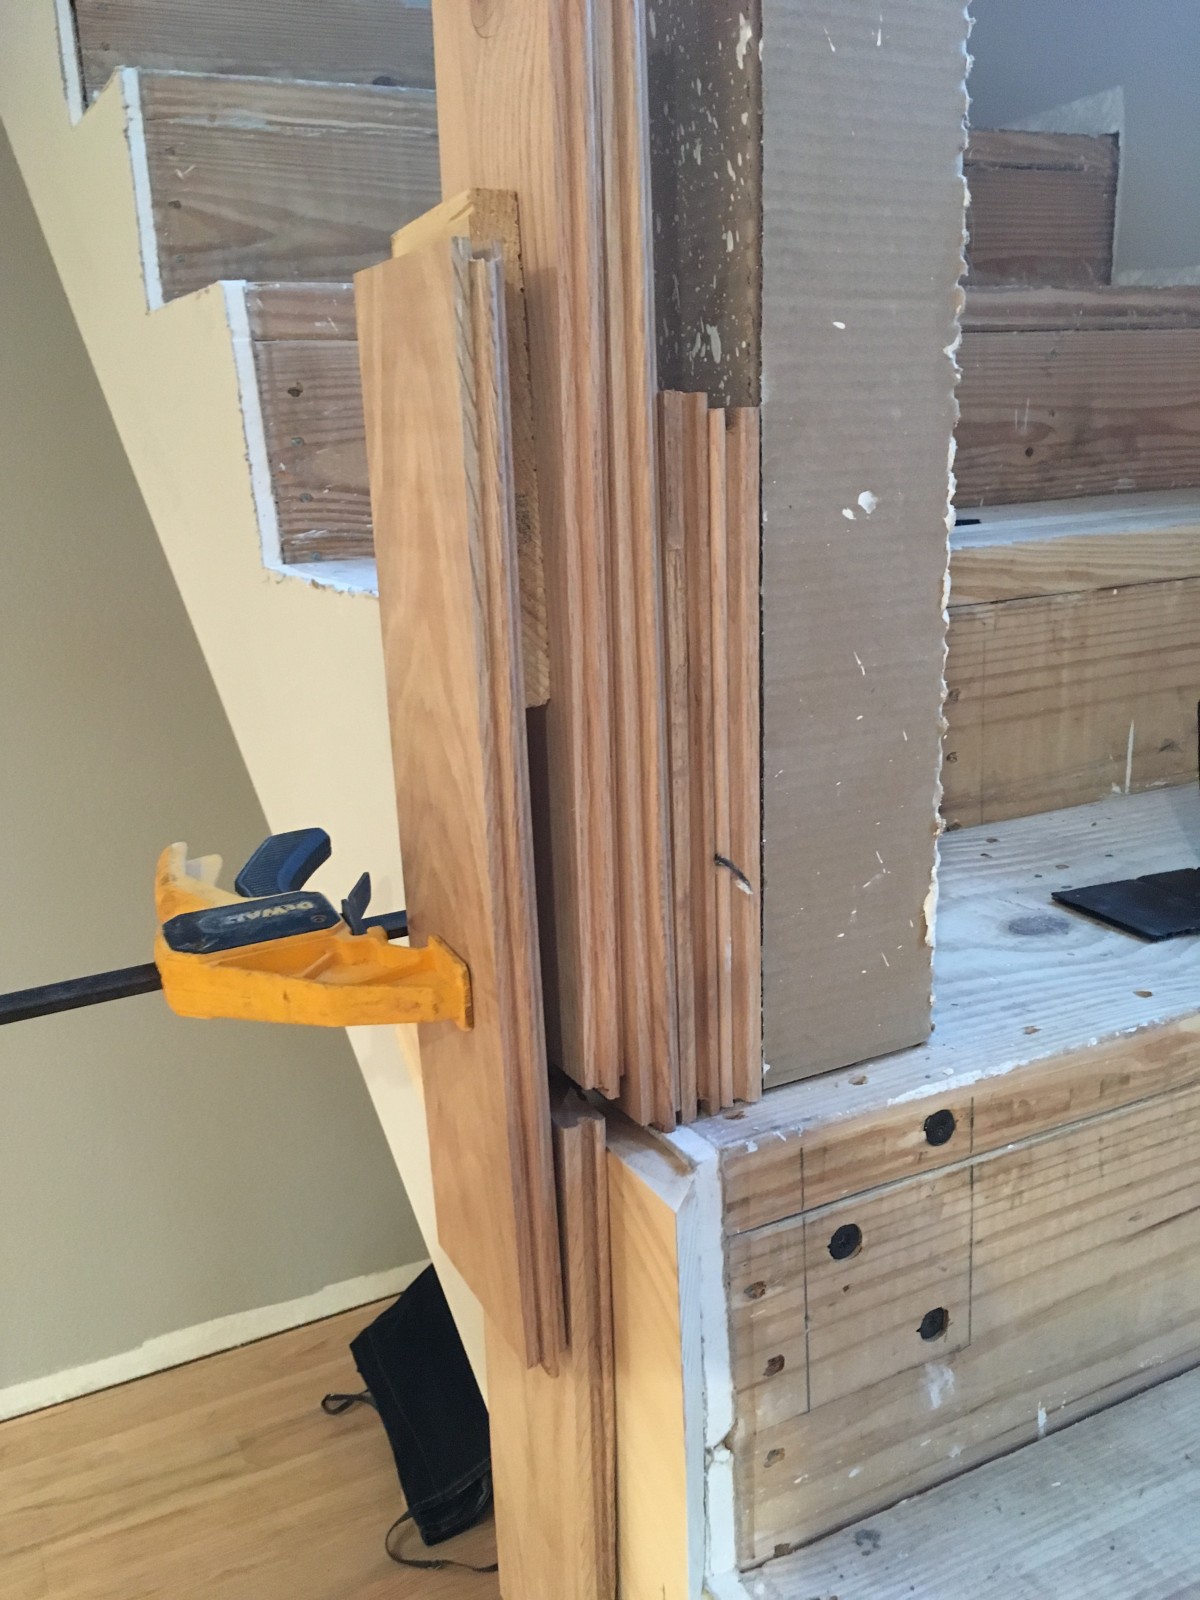
We got creative when trying to clamp an open skirt into place while the glue dried
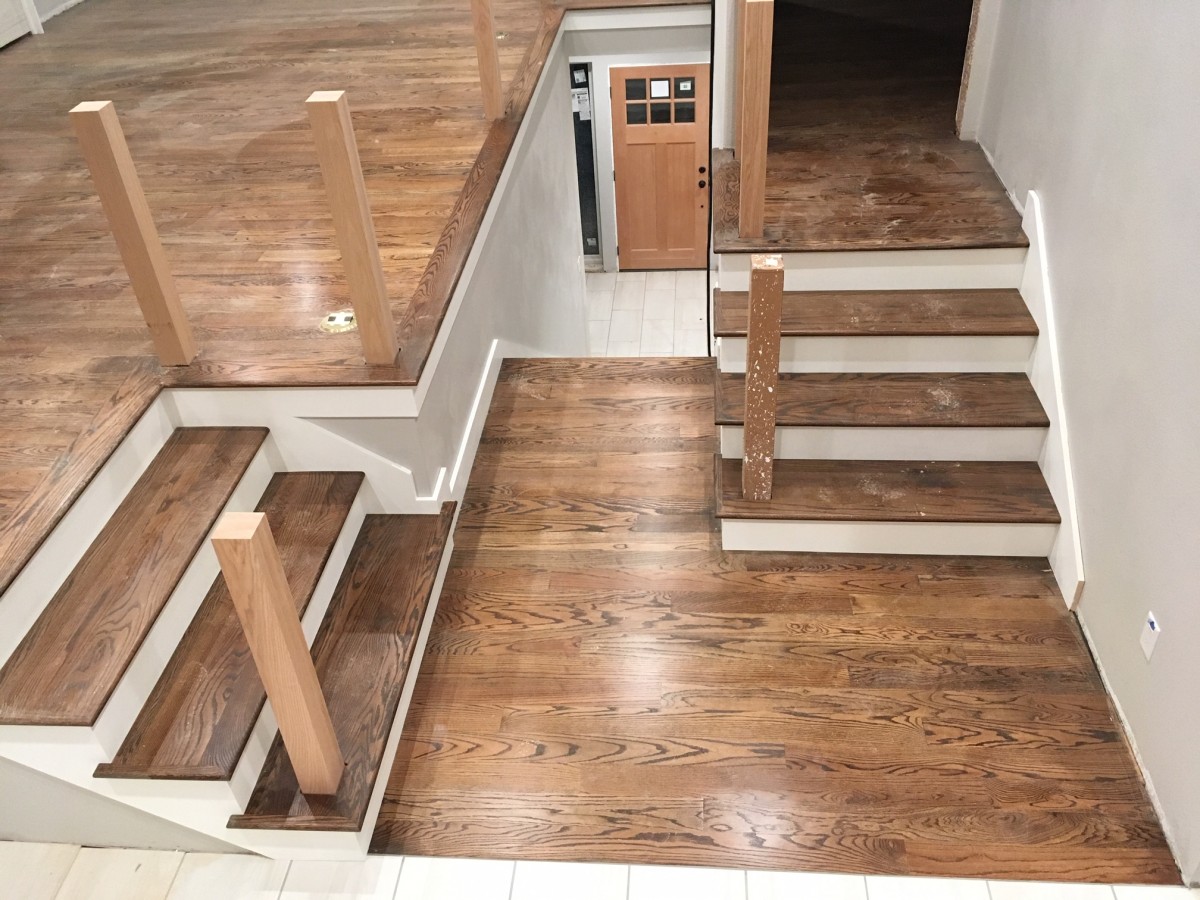
After mounting both skirts, we then cut the risers to fit perfectly against the closed skirt wall and the 45 degree angle on the open skirt. Getting the fit perfect was no easy feat.
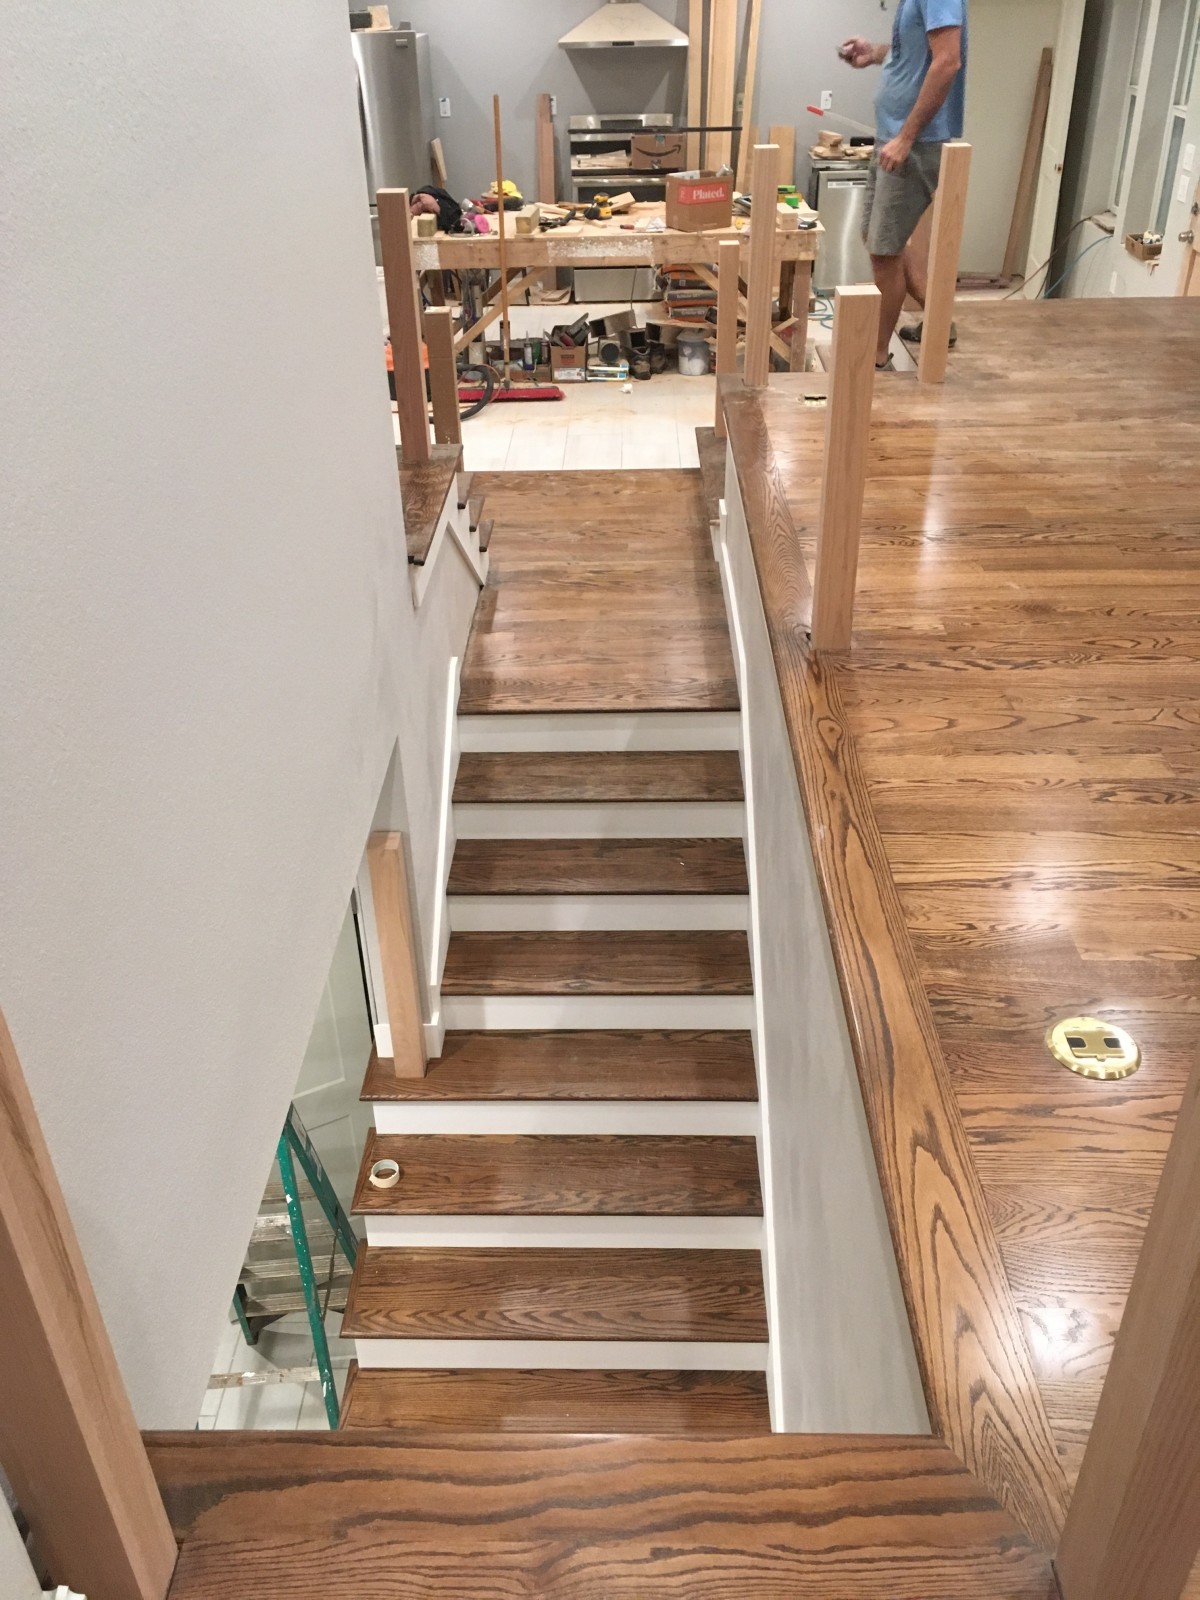
The lower staircase with the skirts and risers attached. We used wood putty to fill any gaps we had at the transition points.
It’s worth noting at this point that we waited until all the stair treads were stained before installing them. Fearing an aesthetic staining failure, we decided to sub out the staining, and I am glad we did. The company we hired sanded and stained the entire floor three times before applying the stain and three polyurethane coats, which made the house smell horrible even after airing out for weeks. The smell even found its way into our refrigerator, which to this day (months later, we’re behind on posts) still smells. I would visit for five minutes, get a massive headache, and then leave; I have no idea how people can do it for a living and not suffer (immediate) major repercussions from the fumes.
From there, we were ready to proceed with the stairs. We had purchased full treads with the general dimensions we needed and all the overhanging lips, but each one needed to be cut to fit perfectly. In our quest to ‘save money’, we decided to order zero additional steps, which meant there was zero room for error… 30 total steps to make with zero errors. No pressure.
The first three steps we installed had walls on both sides (there were only three like this), so no overhang was required. These ended up being the easiest steps to install, but at the time the process still seemed difficult, and doing so took several hours. We created a jig to duplicate the exact angle from each closed skirt to the making riser… the angle was never more than 1 degree either way, but getting the angle even slightly wrong was immediately obvious. After transcribing this angle onto the step, final fit was achieved with either additional miter saw cuts, sandpaper and elbow grease, precision multivibrator cuts, and in a few cases by using a router… with trial and error we slowly removed material – knowing we couldn’t put it back – until each step fit perfectly.
As we progressed, we learned how to deal with newel posts… pro tip: you cannot install a tread with a newel post hole through it if the next step above is already installed; thankfully the glue hadn’t dried yet, but that was a sticky mess. We slowly learned how to deal with other oddities, too, such as corners, rounded (i.e. warped) skirts, how to undercut the lip when the treads weren’t wide enough, etc. On our back stairwell, the underlying geometry was a farrrrrrrrrrrrrrrrrrrrrr cry from square, which ended up causing the finish tread to not be deep enough, but only on one side. We ended up having to add an (unfinished) piece of oak to the tread, so we’ll have to get that tread sanded and re-stained. We also had an unexpected overhang on one of the smaller staircases, and so we had to manufacture a 3 inch lip extension, where – once again – the angles were far beyond 90 degrees.
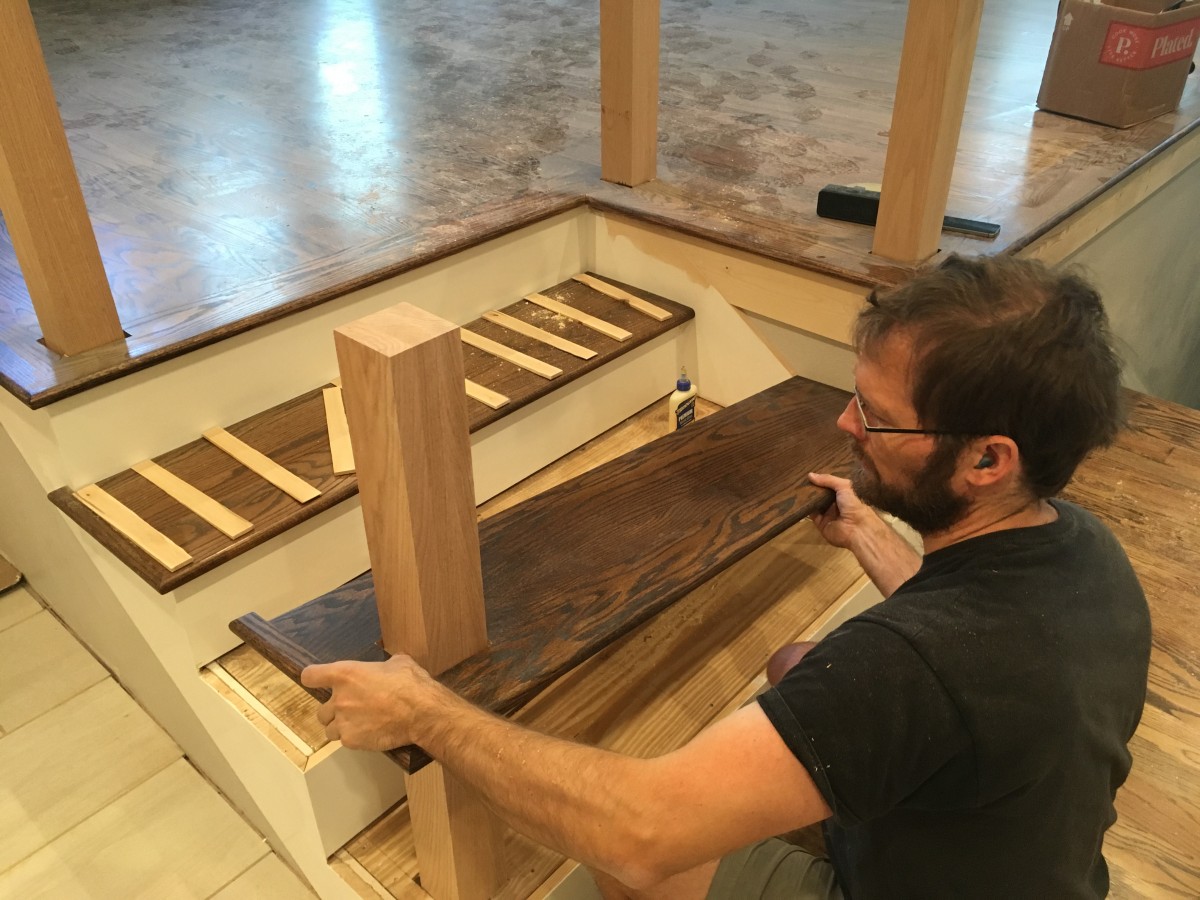
John lowering a stair tread over a previously affixed newel post

John putting a uniquely shaped stair tread in place
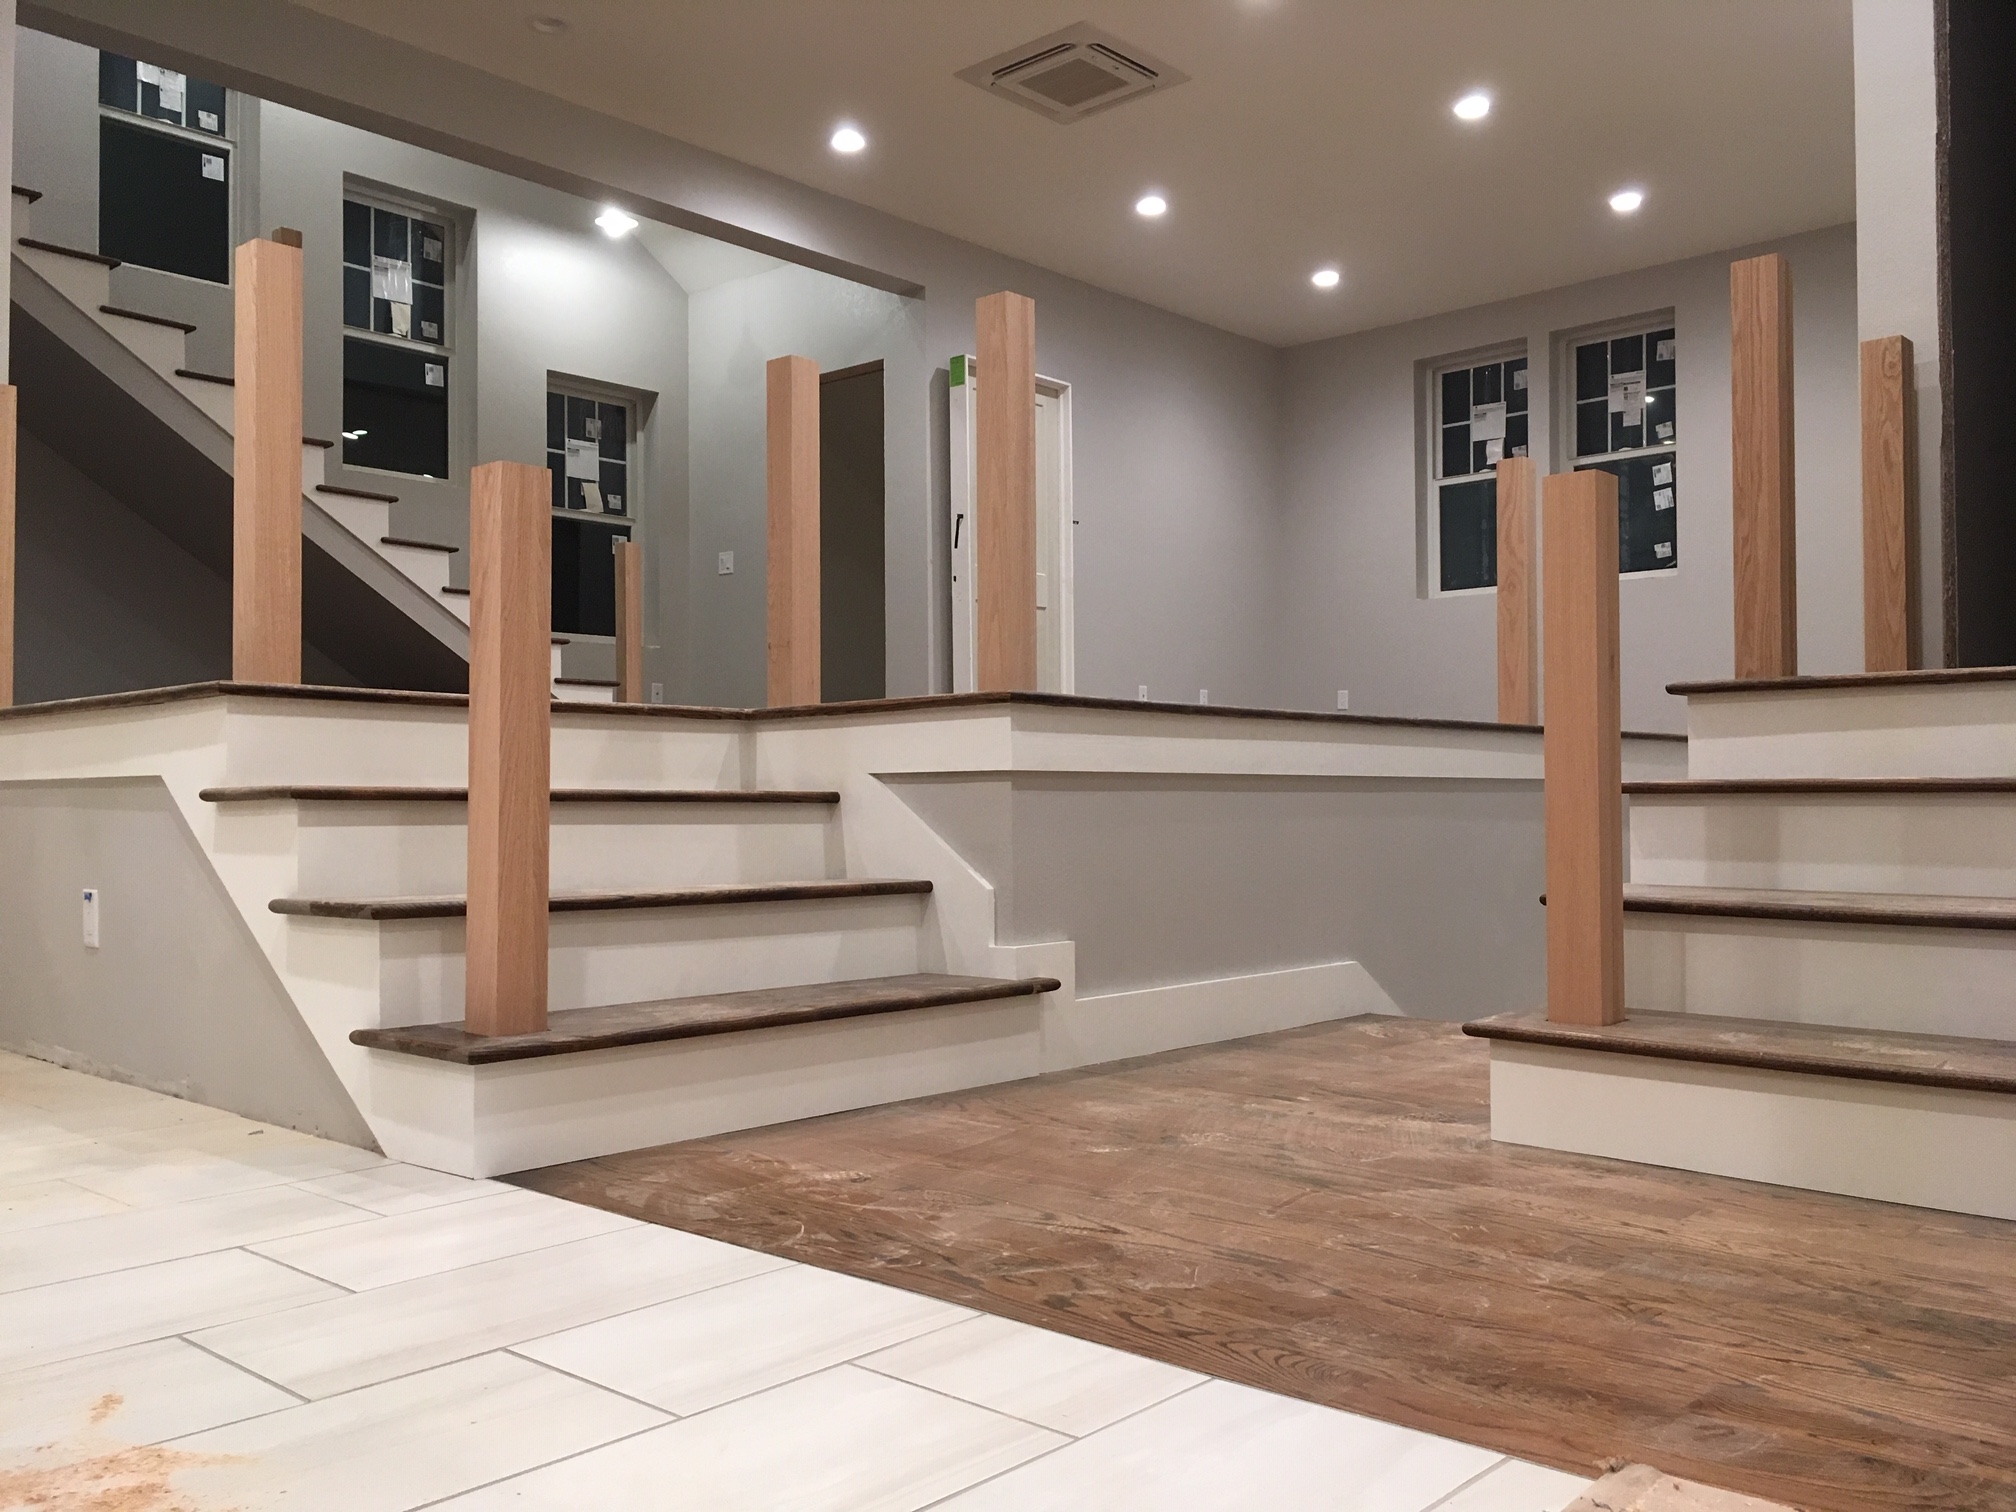
After all that work, we have four awesome-looking staircases, and with any luck we will never build stairs again… and if we do, they’ll be carpeted. We figure that the entire process took about 2 hours per step, and we (foolishly) designed a house with 33 glorious vertical-adjusting time-sinks. And this doesn’t even include the time spent staining them, because we actually hired a subcontractor to do that work.
With all the pain and misery behind us, one thing to note is that the stairs – and the stained floors – look absolutely fantastic… except for a subcontractors handprint, which will likely forever remain one with our floor; removing that artifact would require sanding and restaining (at minimum) the entire living room.
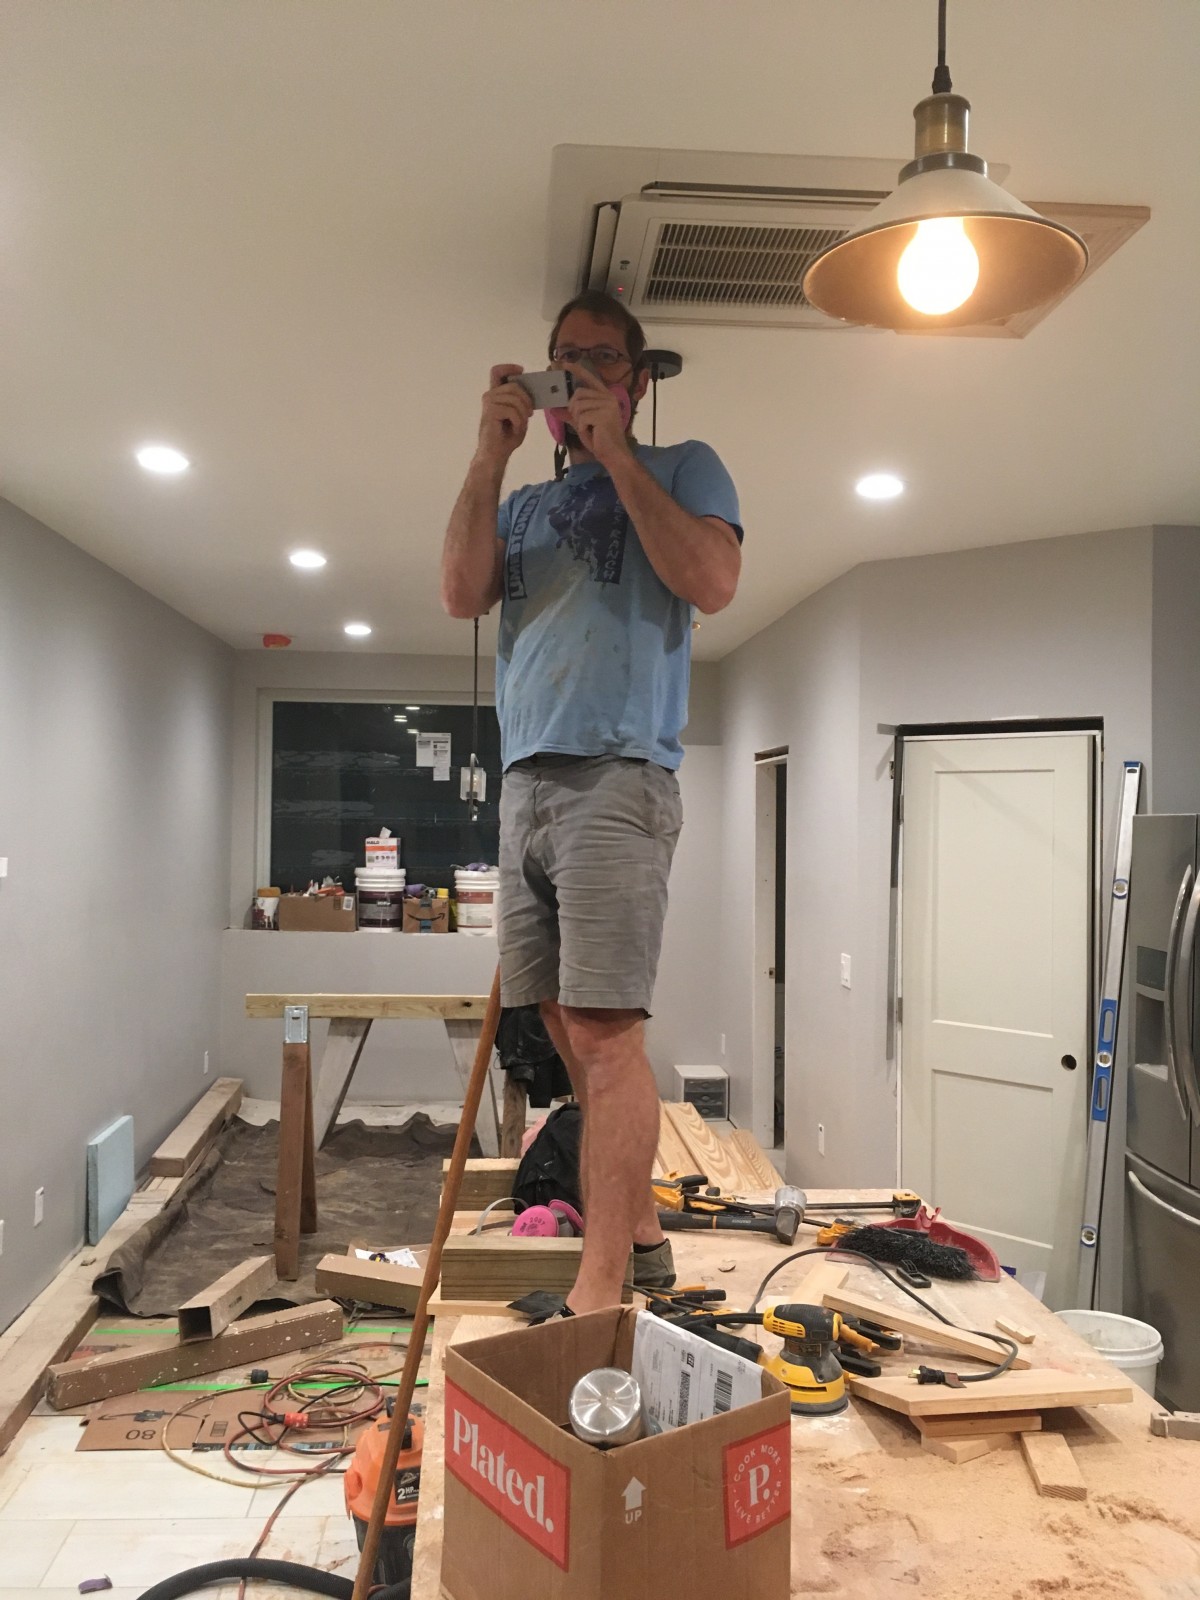
Trying to get the perfect shot
So incredible how you guys did all this detailed work yourselves. It looks very “clean” and “open” – which wasn’t achieved easily. You should be very proud of your work. Hopefully future finishing projects will be less complex!!
Thanks for posting – and your house will be BEAUTIFUL!!