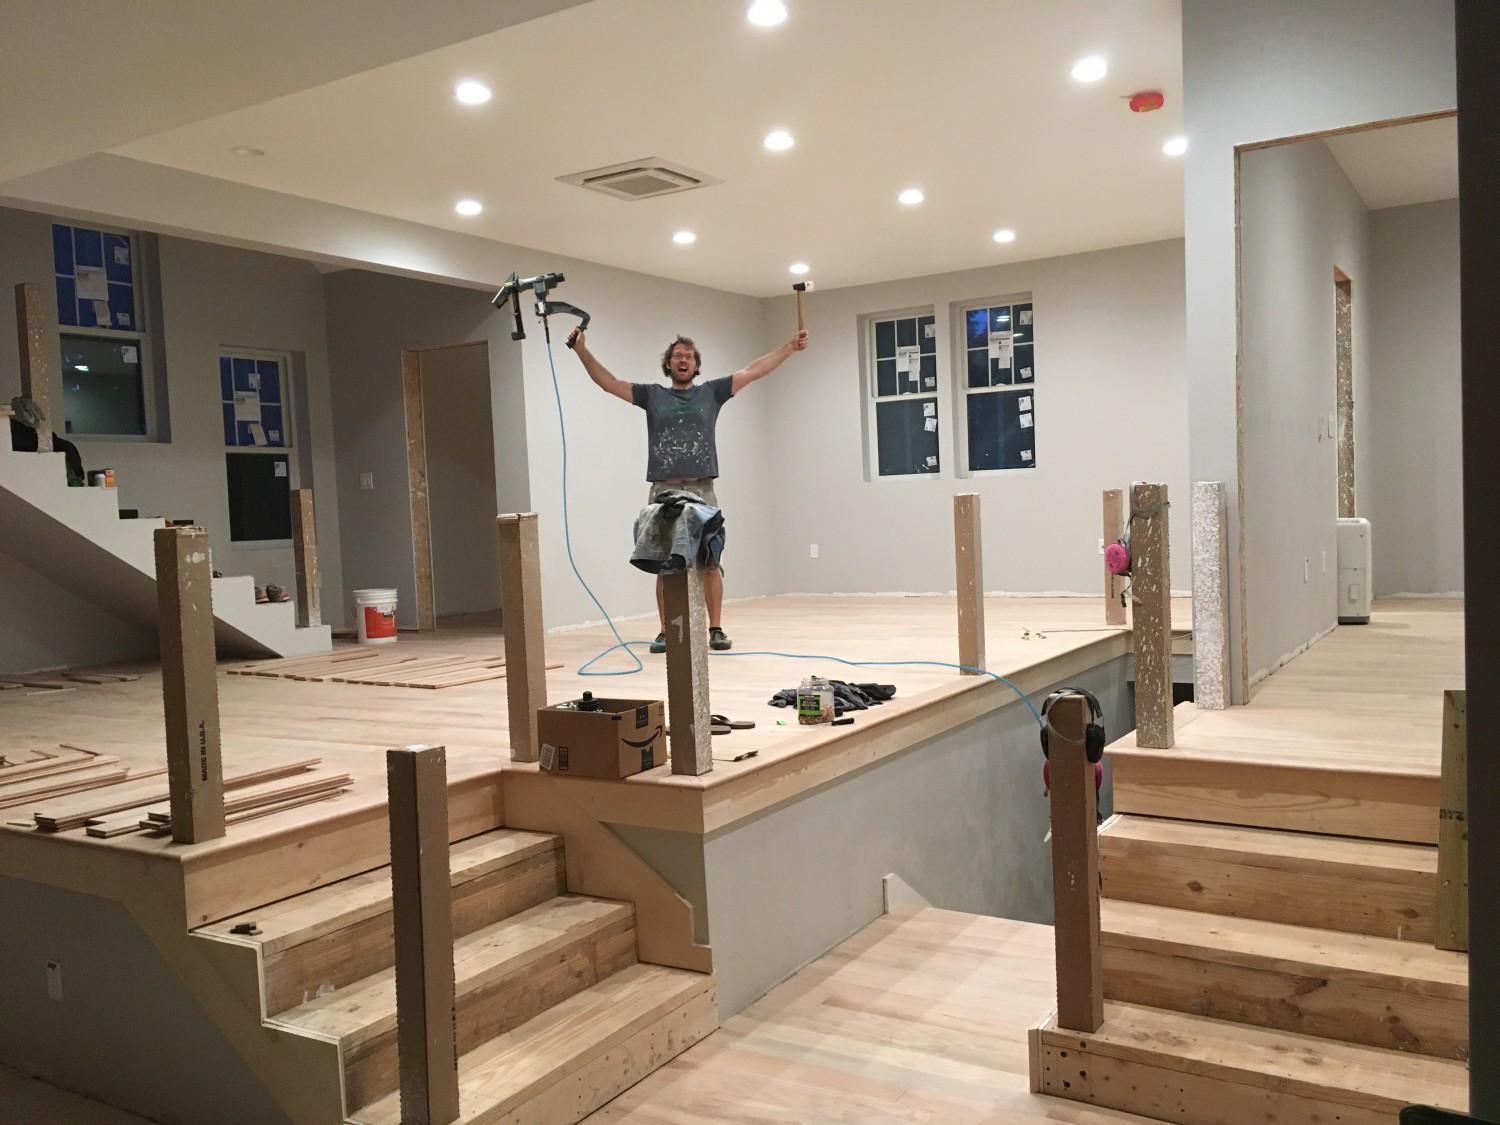
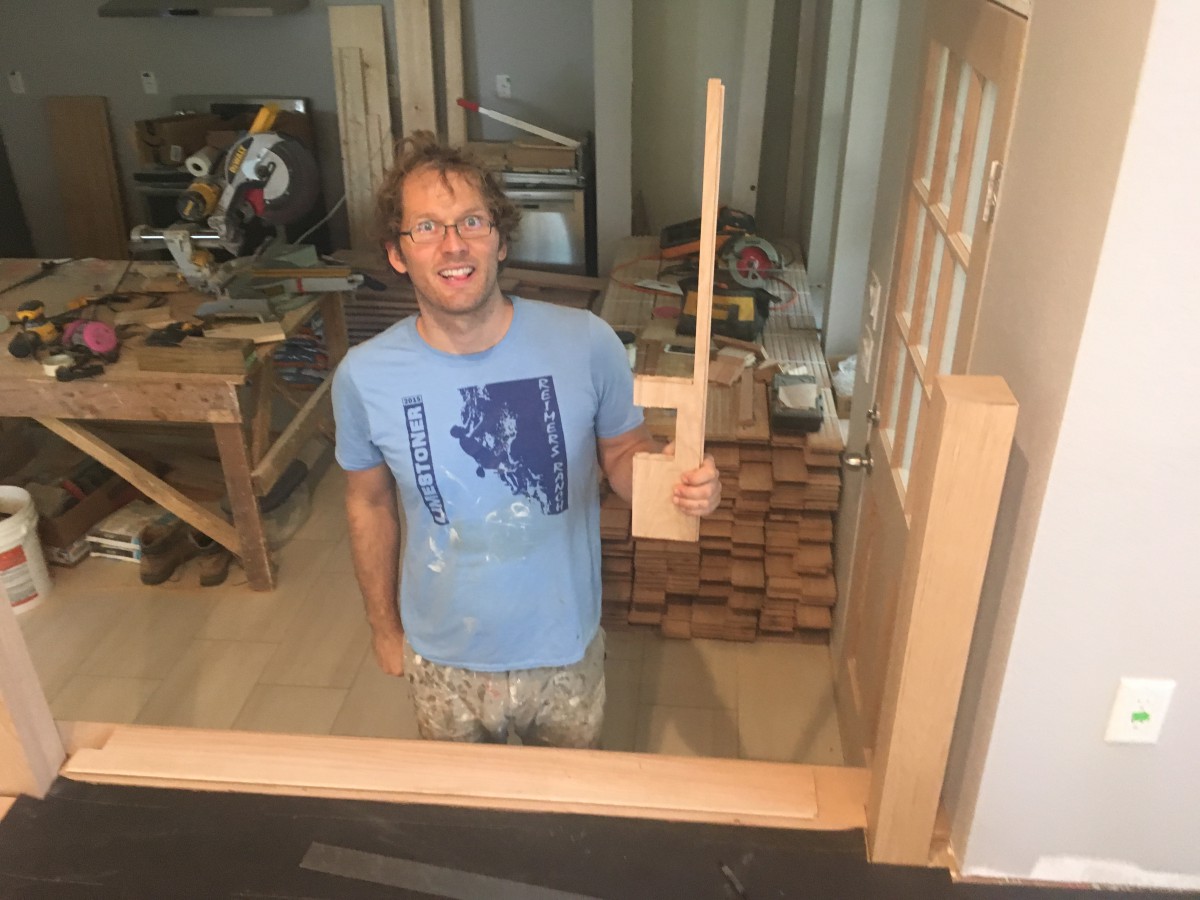
The floors – with the exception of staining the wood and installing the stairs – are complete. While I recognize that those are two big caveats, it’s a big enough milestone that it deserves a celebratory post. Just look at how happy John is:
Whenever we were simply laying straight lines of wood with no additional complications, installing the wood floors was fairly simple, albeit tedious:
- Clean the floor
- Roll out roofing felt on top
- Strategically arrange the wood so that joint placements are visually pleasing
- Use clamps to get rid of gaps
- Nail in place at an angle through the tongue
- Rinse and repeat
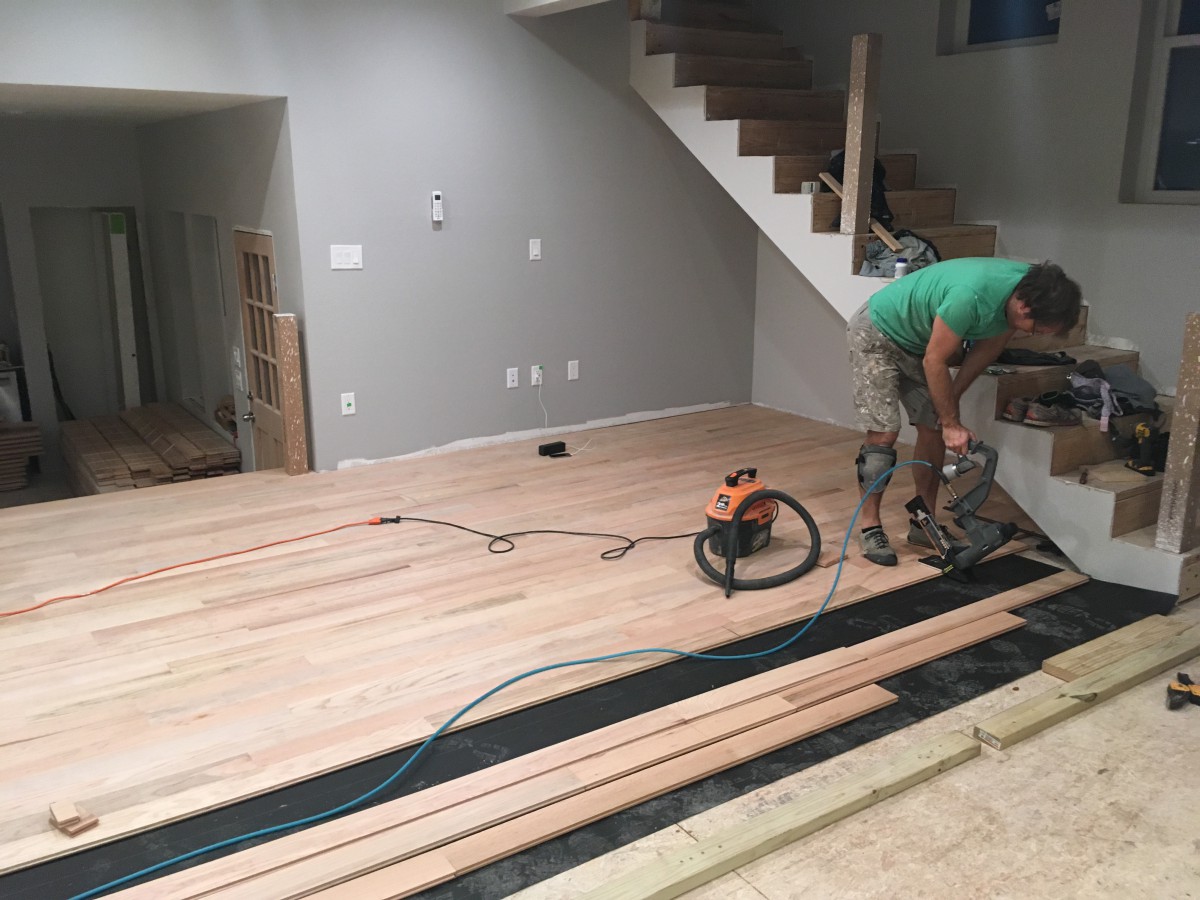
When there weren’t any odd challenges, the process was simple process of picking out wood pieces and nailing them in place
However, in a twist that I’m sure nobody saw coming, things are never without complications:
Board Widths
The boards were almost all 4 inches ± 1/16th, resulting in up to an eighth inch of variance. We sanded each of the joints to make the transitions even, but even the subtle changes caused problems. We ended up with stacks of wood that we cast aside because they were too wide or too narrow (later using them in their own rows when wood became scarce), but still had small gaps here and there. Picking out board lengths that worked well with the ongoing ‘pattern’ was difficult enough without also having to check the width of every single board.
Overhanging Edges
We made things difficult on ourselves by deciding to design an open railing system where the wood floors would hang over the lip. Without the leeway offered by placing trim on top of the floor where it meets the wall, precision was imperative. The overhanging wood pieces had to be perfectly straight and perfectly perpendicular to the rows of wood. John spent a considerable amount of time using our laser level to get everything lined up before a single piece of wood could be laid.
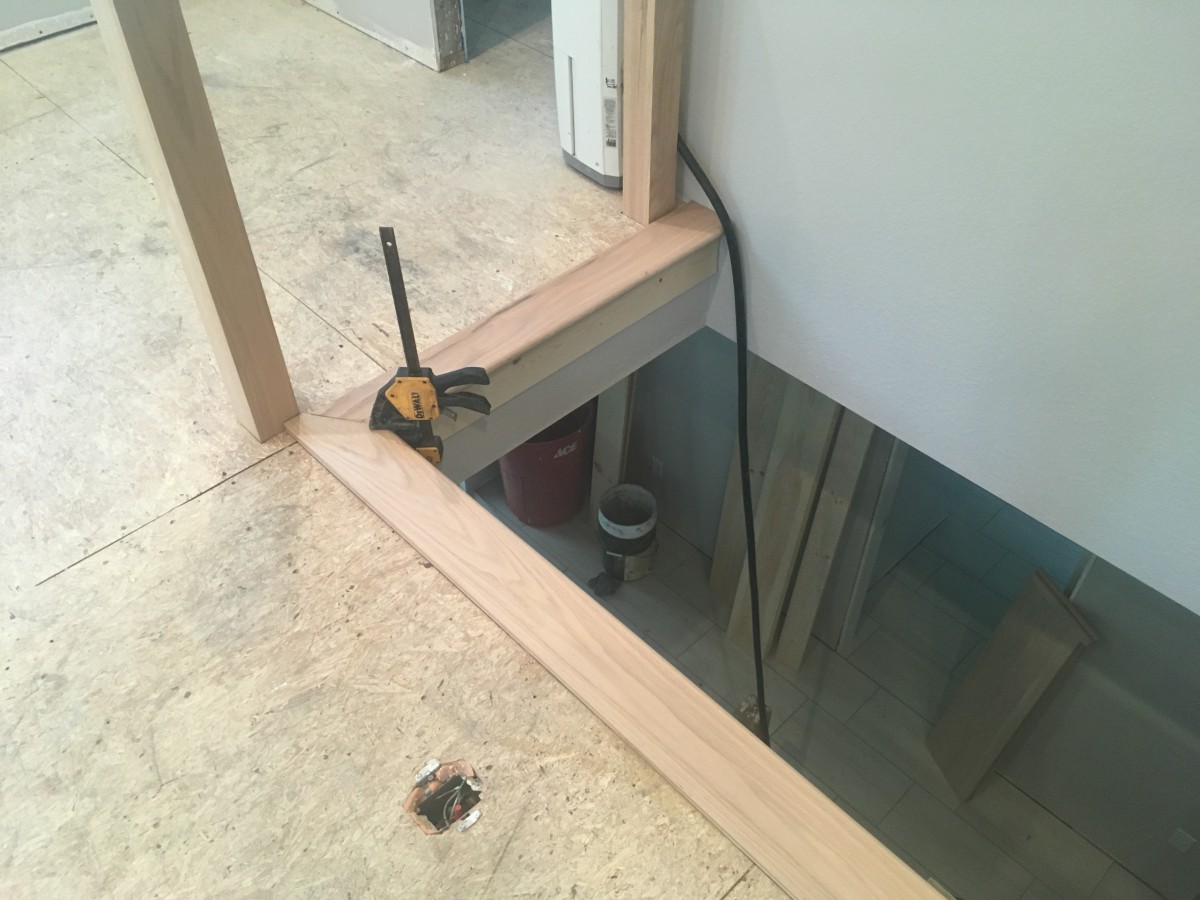
Before we could lay any of the tongue and groove wood slats, we had to glue in all of the overhanging edges, making sure that they were aligned perfectly
Tight Spaces
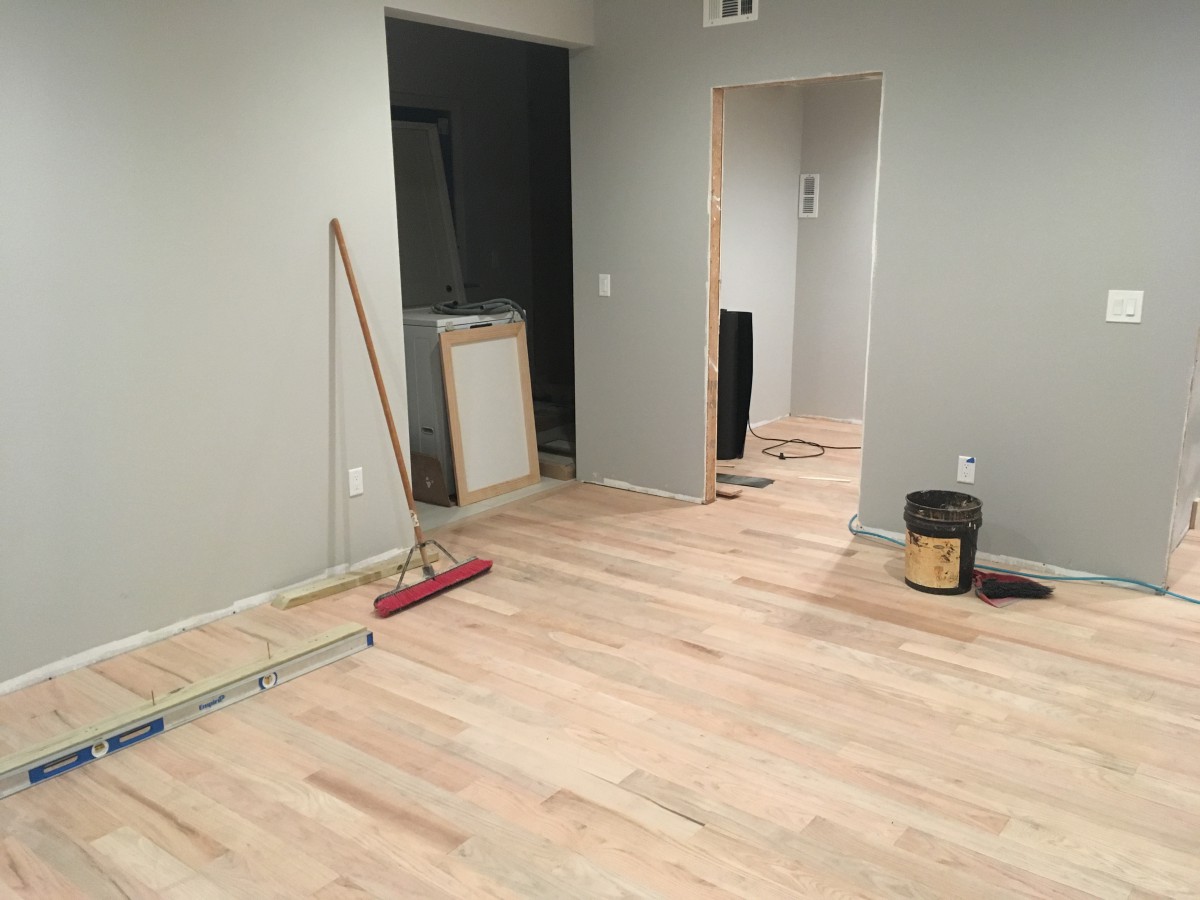
The nailer we purchased made our life so much easier, and that was made all the more apparent when we got into tight spots where the tool wouldn’t fit. In those cases, some creativity and hand nailing was required, and it took a long time.
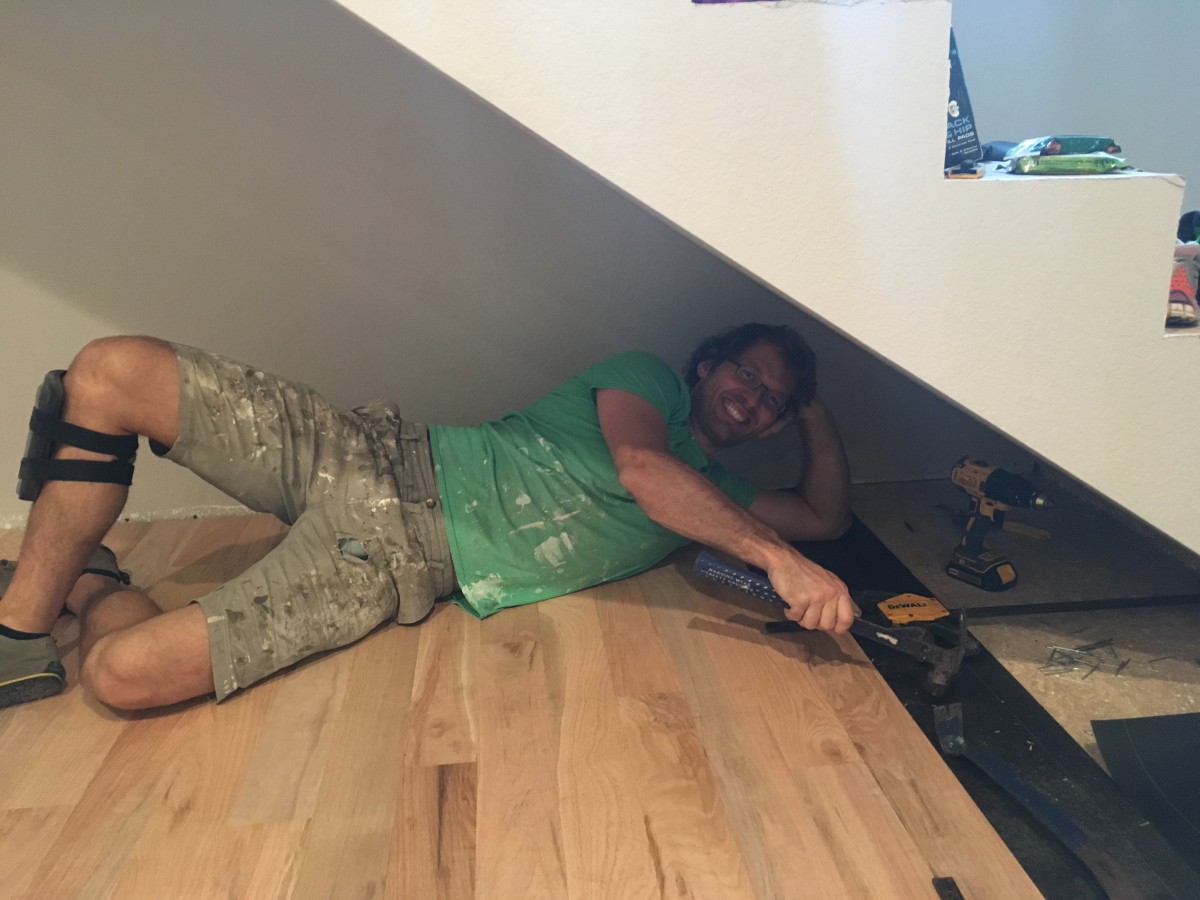
Trying to install the wood floors under our stairwell – where the nailer couldn’t fit – was particularly fun…
In order to fit around both the post and the corner, this piece required some creative cutting
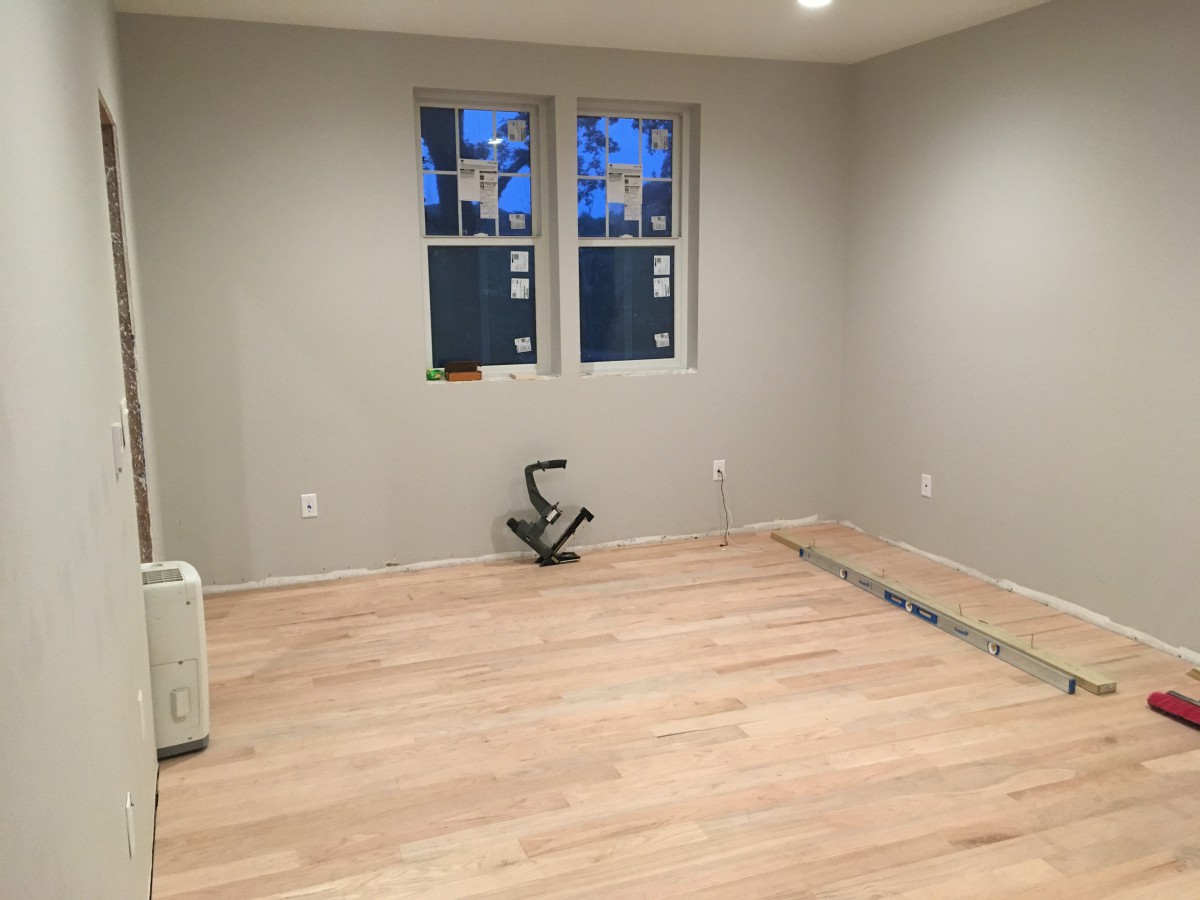
Final Rows
The nailer was too big to use on the last few rows, because the wall would get in the way. Instead, each one had to be hand drilled and nailed. If the final row was too short to even allow for hand nailing, we would pre-cut a narrow piece on the table saw and hand nail it to the previous row before laying them down together.

In order minimize gaps when we couldn’t fit a clamp in place, we got creative with some shim stacking
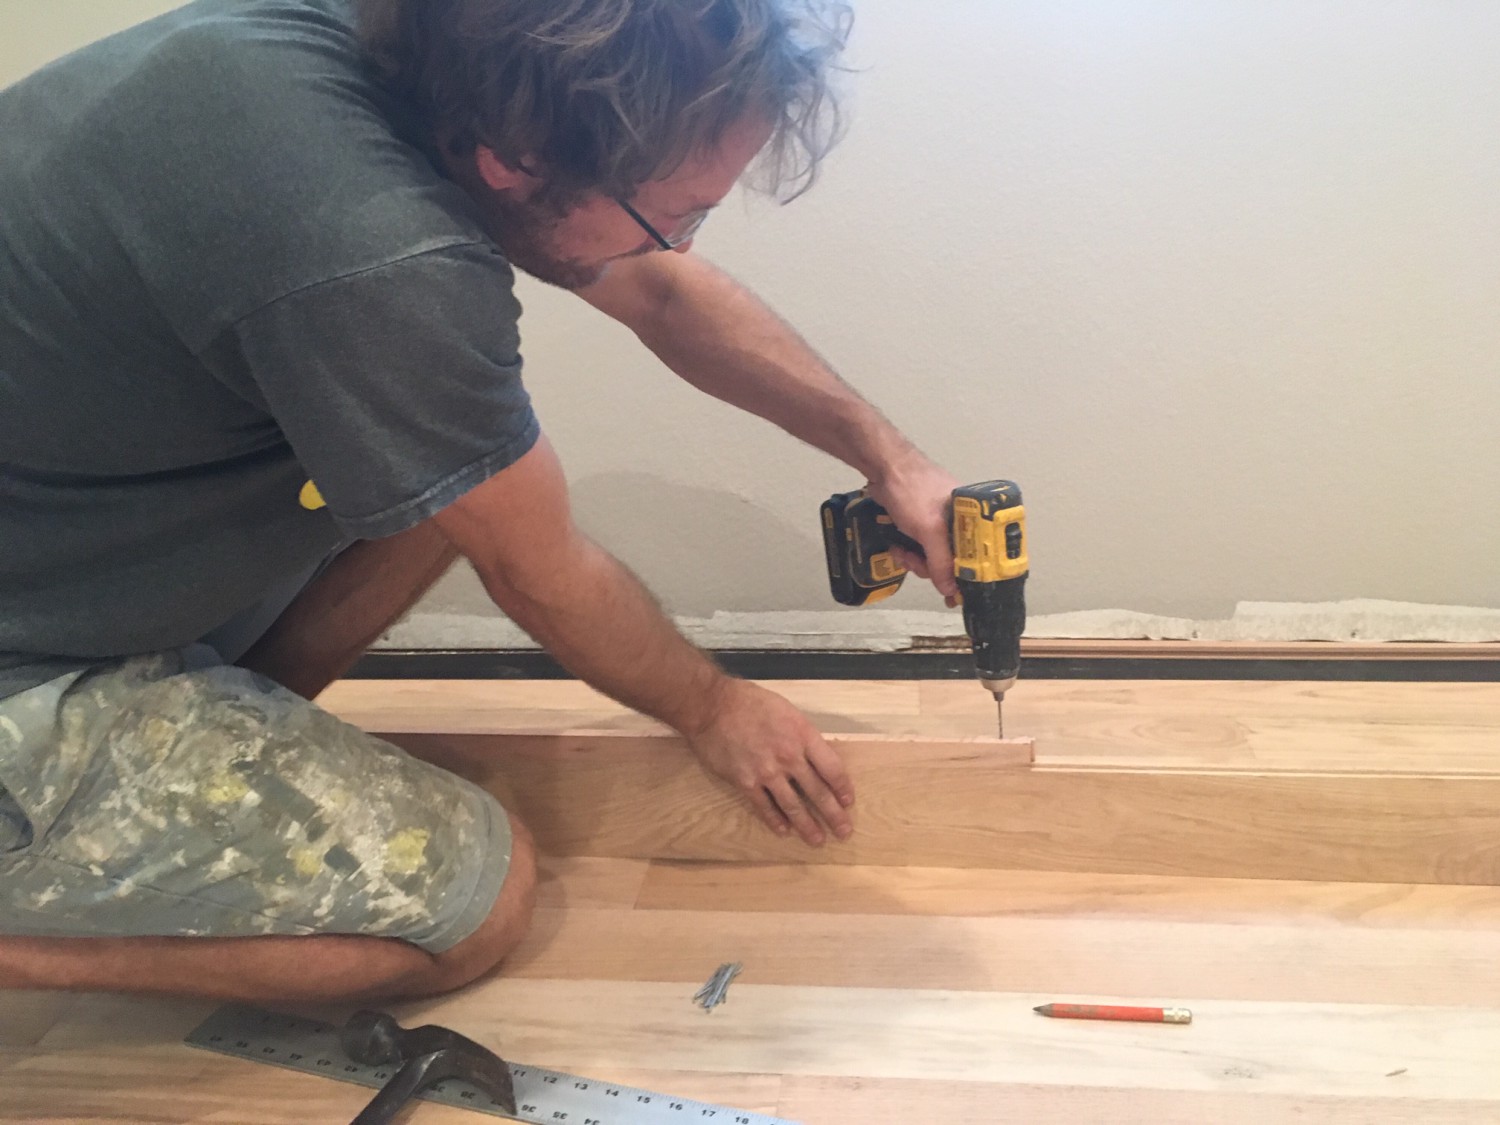
When the last gap would be too narrow to provide access to the tongue for nailing, we pre-attached a small piece and then nailed into the floor through the add-on
Direction Changes
We wanted to make sure that the wood floor followed an unbroken path, continuing through doorways without any seams. As a result, we started on the kitchen side of the living room and went through the back doorway into the master bedroom. We then needed to switch directions and head back towards the kitchen. Since tongue and groove boards need to be installed with the tongue out for nailing, we cut tiny slats on the table saw to convert a female connector to a male one. Similar conversions had to be made when meeting up with an overhanging lip.
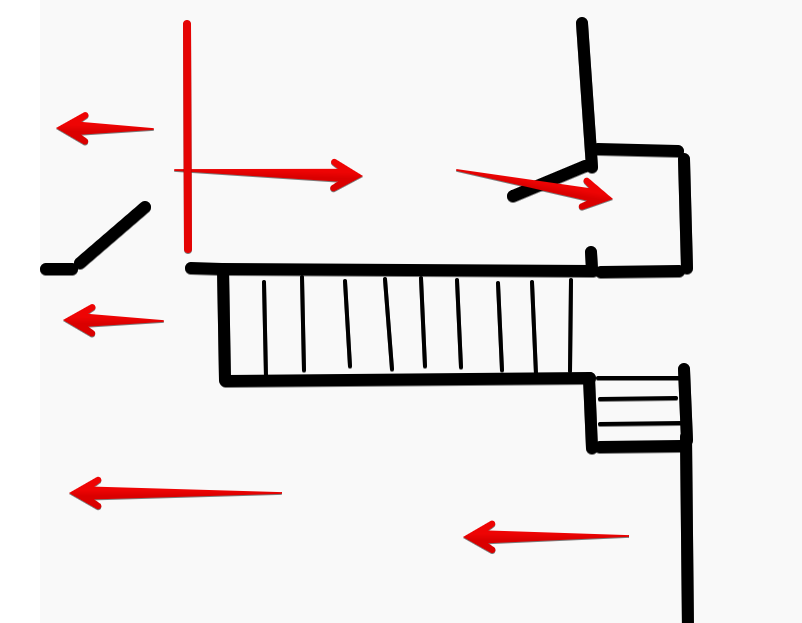
A bird’s eye view of our living room and master bedroom. We started in the bottom right, with tongues facing the left side. After crossing into the master bedroom – at the red line – we needed to switch the direction of the tongues.
Wood Lengths
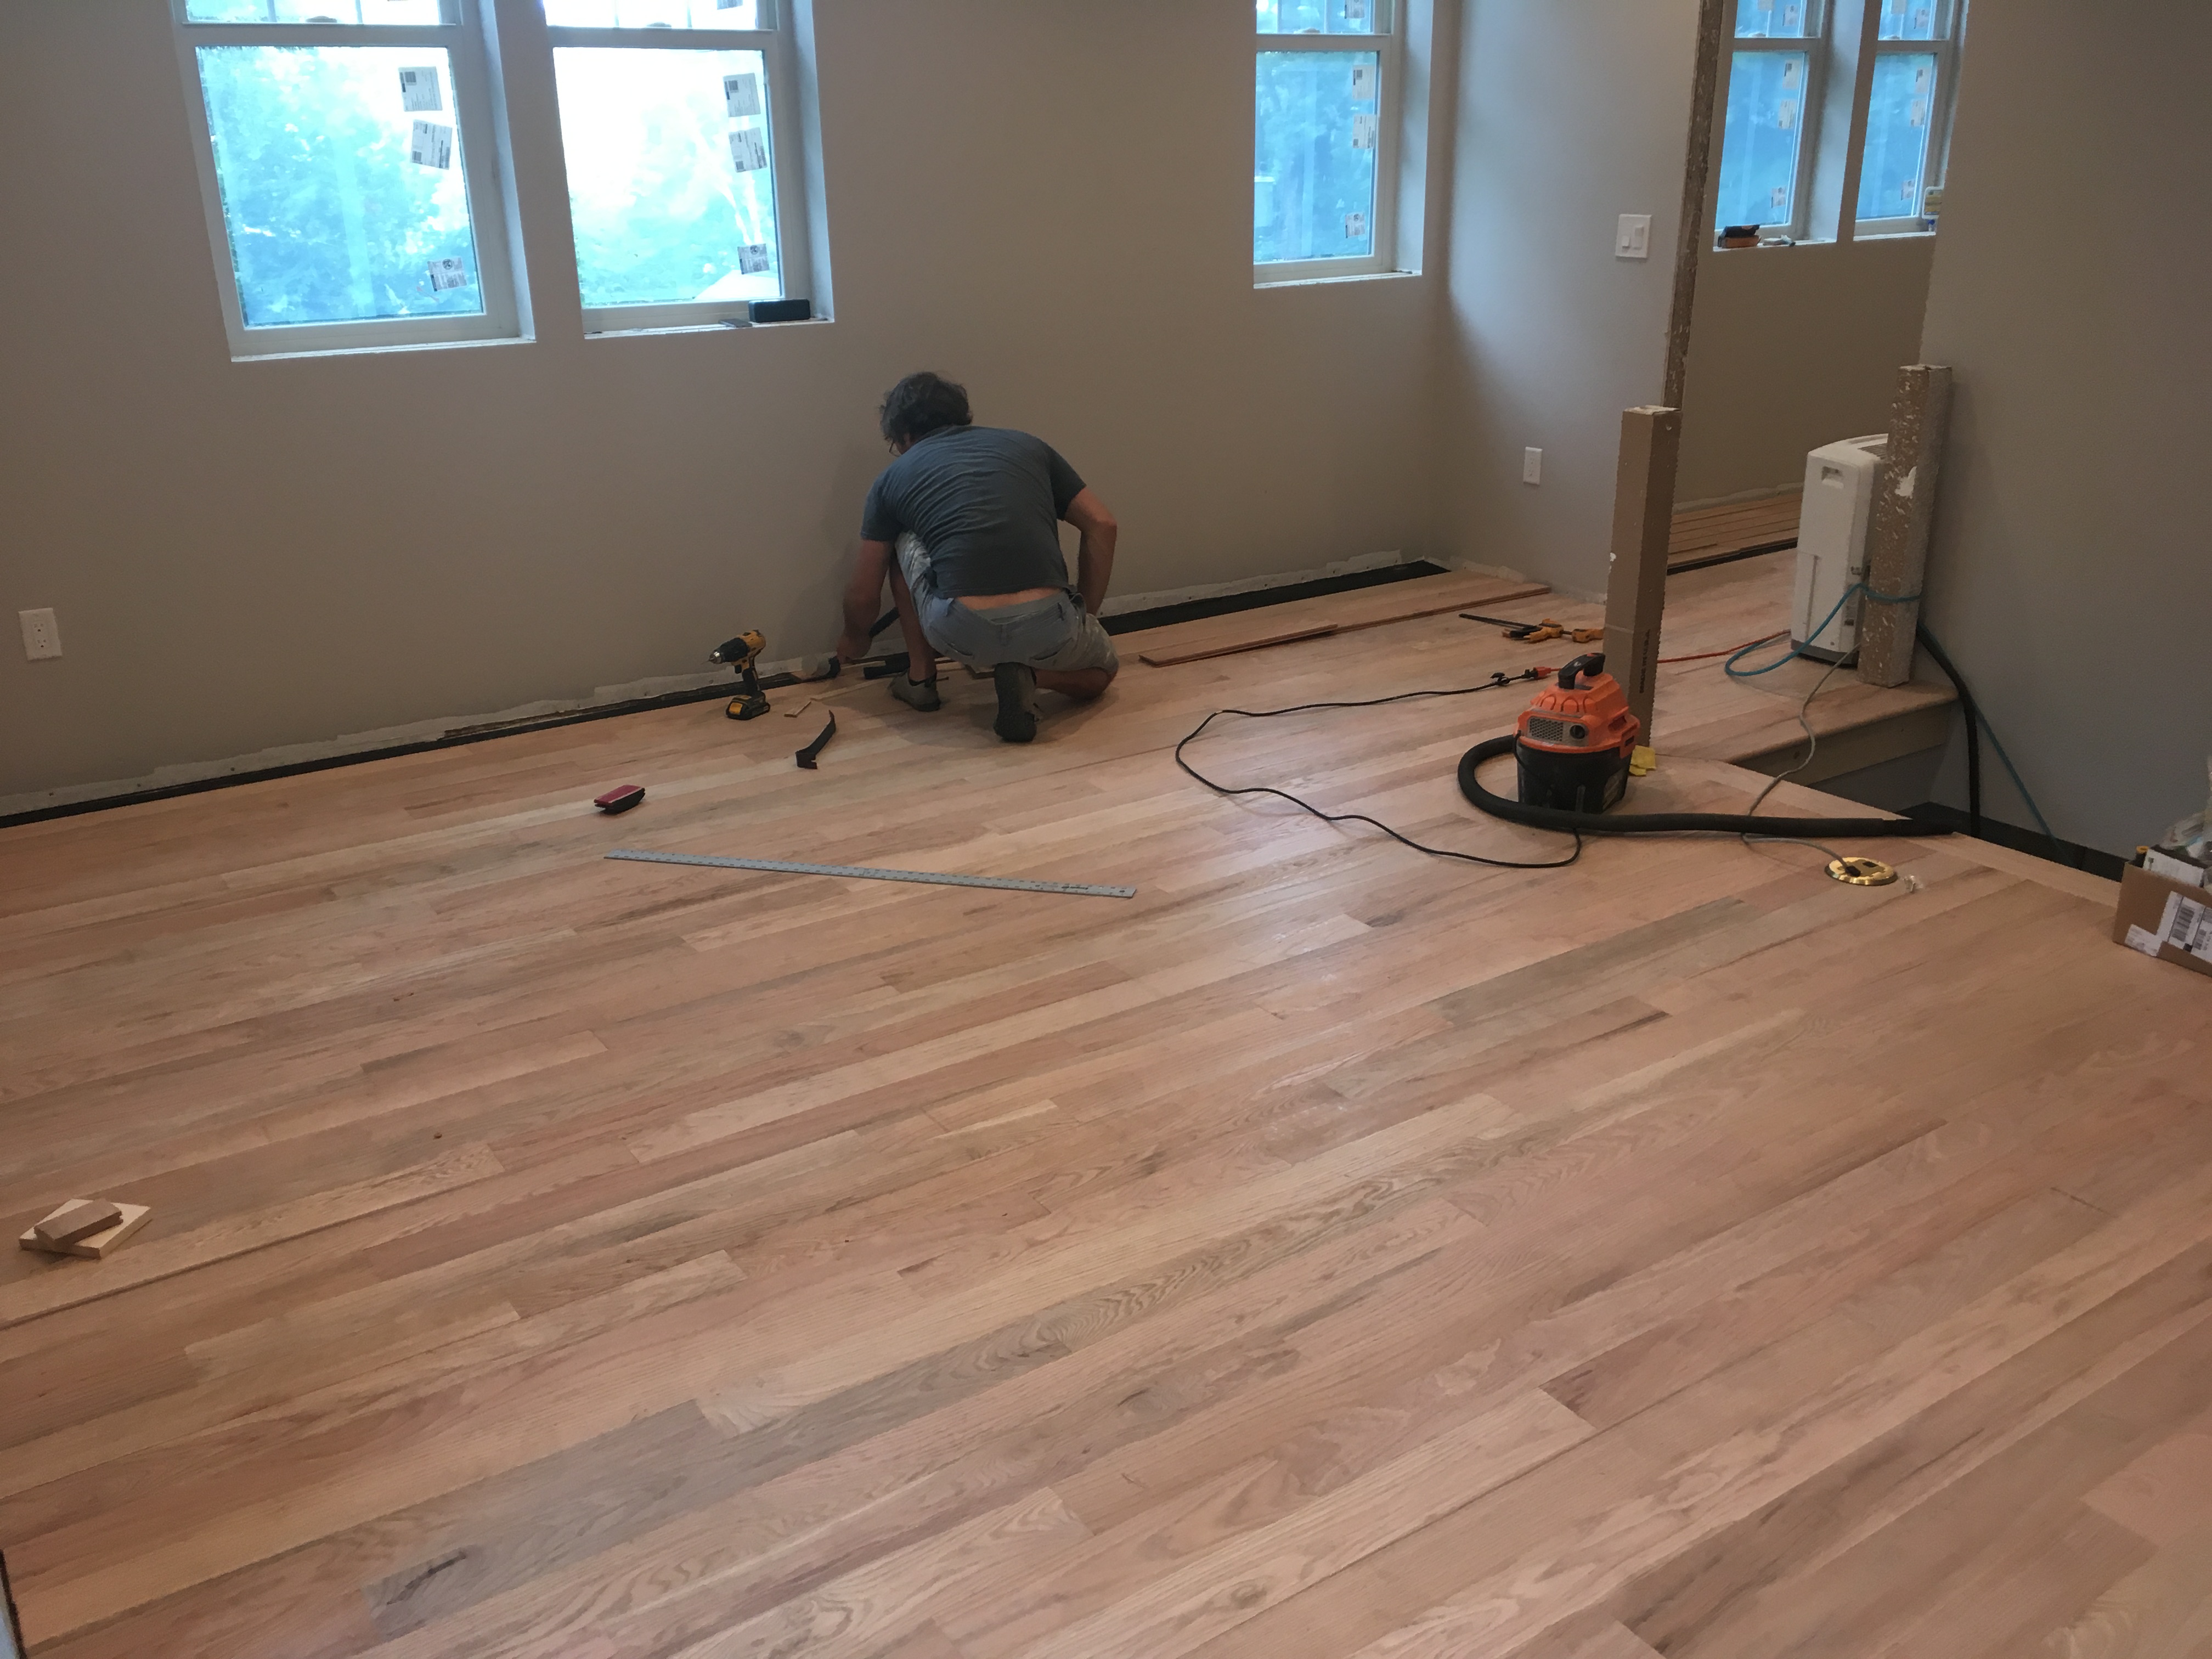
We were disappointed to find that the average length of the wood we purchased was only three feet or so. We sorted all the wood out at the beginning according to length, strategically using a higher percentage of long pieces in the living room and dumping as many short pieces as possible in the laundry room and closet.
We’re planning to stain the floors a darkish brown (the rest of the house is pretty muted right now, so I think dark floors will make for a great contrast), but even the unfinished wood is looking pretty great. In fact, we had someone come out yesterday to quote the finishing work and he was so impressed with our flooring skills that he offered us jobs.

Those floors look great!! I CANNOT IMAGINE doing that myself. Bravo to you guys!!
I’m guessing you turned down the flooring job you were offered…. :).
Thanks for posting the updates.
Looking good. Can’t wait to hear about the staining method. We recently did our deck and a small handheld sprayer helped immensely with keeping a light even coat but I was wondering what works best for indoor floors.