So close yet so far.
For the last year, it seems that the finish line has been in sight, but we haven’t gotten any closer to it. This is partially because John has been working crazy hours at work in preparation for a big release. Partially because we’ve both lost motivation lately. Partially because in the wake of Covid, instead of taking advantage of having nothing better to do, we just stopped doing anything productive at all.
But also, finishing work is slow.
We started installing our baseboards a few months ago, and figured it would be breeze. Unfortunately, I quickly learned that no matter how careful we were with the framing and the flooring, nothing is perfectly straight. We wanted to do simple white 1×6 baseboards, without any molding or other adornments, to keep a simple aesthetic. However, the walls bow slightly and we ended up with gaps there. The floors have slight height fluctuations, and we had gaps there. I would make a 45 degree corner cut that looked perfect when holding the board, only to have it leave gaps once it was nailed in place. I would spend hours painstakingly cutting boards with the perfect lengths and angles, and sand the bottoms to try to match the contour of the floor. But at the end of all my hard work, it still looked horrible.
There’s nothing worse than working extremely hard on something and then not being proud of the finished product.
It was then that we realized that adding molding was an absolute necessity. The thinner pieces have to ability to bend around fluctuations, covering all the tiny imperfections that the baseboards had made glaringly obvious. I now had to paint, cut, and install three pieces on every wall segment (instead of just one), but the extra work was worth it because I am now proud of the final product. It makes all the difference.
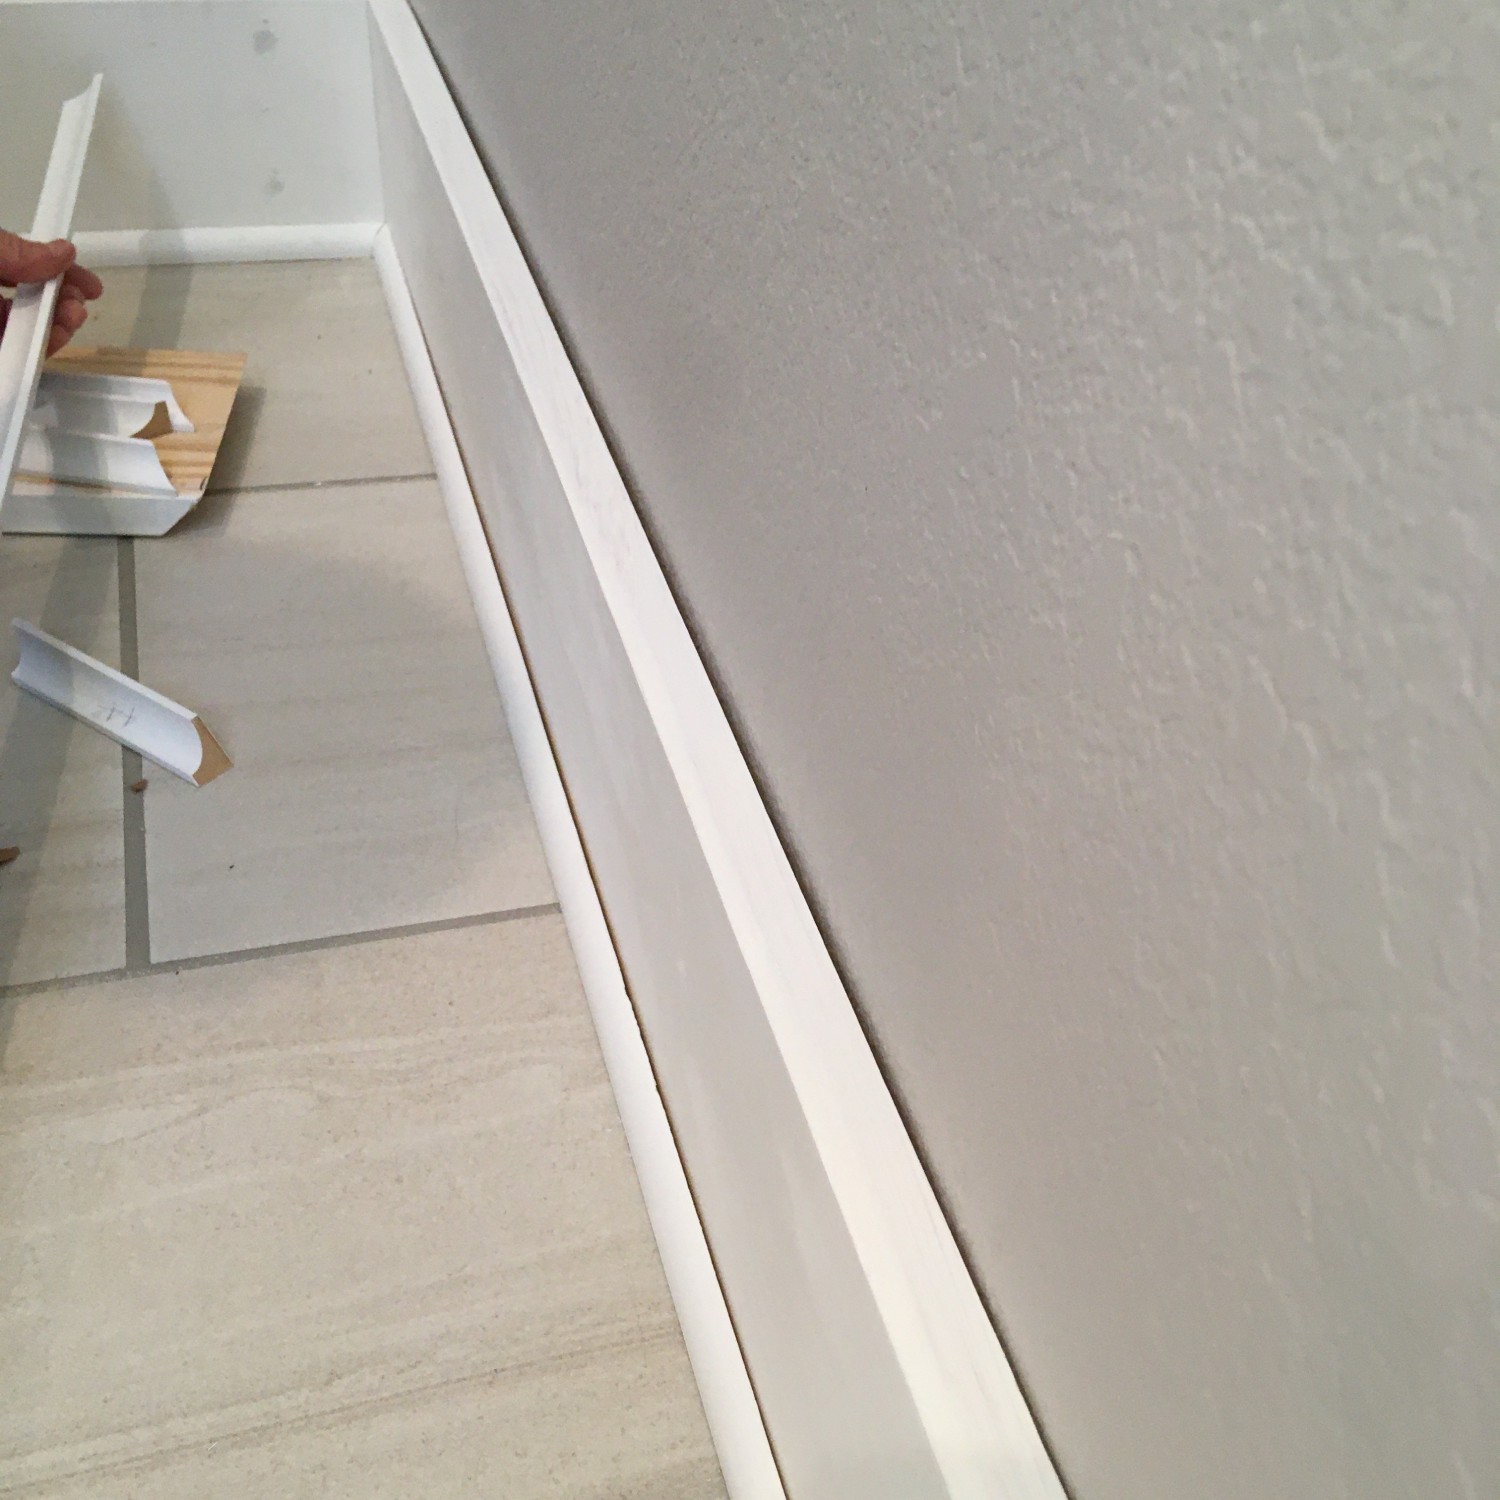
A nasty gap between a baseboard and the wall
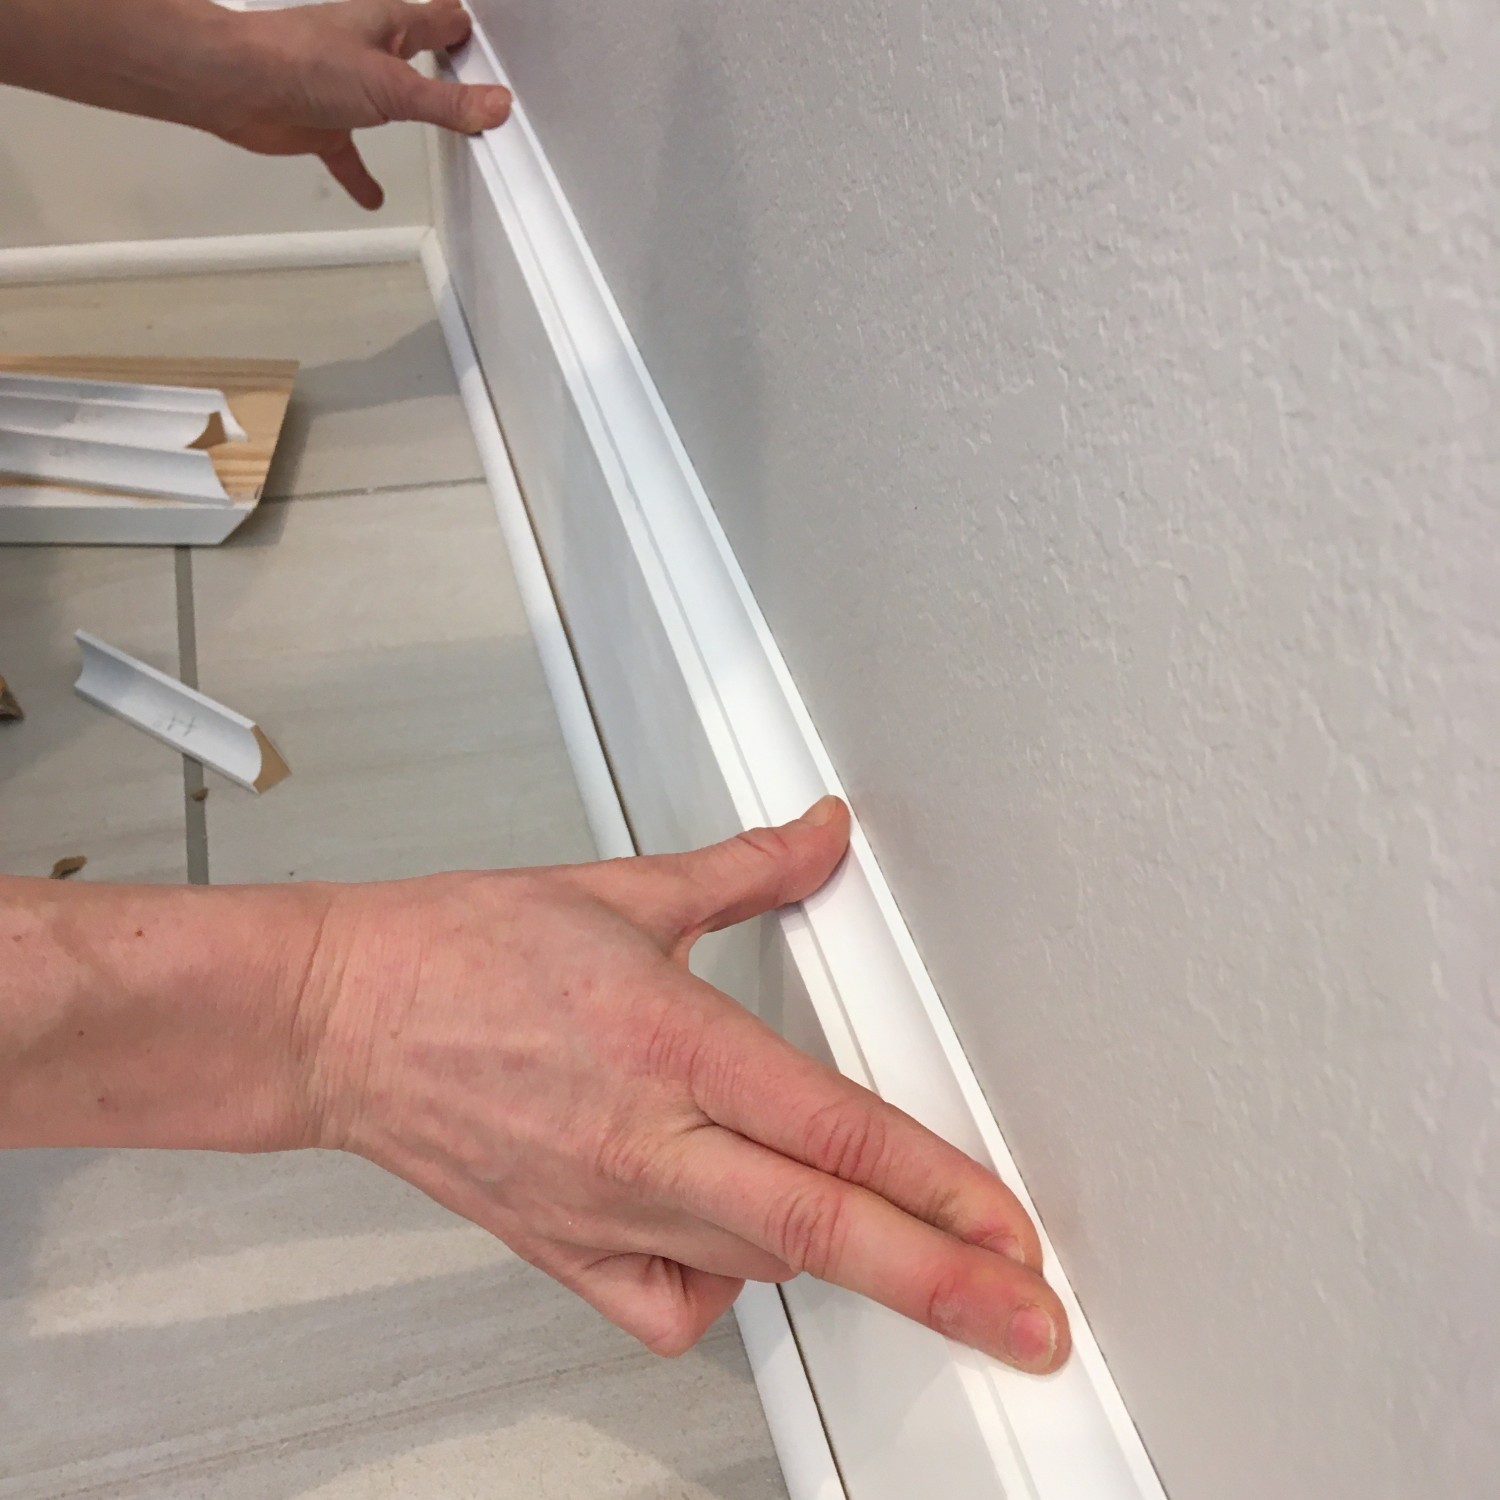
Covering the gap
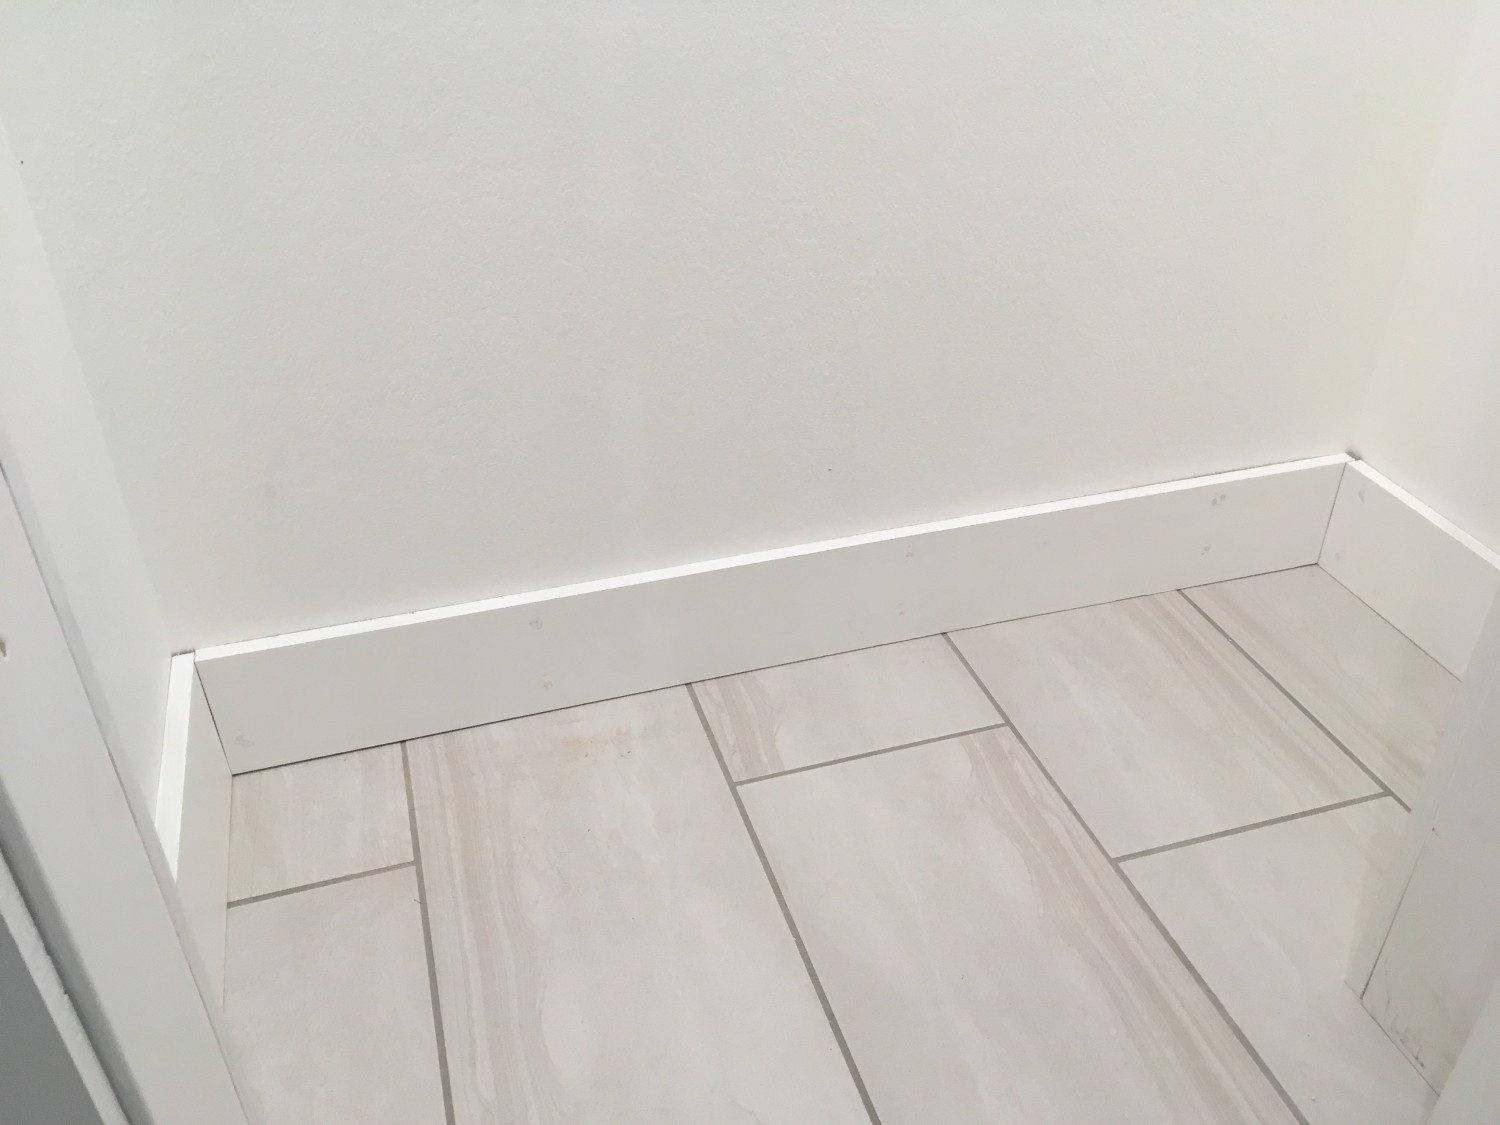
Our coat closet, looking pretty horrible with just a baseboard
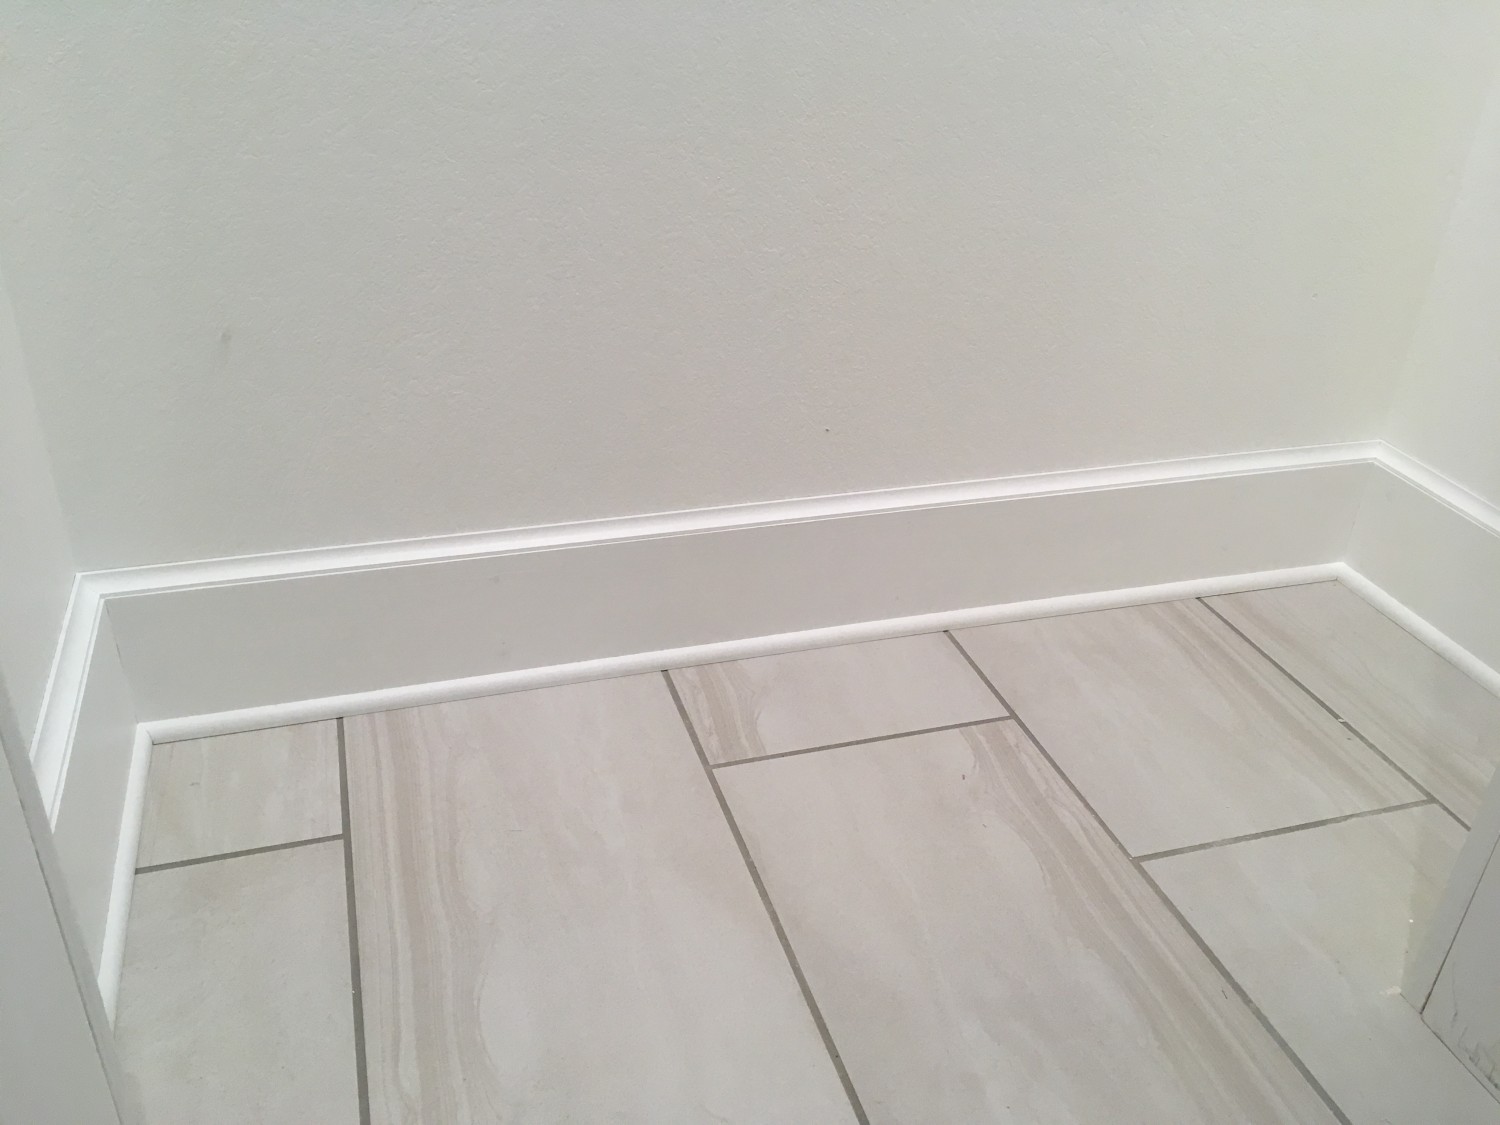
The same closet, after adding molding and touch-up paint. Much better!
Once I got into a rhythm, the general process for each section of trim included:
- Paint the baseboard and molding pieces
- Cut the baseboard pieces, making sure to match the height to the pieces next to it and match the angles where they meet seamlessly. Once we decided to add molding on top, this became much easier because I no longer had to cut a 45 degree angle on inside corners.
- Attach the baseboards with a nail gun, making sure to locate the studs
- Fill and sand the nail holes
- Measure and cut the molding pieces for the top and bottom of the baseboards, using precut templates to get the angles exactly right. I usually set the angle on the saw and cut each piece long to start. Then went back and forth a few times, gradually trimming off slivers to ensure I got the length perfect.
- Attach the molding using a pin nailer (nailing into the baseboard only)
- Apply paint to touch up the nail holes and seams
Then reflect on the fact that you spent all weekend on it and only finished one closet…
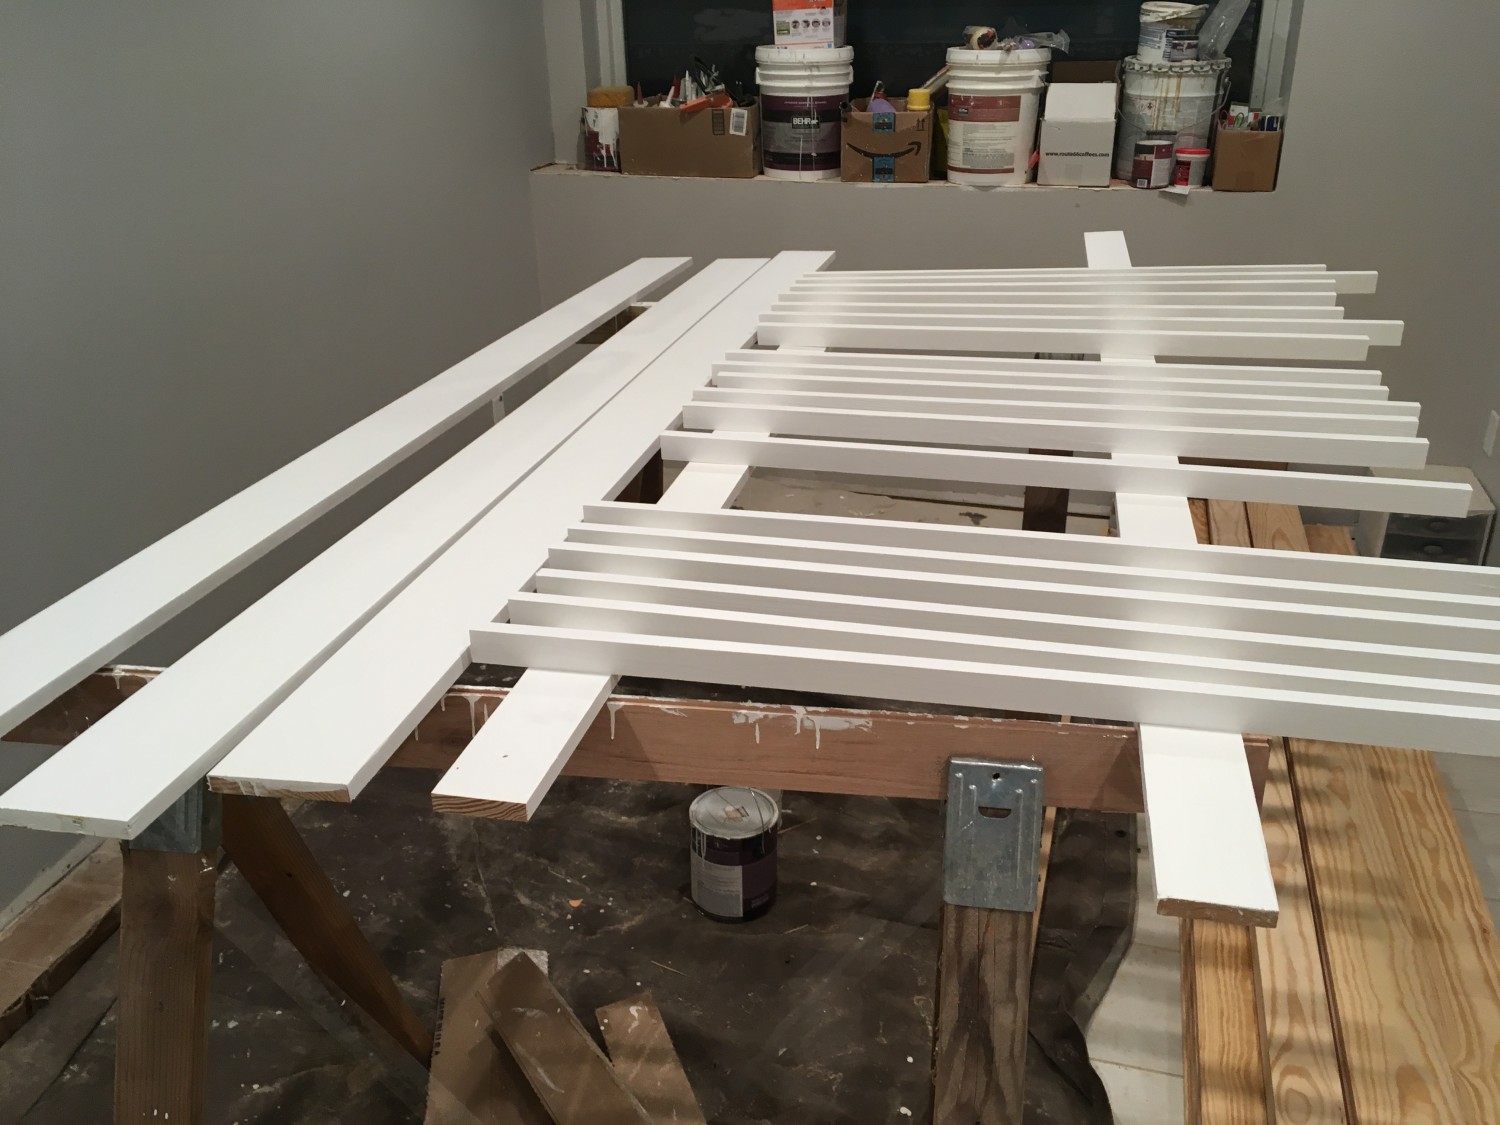
My painting station for the baseboards and door pieces
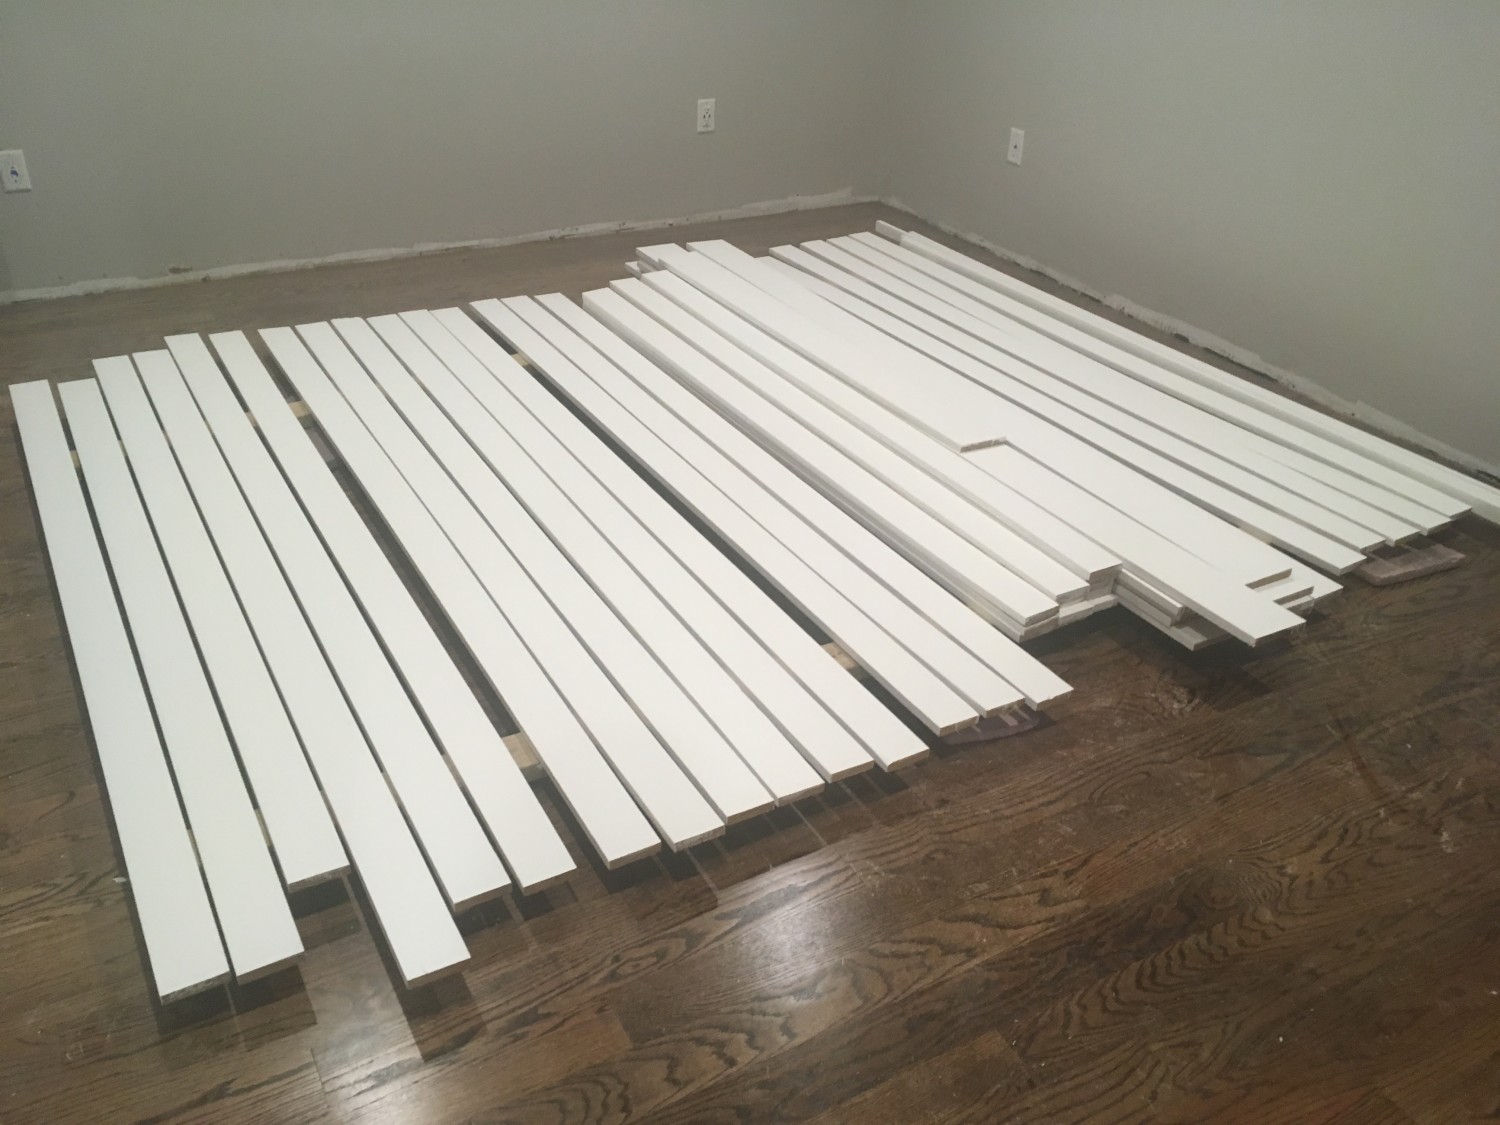
A small fraction of the baseboards after completing the painting step. We really should have purchased/rented a paint sprayer.
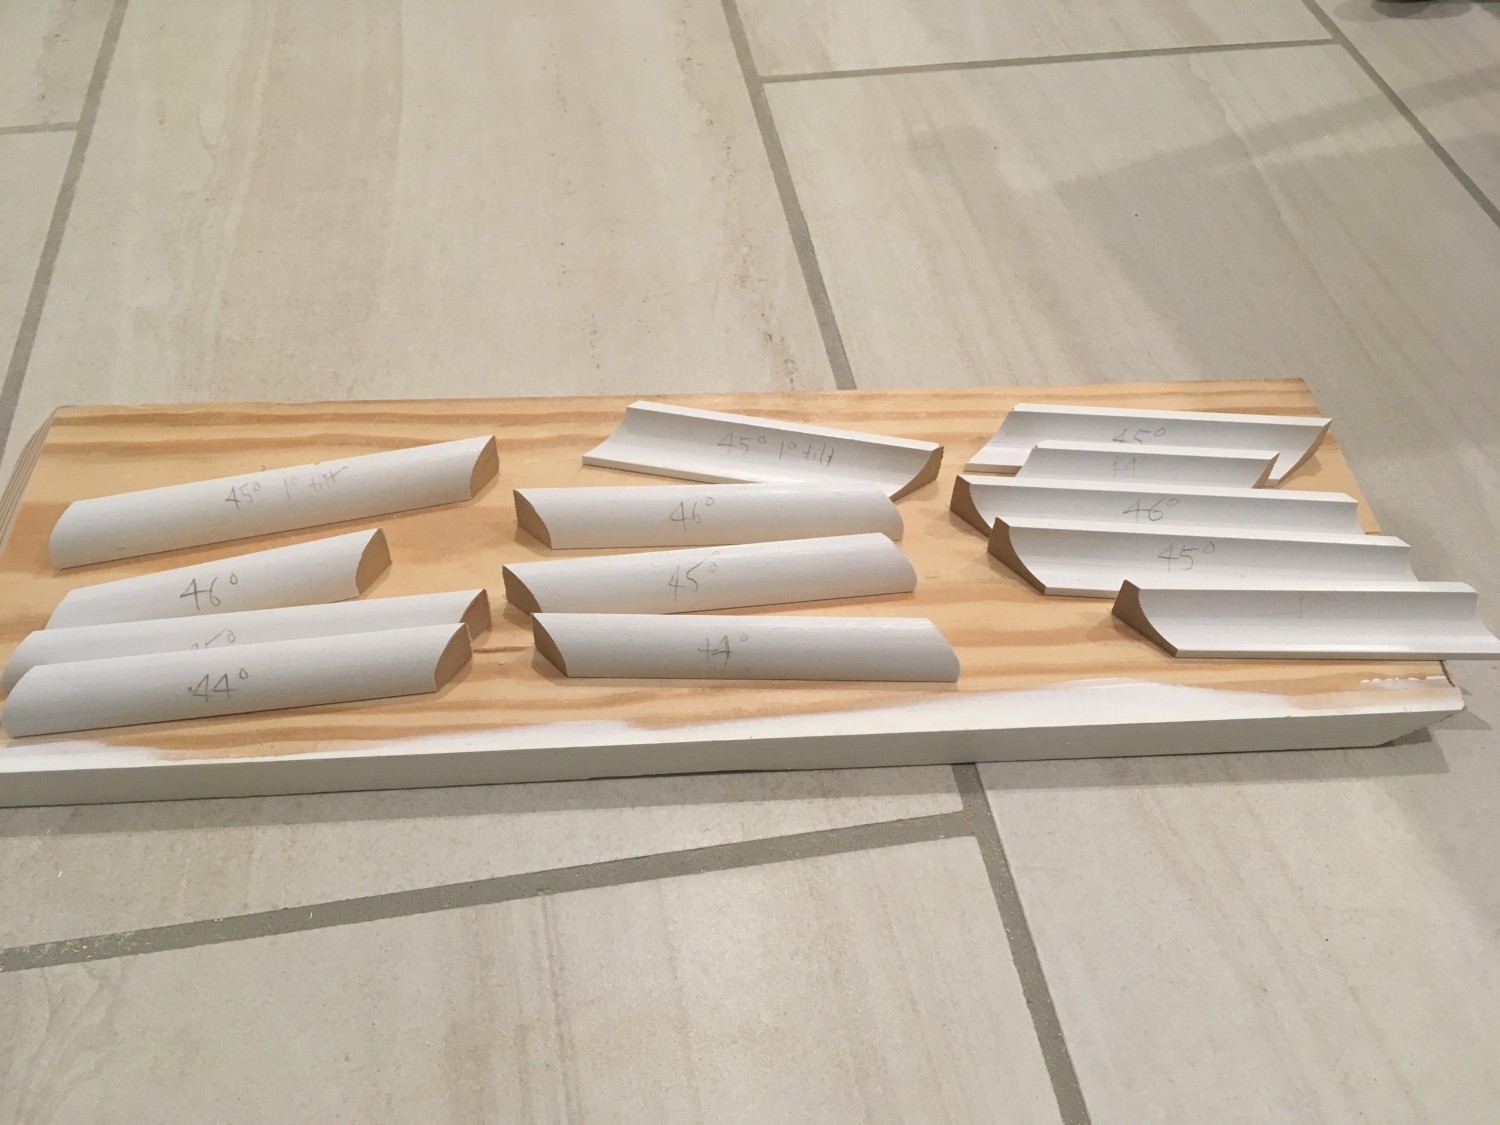
My template set used for getting precise angles at each joint
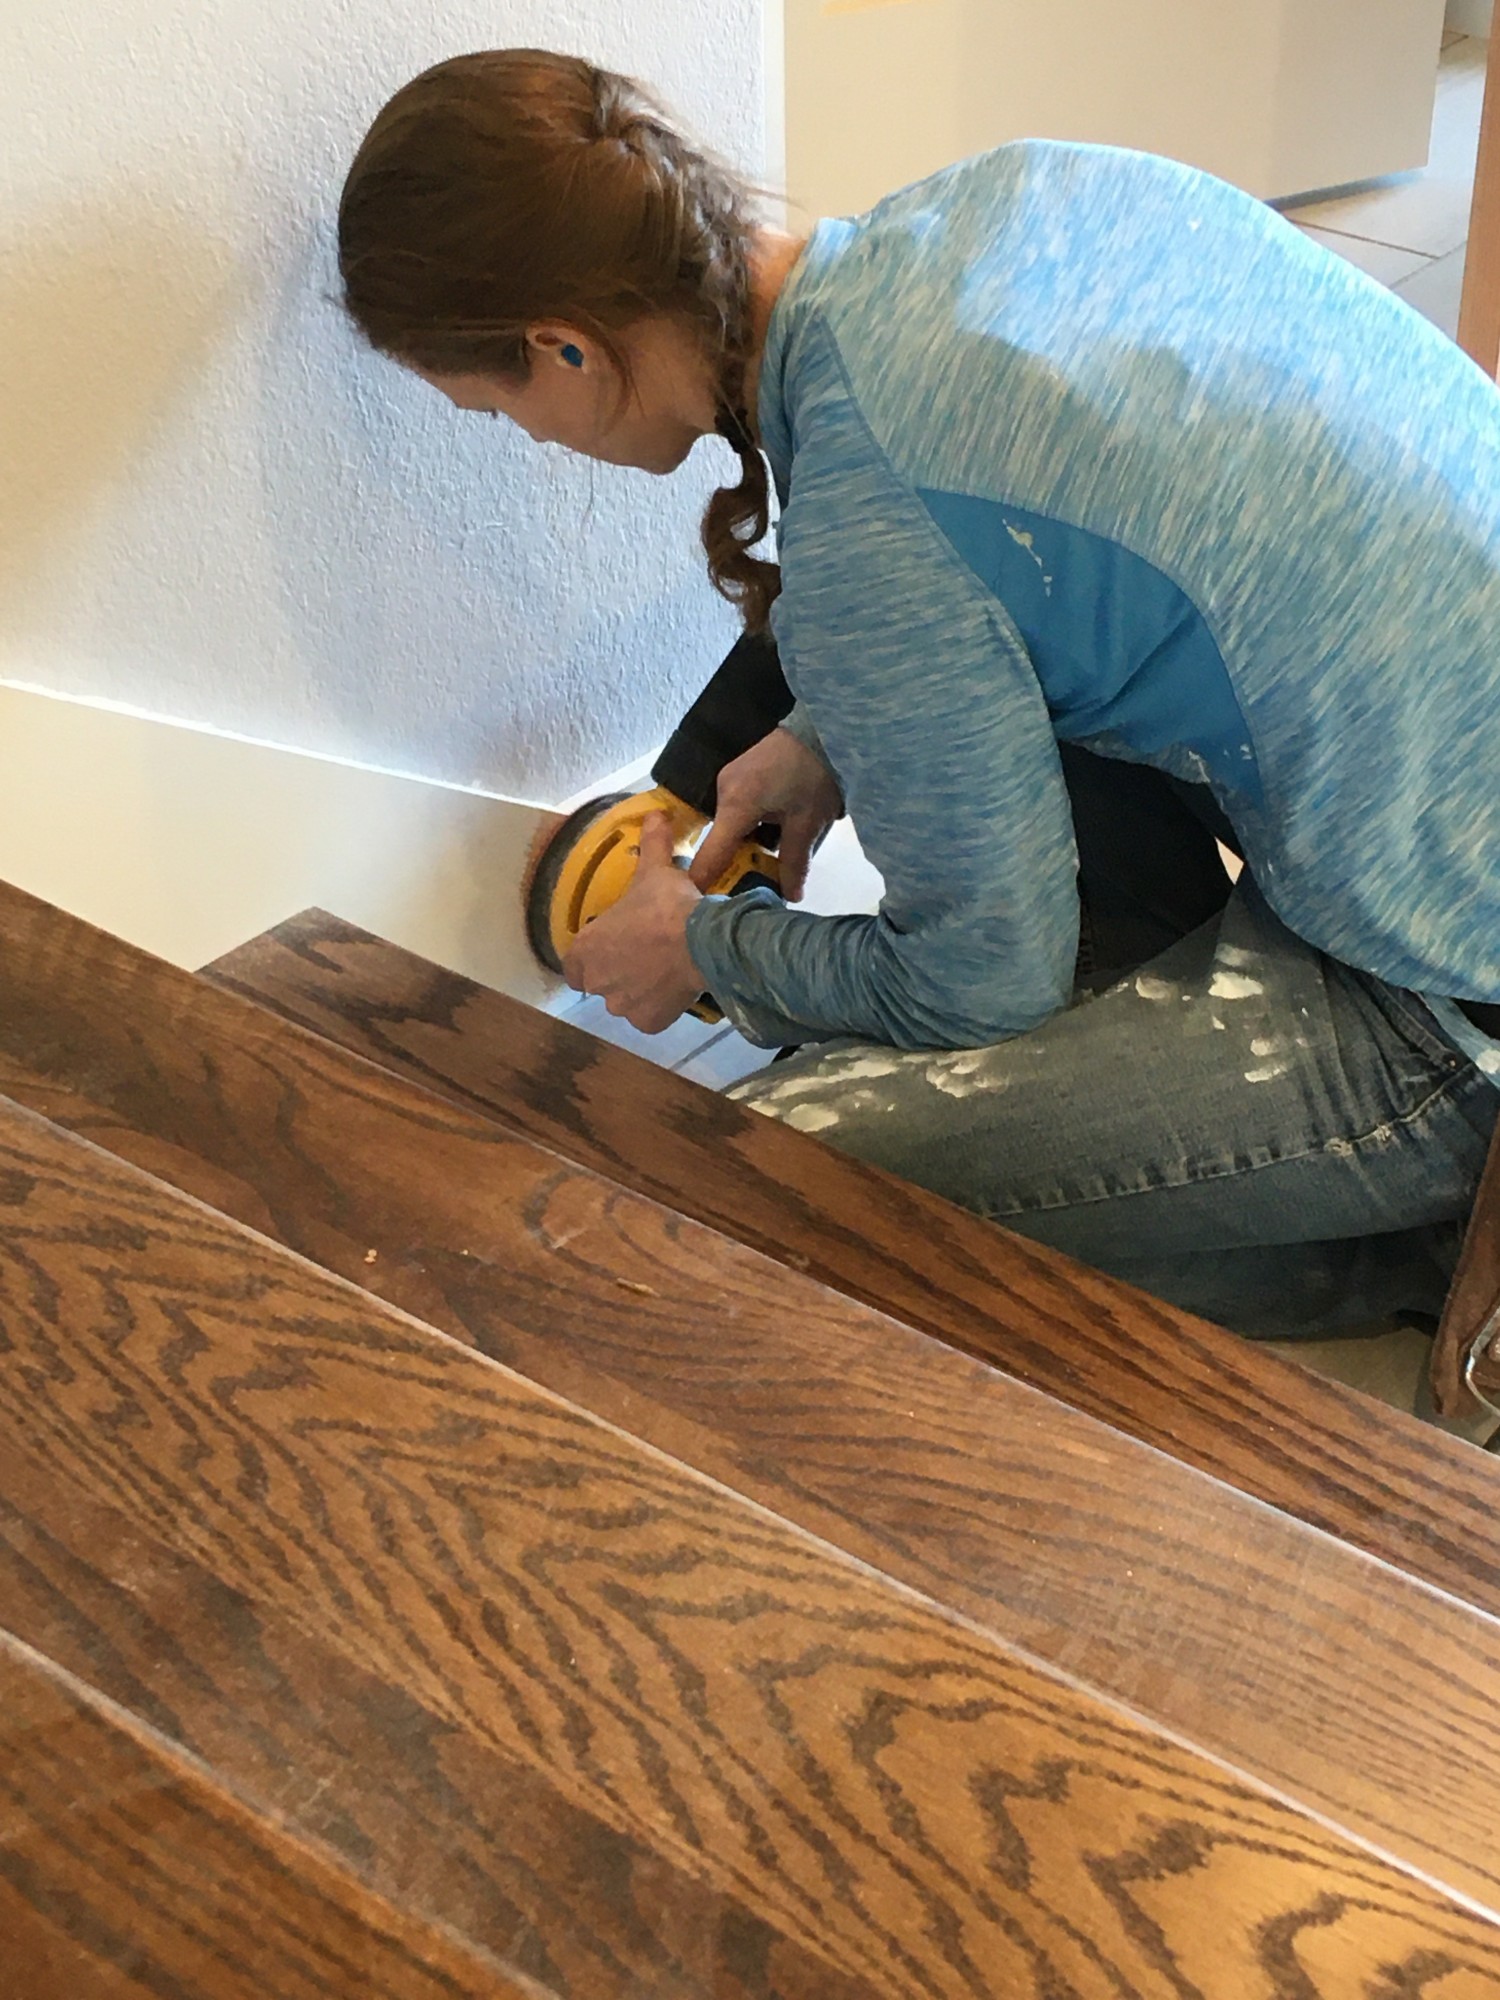
Using an orbital sander to even out transitions from one baseboard to another
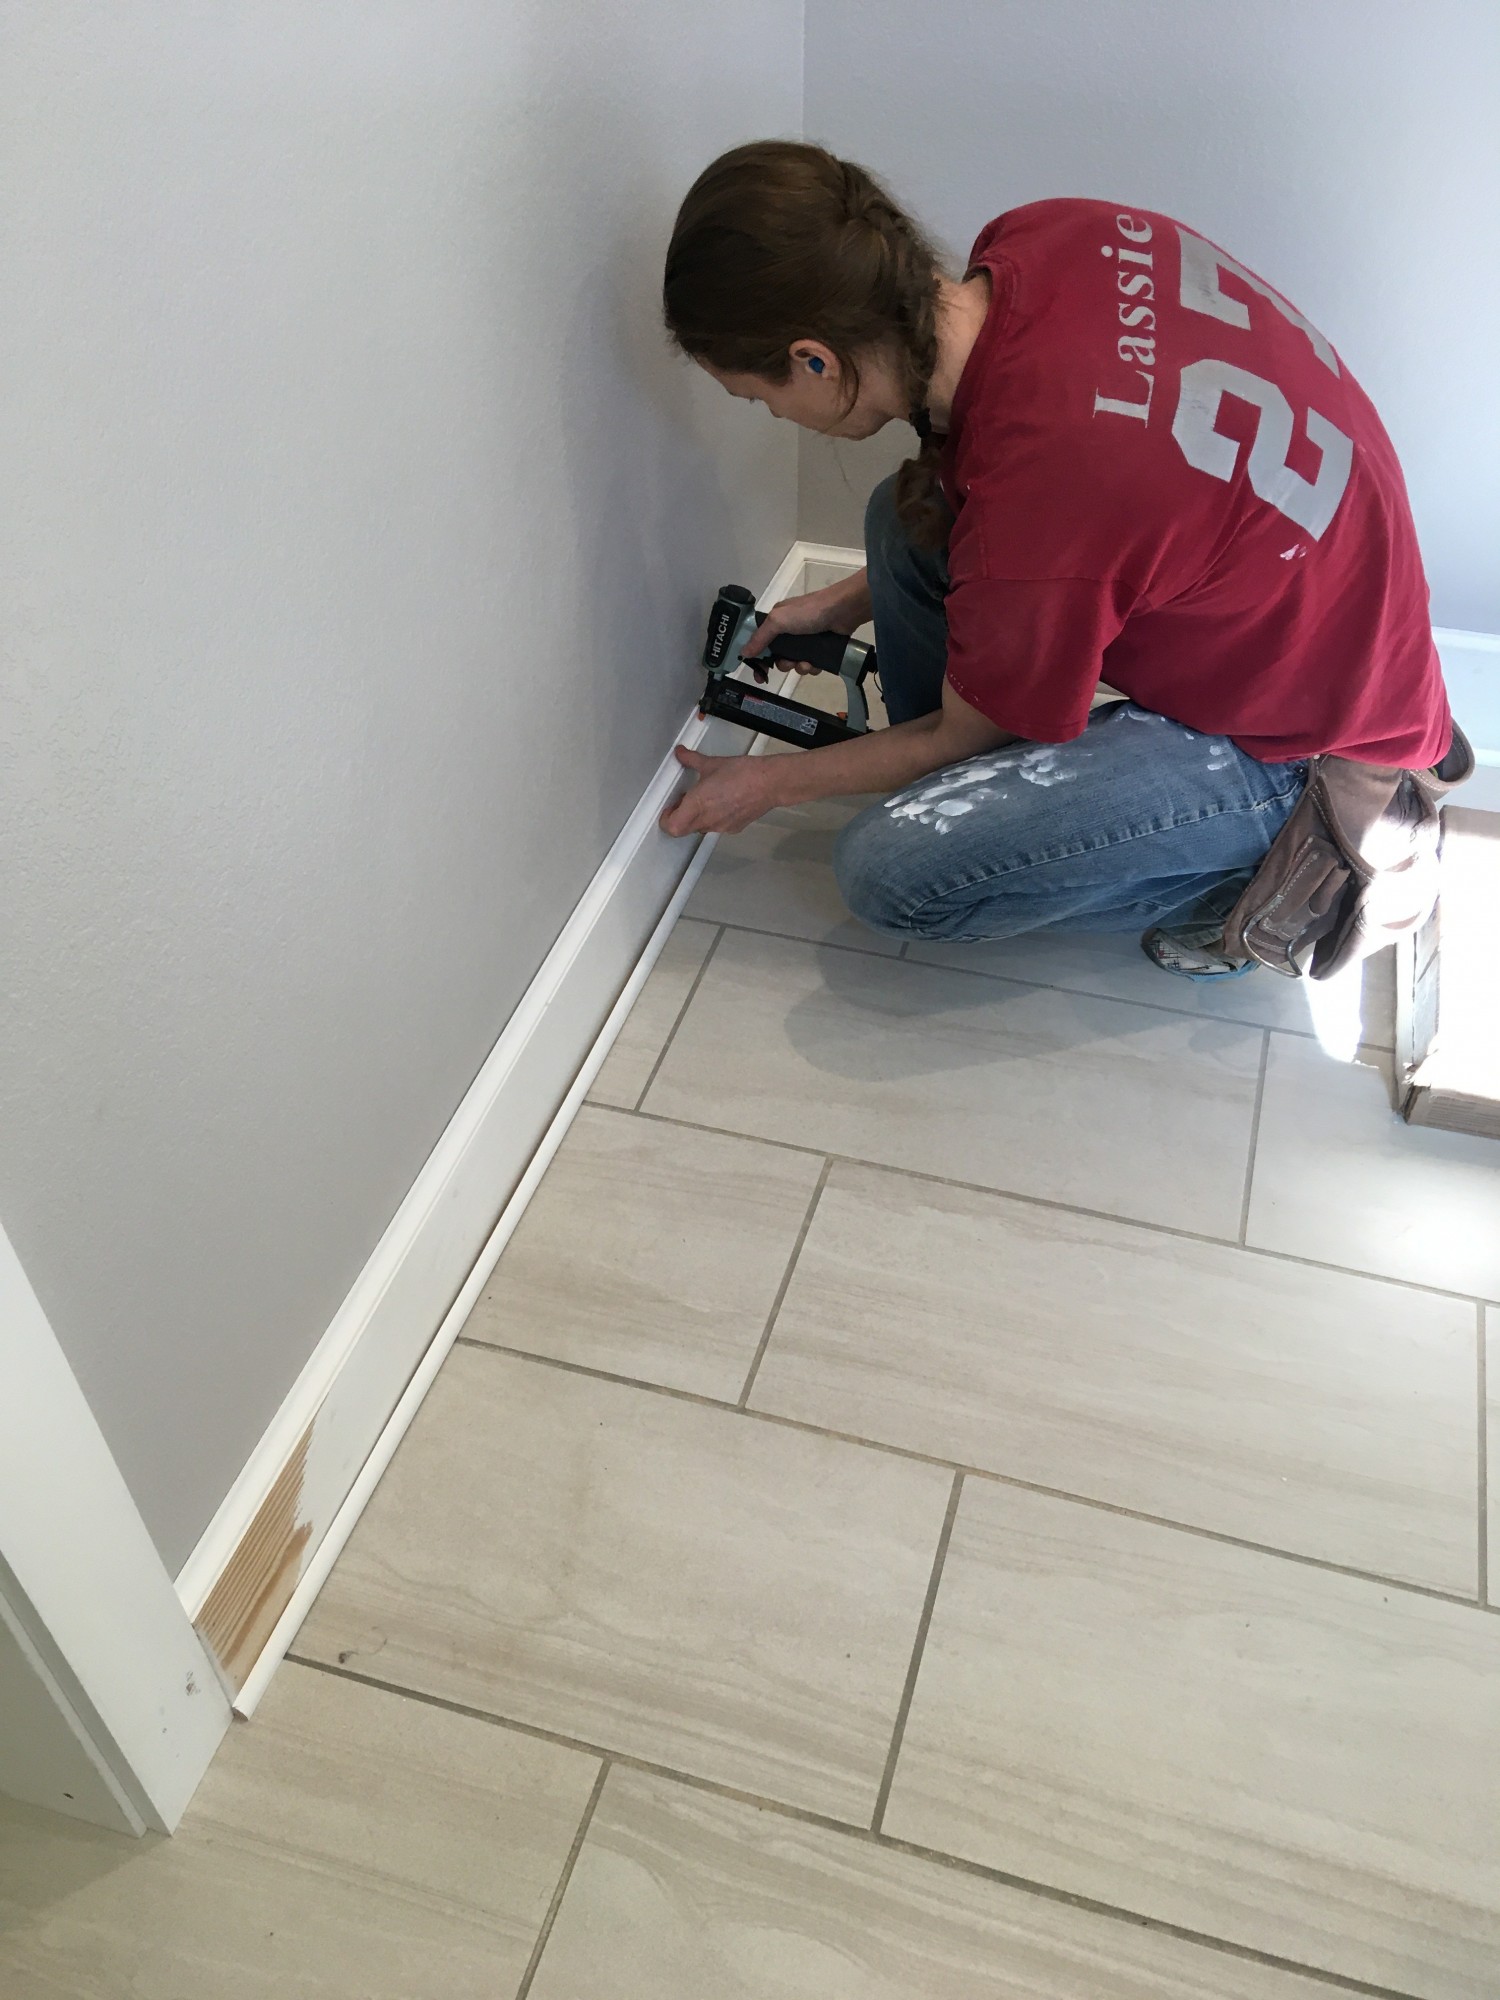
Using a pin nailer to attach the molding

Around the doors, we decided to do small trim pieces above and below the top board
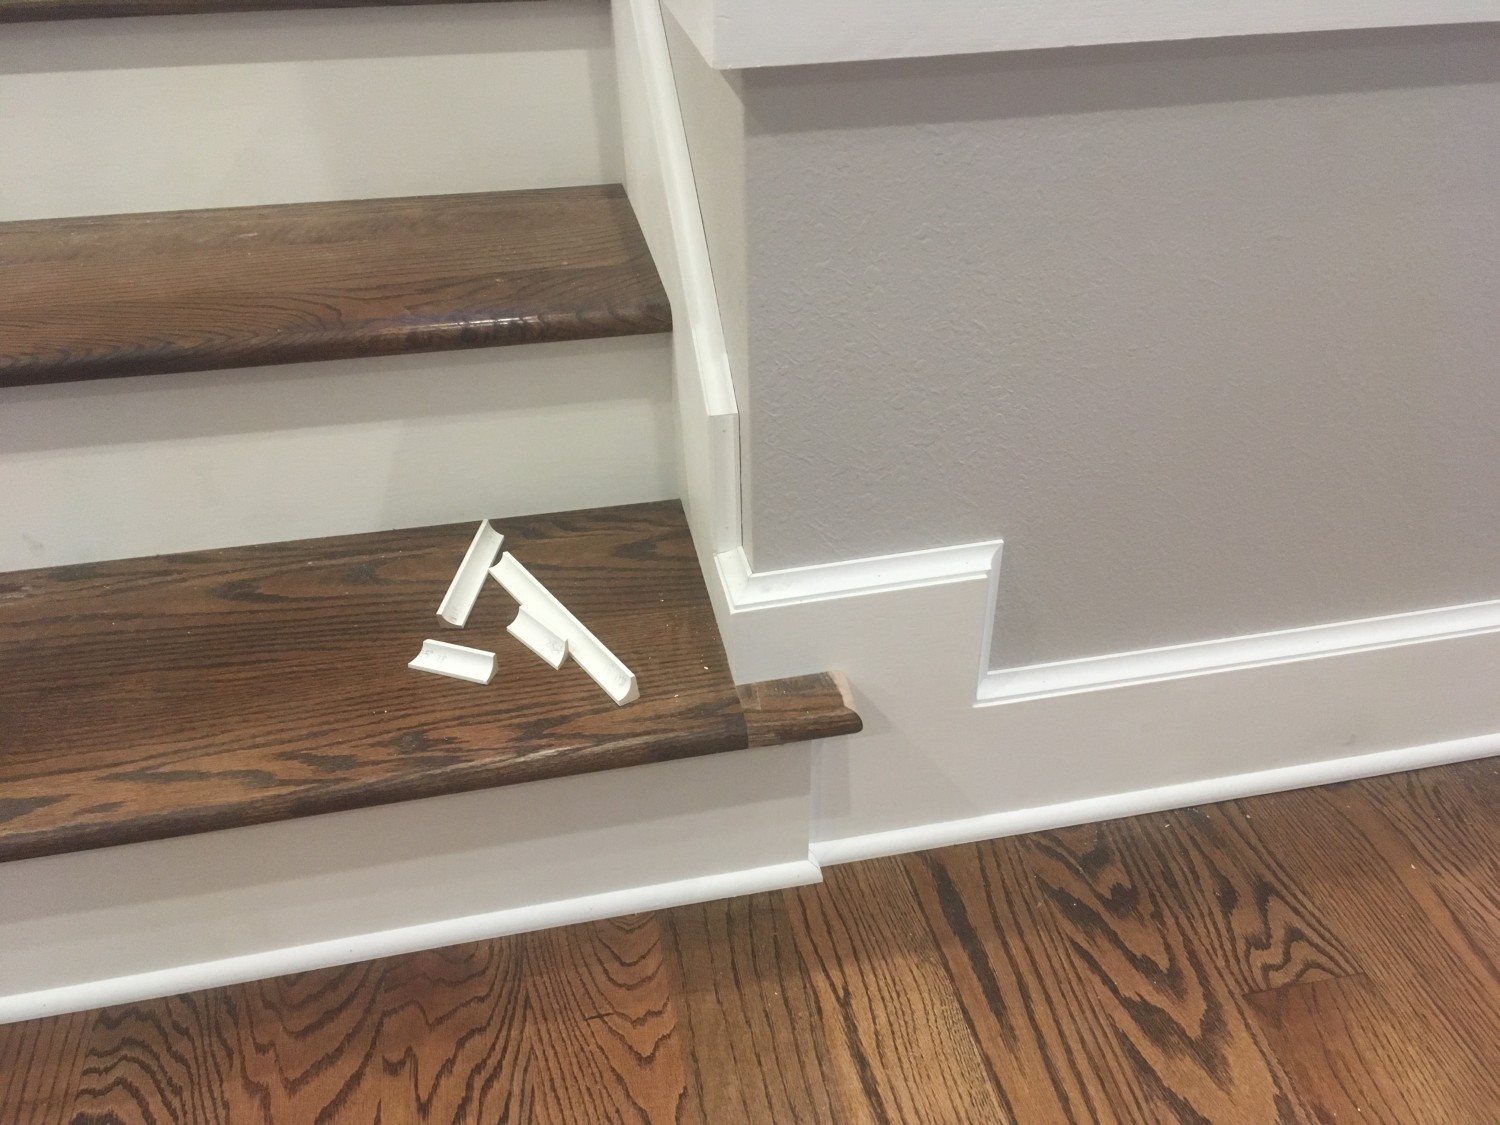
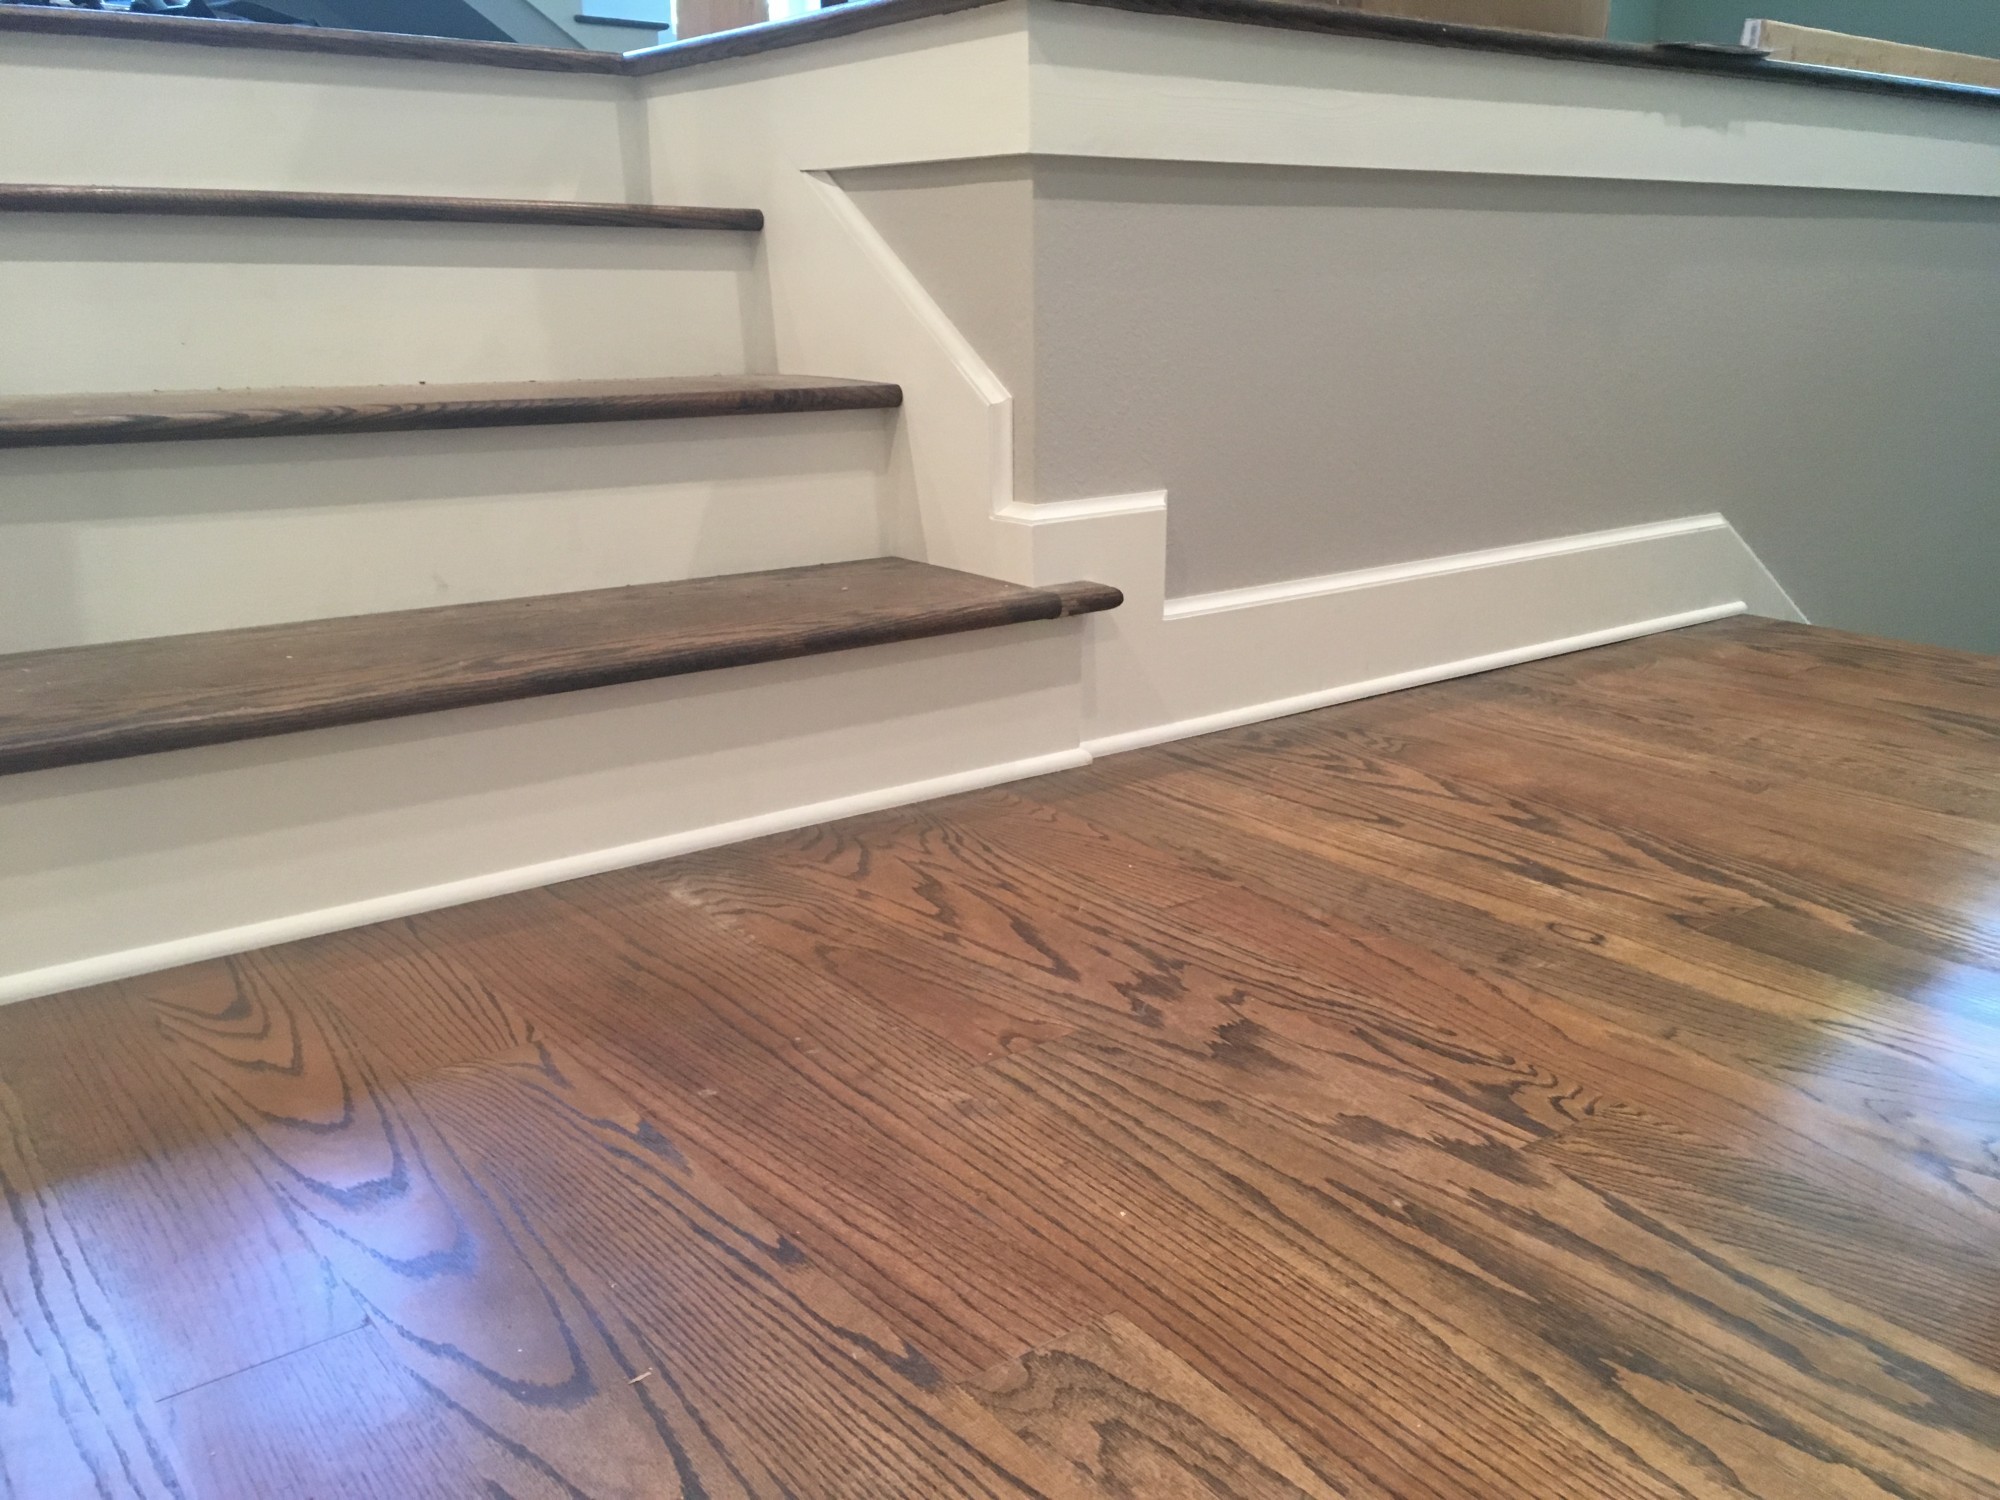
Some complicated trim work around stairs and corners
John & Lauren,
Your finishing / trim work really looks nice. Have faith it will get done!! I like the wider trim piece above the door openings. The extra trim pieces you added do produce a flawless looking result. I never realized why the flexible smallest trim was used, but now it makes sense. No matter how careful the construction, the lumber isn’t perfect, and gaps will be evident. As I said, your finished home will be so beautiful.
Stay safe through this Covid Crisis!
Tom
It looks great, Lauren! I can’t wait for all this to be over so that we can visit.