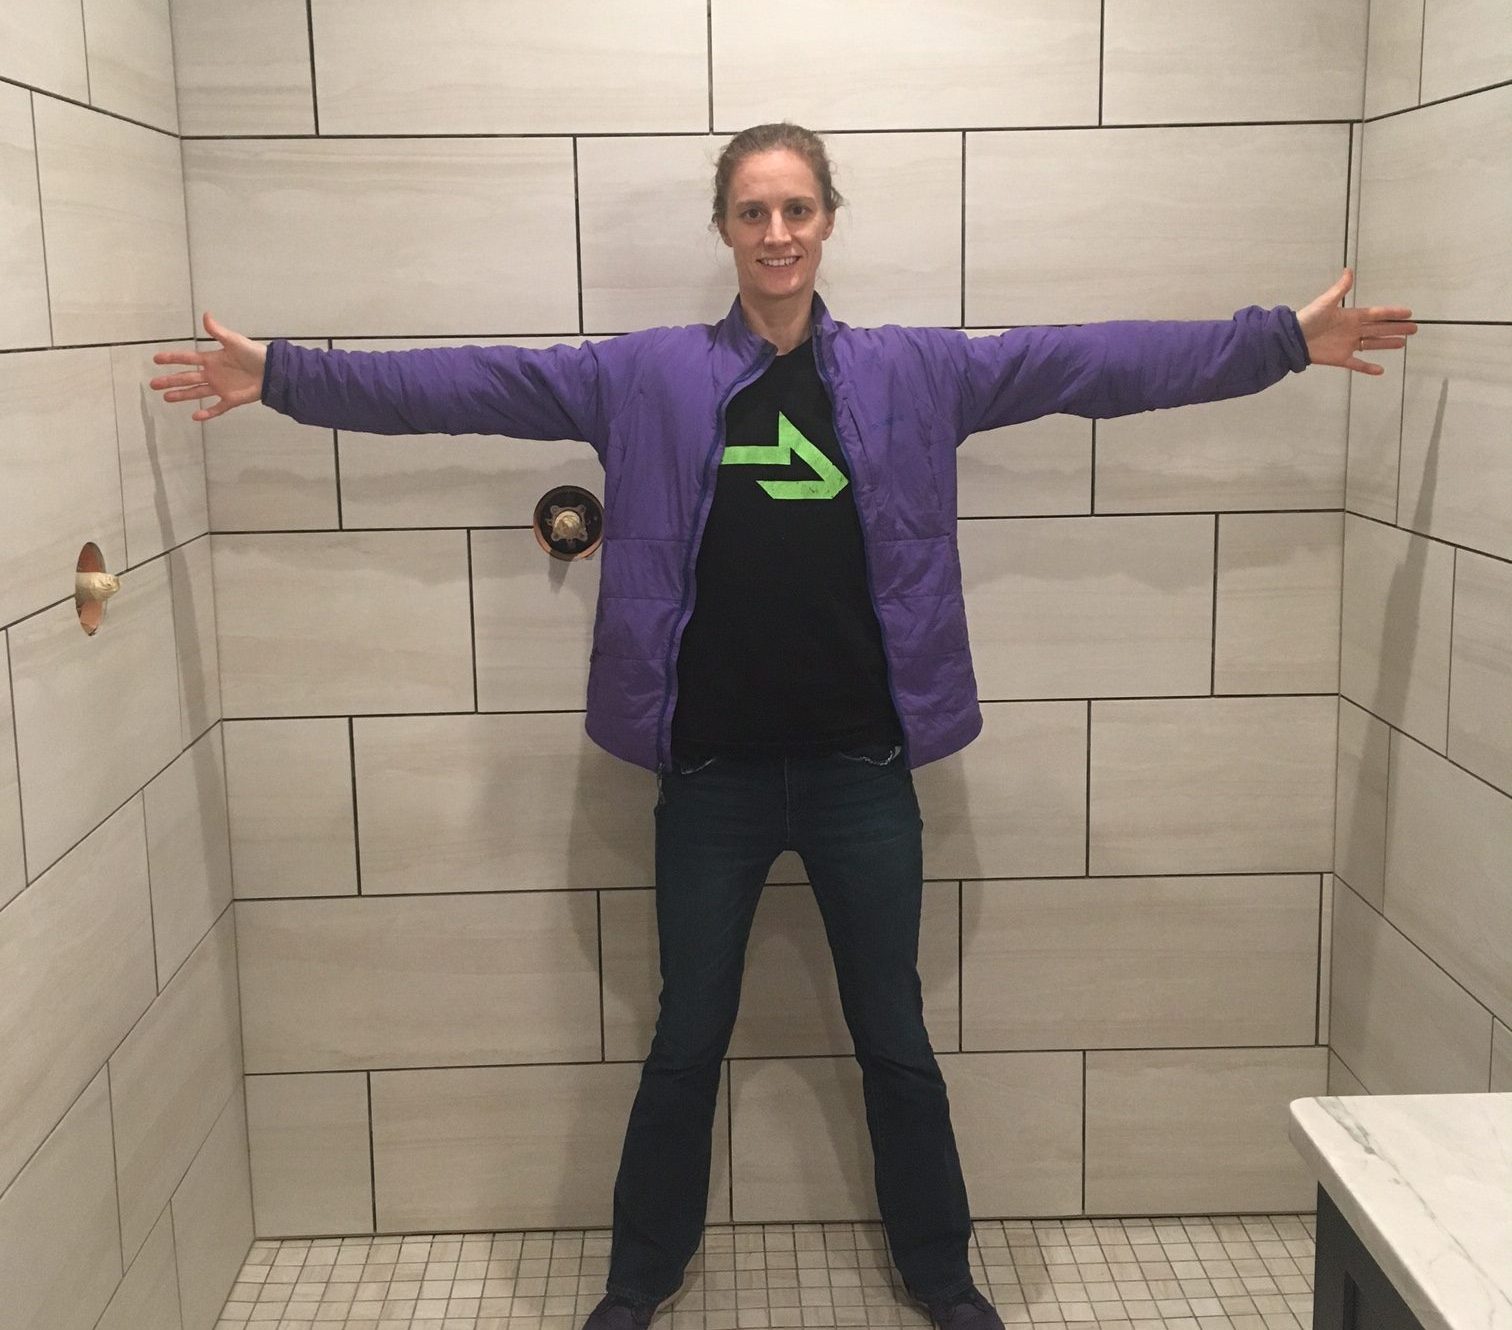
When looking back at the building process, John and I both agree that tiling ranks up there in the top three activities that we never wanted to do again; we were understandably less than excited to revisit the tiling process for our showers. And while my first thought was “at least it’s a small area”, I was only partially right. Although it is less than the 1100 square feet we had already tiled, the walls of our master shower occupy more square footage than the floor of our guest bedroom. In addition, there are lots of edges that can’t be hidden under baseboard trim.
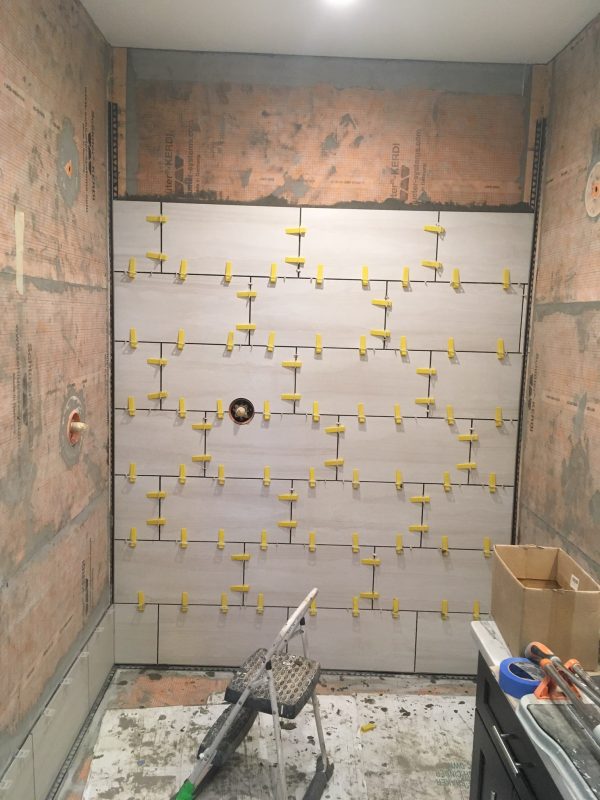
The first row is by far the most important, because it dictates the position of every tile that is placed on top. We meticulously calculated the desired height of each first tile using our laser level, and set about preparing the tiles accordingly.
We quickly discovered that our tile saw didn’t cut lines as clean as we would like; while I doubt anyone looking will ever notice, each cut has a row of tiny chips on the edge. We tried tricks like taping the edge we were cutting, buying similarly colored nail polish to hide the chips, and frequently sharpening the blade. Eventually, we resorted to using our other tile cutter – the one where you score a line and then break it – in order to get cleaner cuts where the edges were visible. These cuts were much cleaner, but less accurate, so it probably took about 3 tries for every edge piece. It was a good thing we had ordered way more tile than we needed, because our reject pile grew quickly as the project went on.
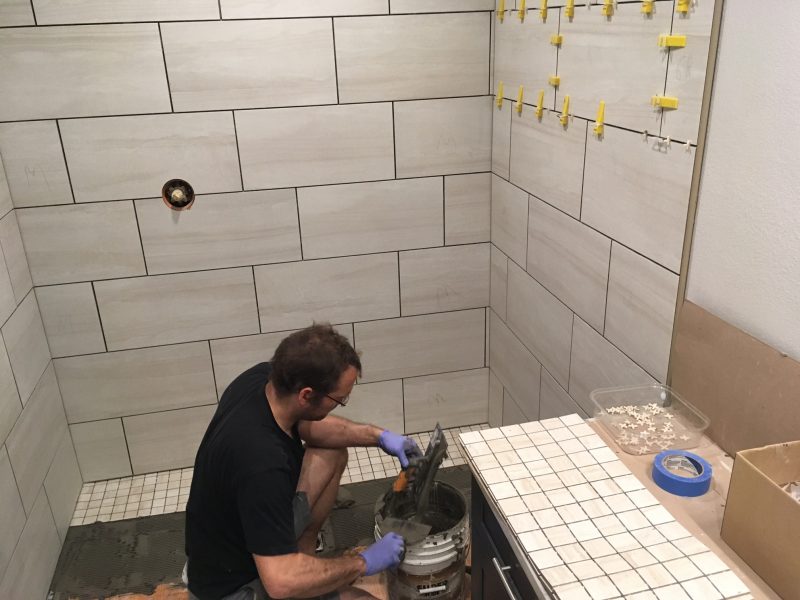
Applying mortar to a vertical surface turned out to be much more challenging than the floor. Our first batch ended up being way too runny, and made a giant mess. As if that wasn’t frustrating enough, we decided – after using up the entire bucket of mortar – that the tiles weren’t adhering well enough. We proceeded to remove everything we had done, clean up, and start over.
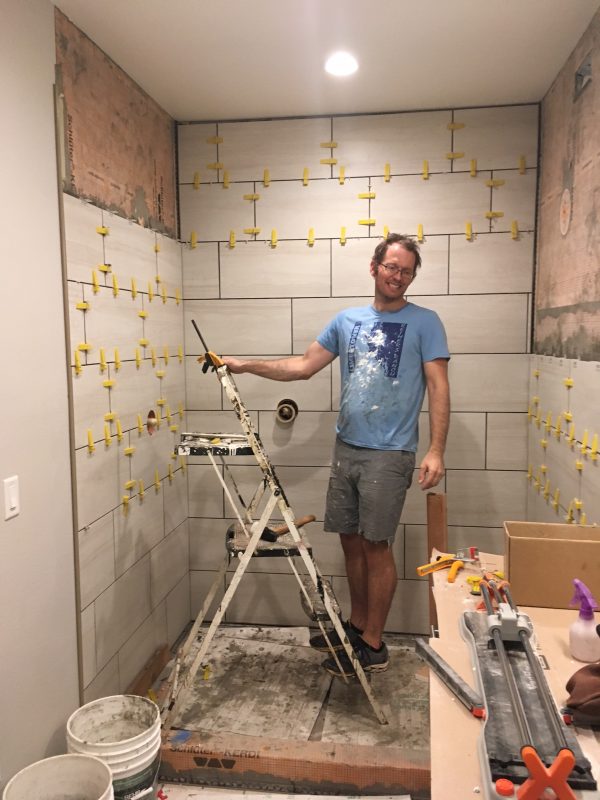
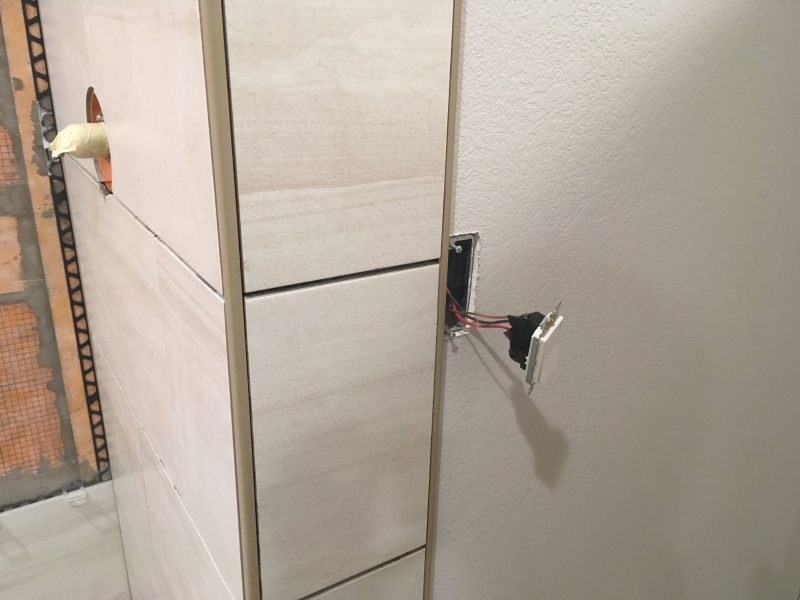
Fortunately, from there on out it was fairly smooth sailing, and followed the same general process as tiling the floor… except done on a vertical surface with lots of edges that we can’t hide under a baseboard.
The smaller shower – despite requiring less tile – was even more of a pain. It’s all the precision cuts that complicate the process, and the downstairs shower has many of those. Not only does the curb include a 45 degree angle, but the tile wraps around an outside corner and the small size turned the work space into a game of twister.
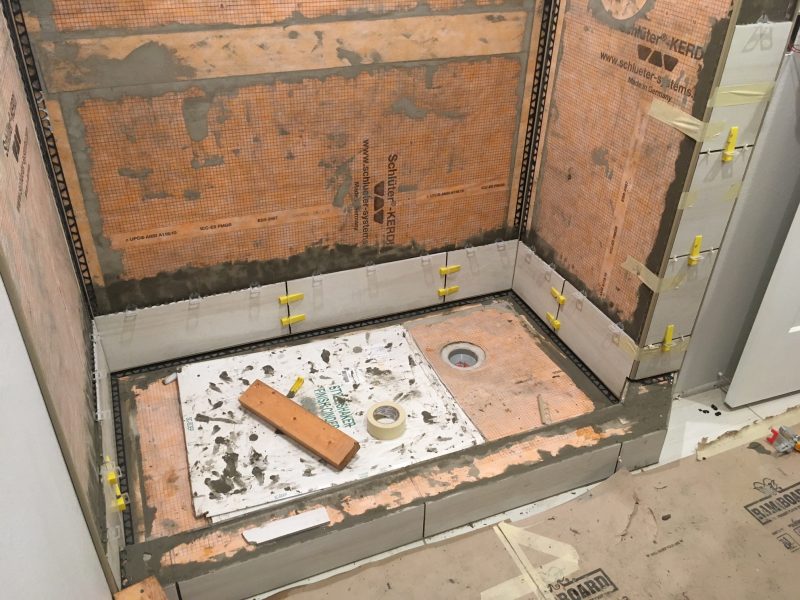
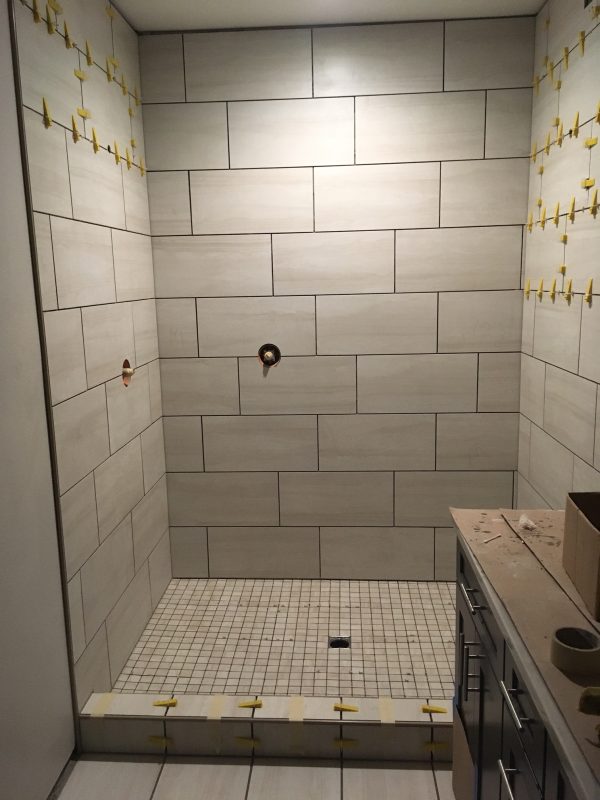
From there, we still had to tackle the floors. Instead of our 1ft x 2ft tiles, we were now working with sheets of 2in x 2in tiles. Getting them all to lay even and aligned was a lesson in patience, and a nightmare to clean up. We were convinced that the tile would come up within weeks, but it’s been going strong from almost a year now! Eventually, we’ll install glass doors, but that’s a project for the future.
Leave a Reply