While researching the tiling process, we found that the general consensus was that one person can tile approximately 300 square feet per day. John and I – working together – were able to do 100 square feet per day. Somehow, our rate was 1/6 of the expectation. While we admit that we are overly meticulous, the discrepancy seemed especially large. It wasn’t until we saw some tiling done on a tv show about flipping homes that we better understood why our rate was so much slower.
As described in the previous post, we had already laid Ditra XL as an uncoupling membrane between the slab and the tile. If we worked on Flip or Flop and only cared about making something last long enough to sell it, we would simply need to slap some mortar down and place the tiles. But since I live in the real world where I work with an OCD husband and we like our floors to last more than 6 months, our procedure was slightly more involved:
- Mix up a batch of mortar
- Spread the mortar across the Ditra, making sure to get it in all the grid cups
- Add another layer of mortar and comb it with a notched trowel
- Place leveling clips
- Back butter each tile with a thin layer of mortar
- Lay the tile, sliding it slightly to achieve proper coverage
- Place spacers in the gaps
- After laying all the tiles for a bag of mortar, tighten wedges into the leveling clips
- Go over it with a level
- Clean out mortar that has pushed up through the gaps
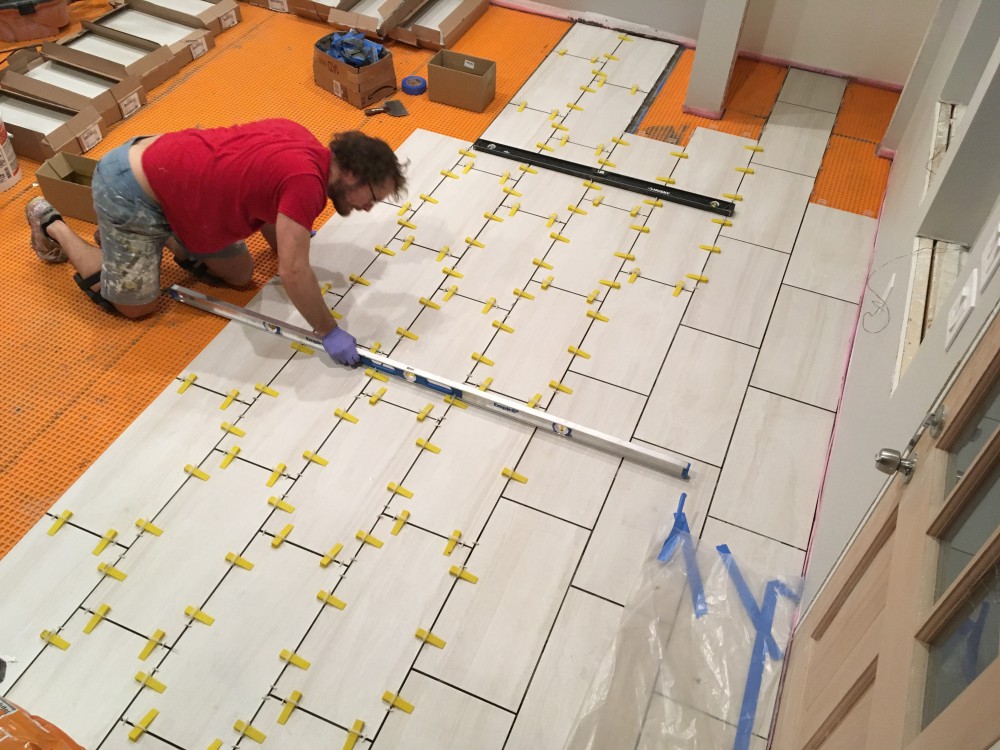
John doing the final leveling process after two batches of mortar. The yellow wedges go through leveling clips that – when tightened with a special tool – pull up on the tiles to ensure that there are no height changes from on to another.
We purchased a special tile cutter in order to easily trim tiles where they reached a wall. In cases where it required more than just a straight cut, we got a tile-specific blade for a Makita grinder.
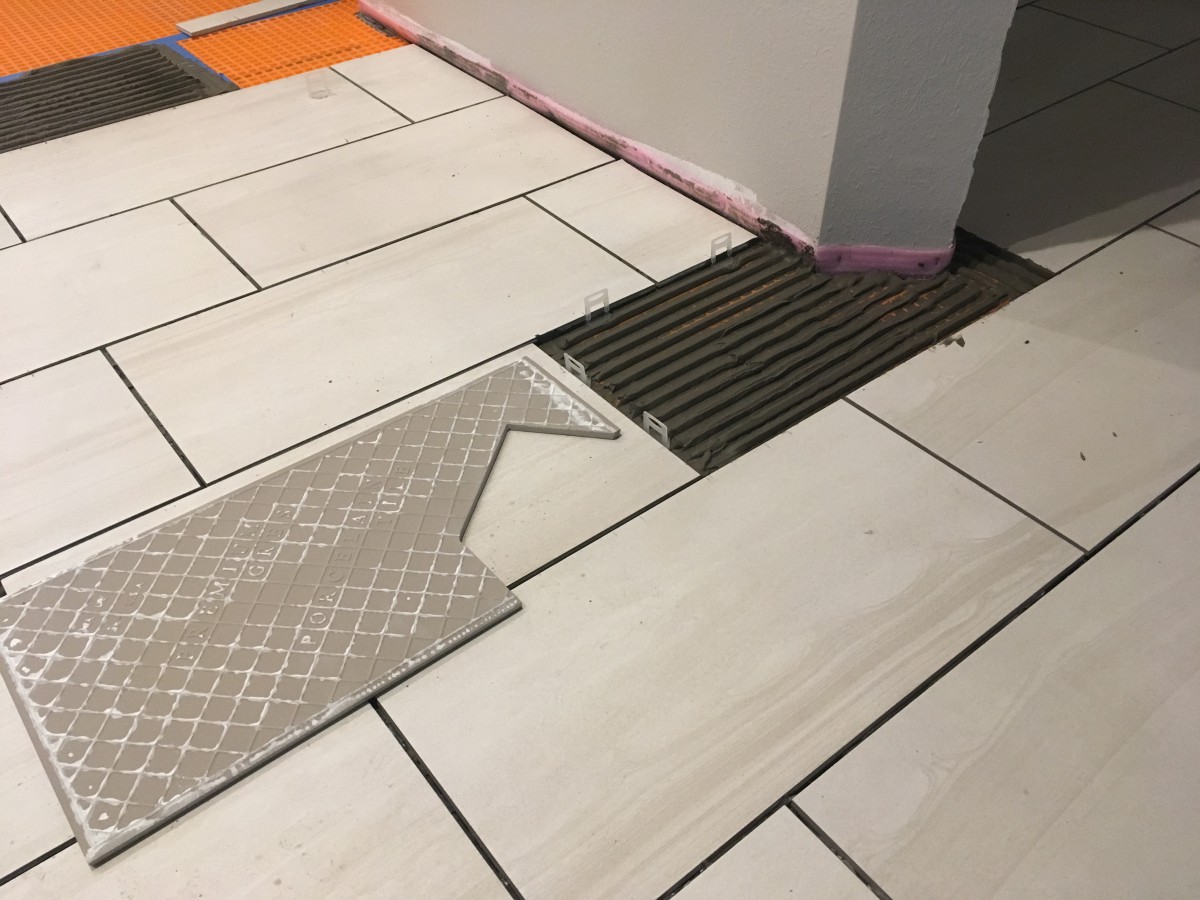
A complicated piece that had to be cut with the Makita grinder. You can also see the combed mortar and leveling clips that are put in before laying that tile.
Although the work wasn’t particularly challenging, tiling was slow, back-breaking work. Constantly kneeling, twisting, and bending over was miserable and my back could only withstand two bags of mortar a day (~25 square feet each). While it came out looking stunning, the pain and the slow nature of our progress left us regretting our decision to tile such a large portion of the house. Hopefully the wood floors will be easier.
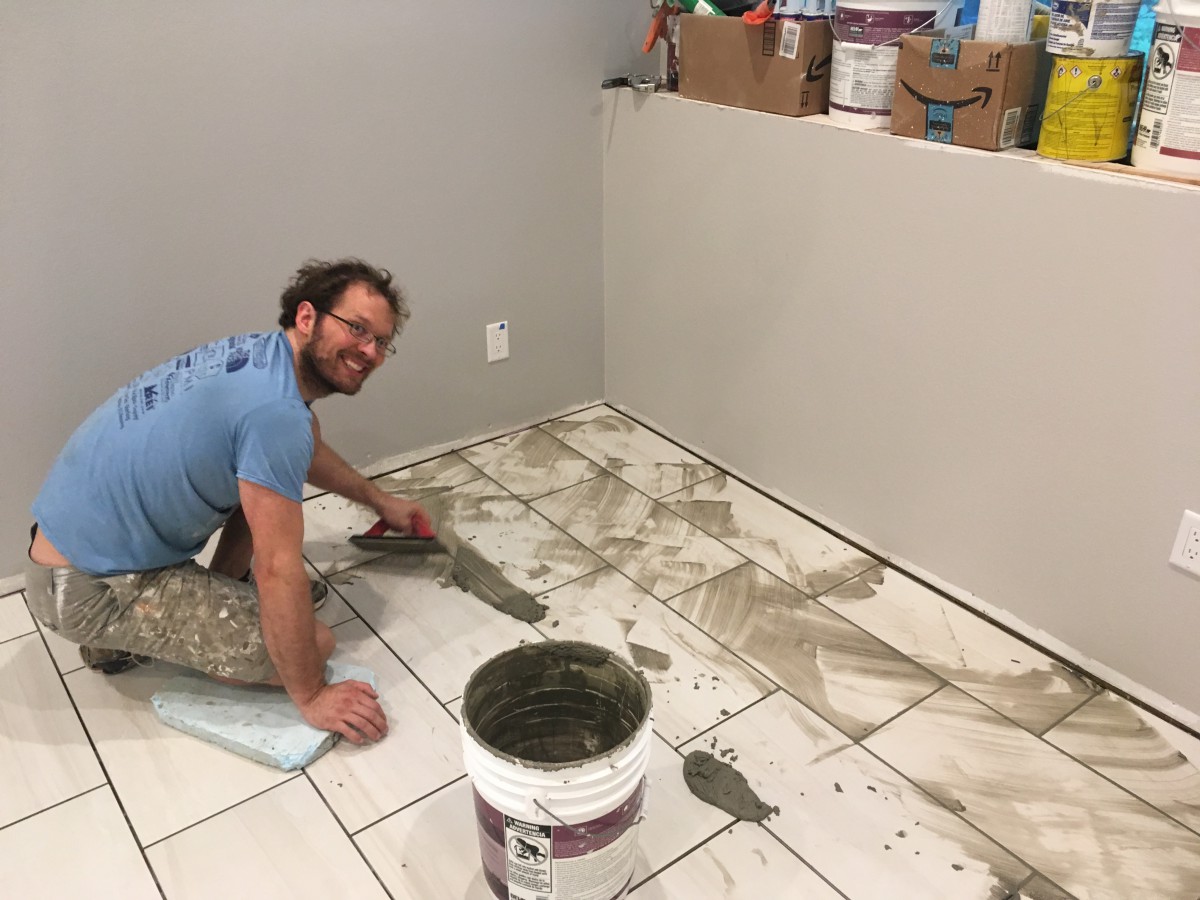
John adding grout between the tiles. It was a messy job, but went way faster than laying the tiles.
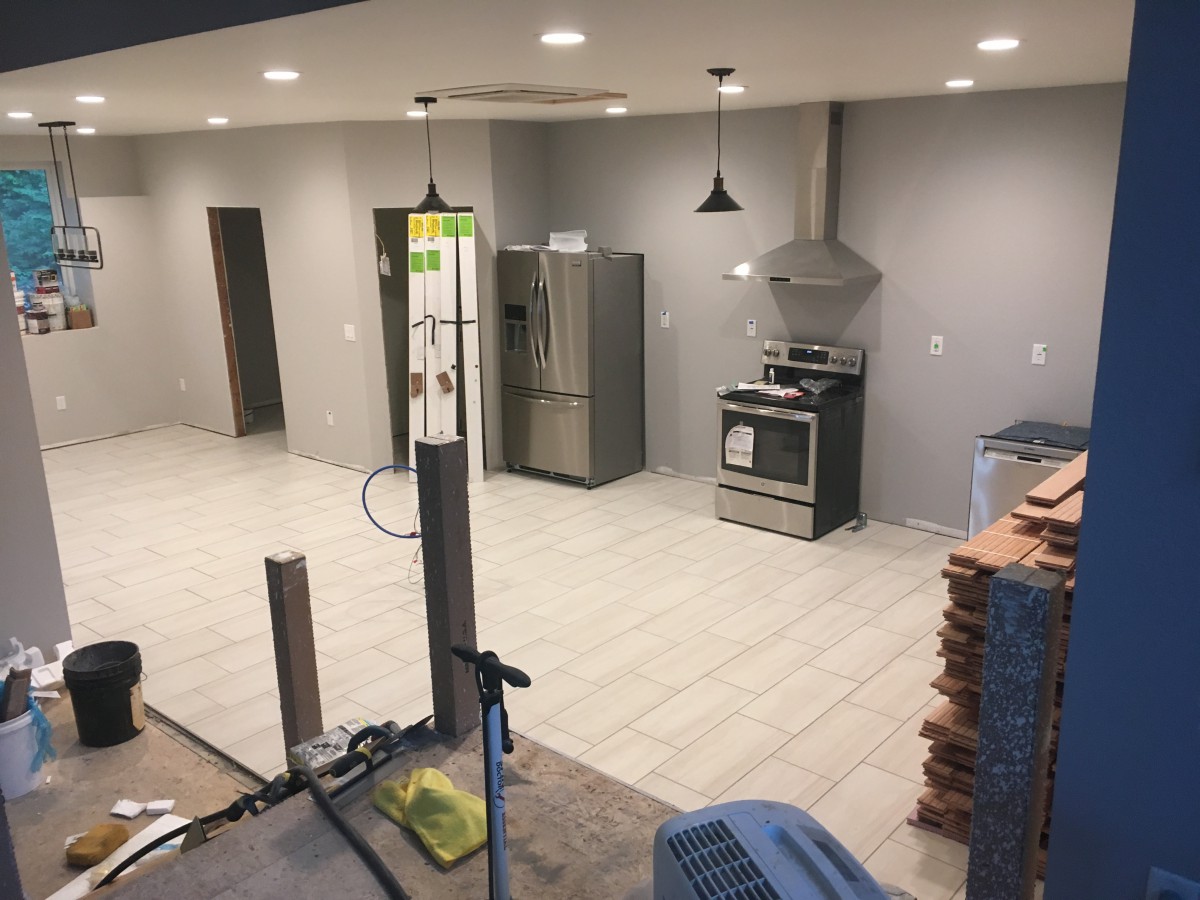
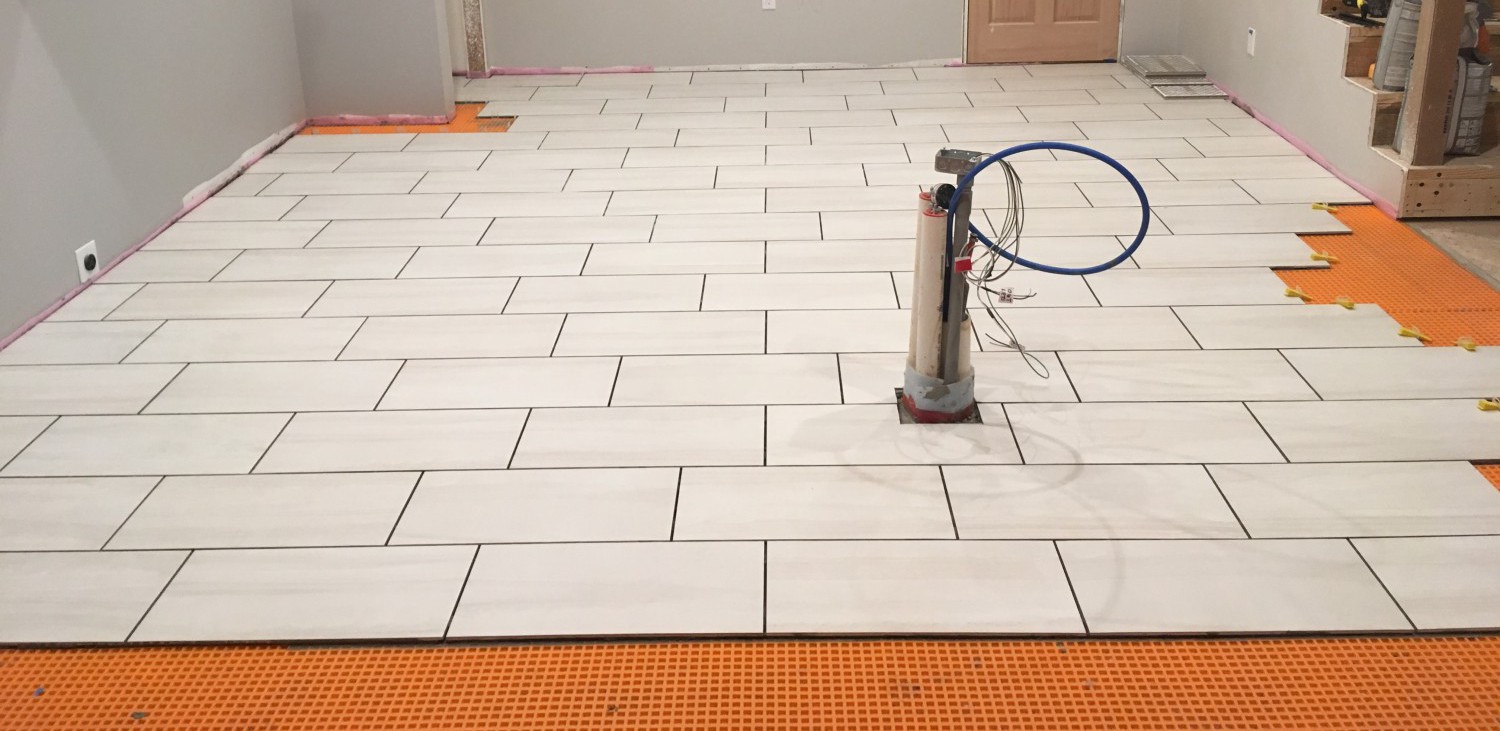
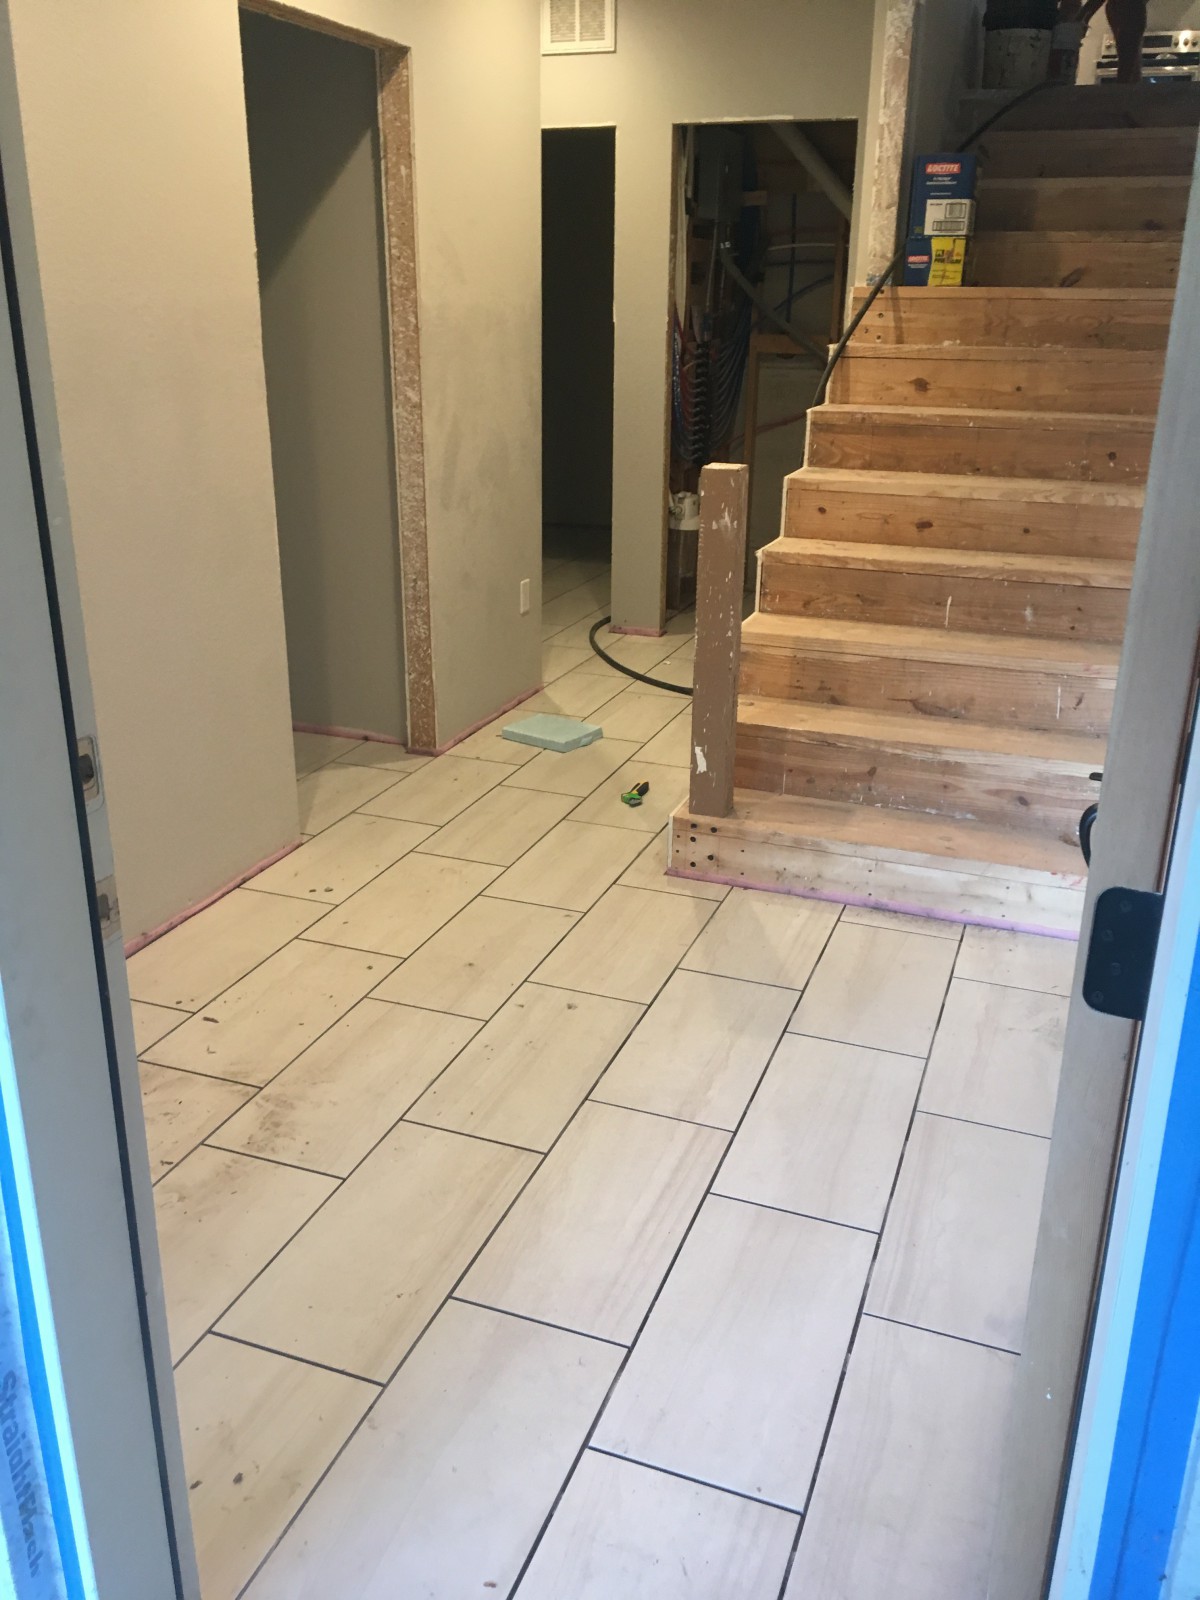
The kitchen with a completed tile floor!
We didn’t want to do a straight diagonal pattern, so we did a zigzag that John dubbed the “Sawtooth Waveform”.
I can’t believe what an awesome job you did. Btw, 4 professionals tiled about 1000 feet in 3 days in my house so you guys weren’t so far off that… and I know they didn’t do all the steps you did. The great thing about floors is you look at them ALL the time and they can’t be easily changed so your meticulous work will be rewarding for many years to come.
I love it….. Looks like marble found only in a beautiful palace!! Great job and perfecto results!!
PS… Tell John that OSHA is going to tag up his stairway… haha.