When building in a historic district, the order of operations goes something like this:
- Make a proposal regarding every exterior detail of the house, prior to doing any building (or having any true understanding of the level of complication)
- Begin building
- Get to a specific component and curse your early proposal because your uninformed design decision is really hard to implement
- Repeat step three until house is done
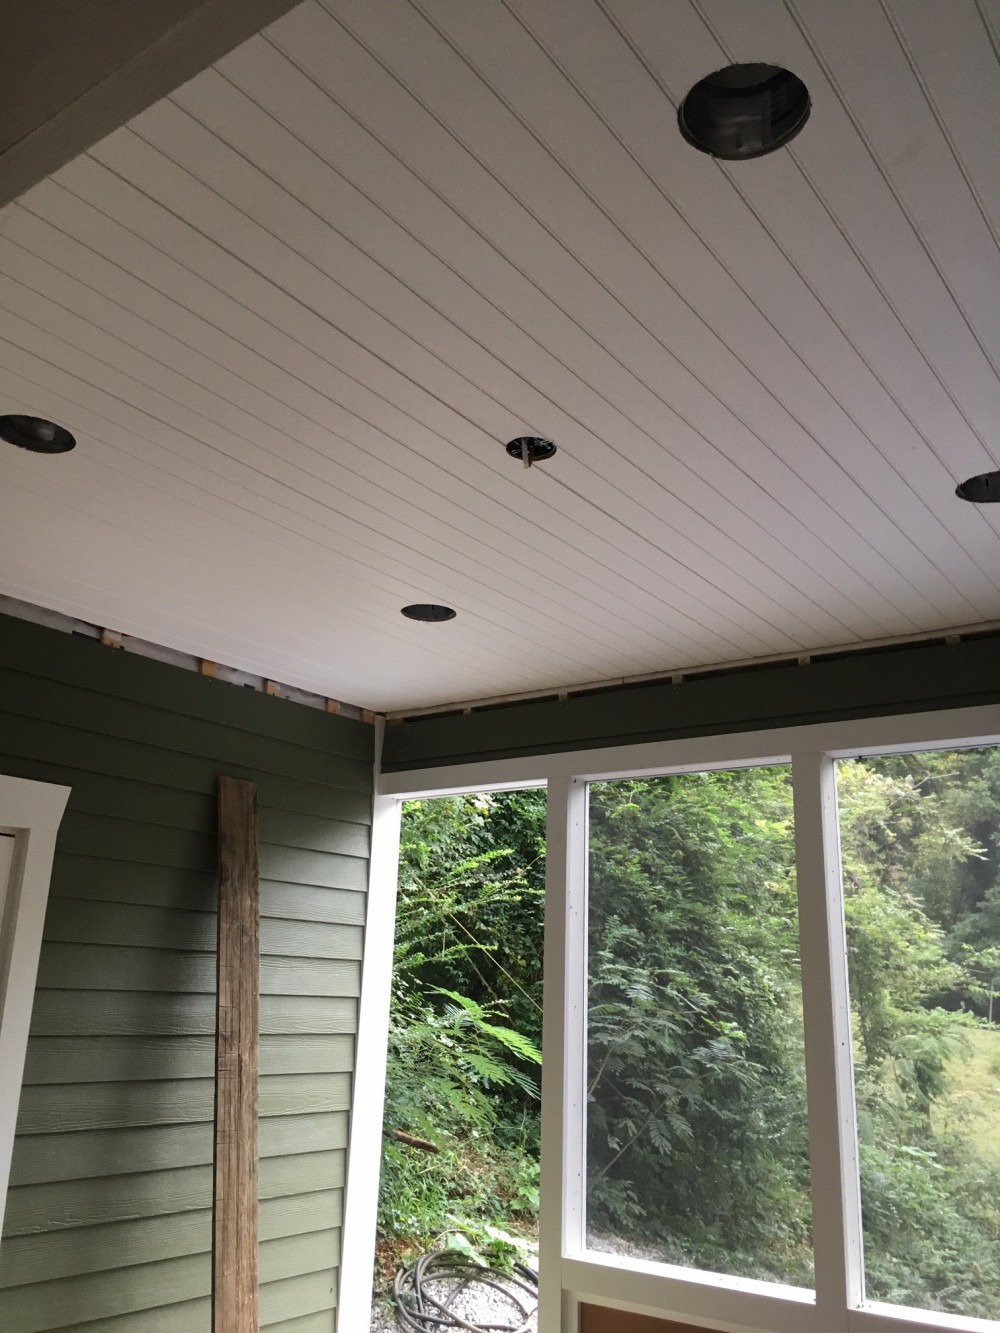
One of these challenges involved installing tongue and groove boards in the ceilings of each of our three porches. We decided to use them because wood ceilings look nice, but hadn’t put much thought into how the actual implementation would work, particularly on the our back porch.
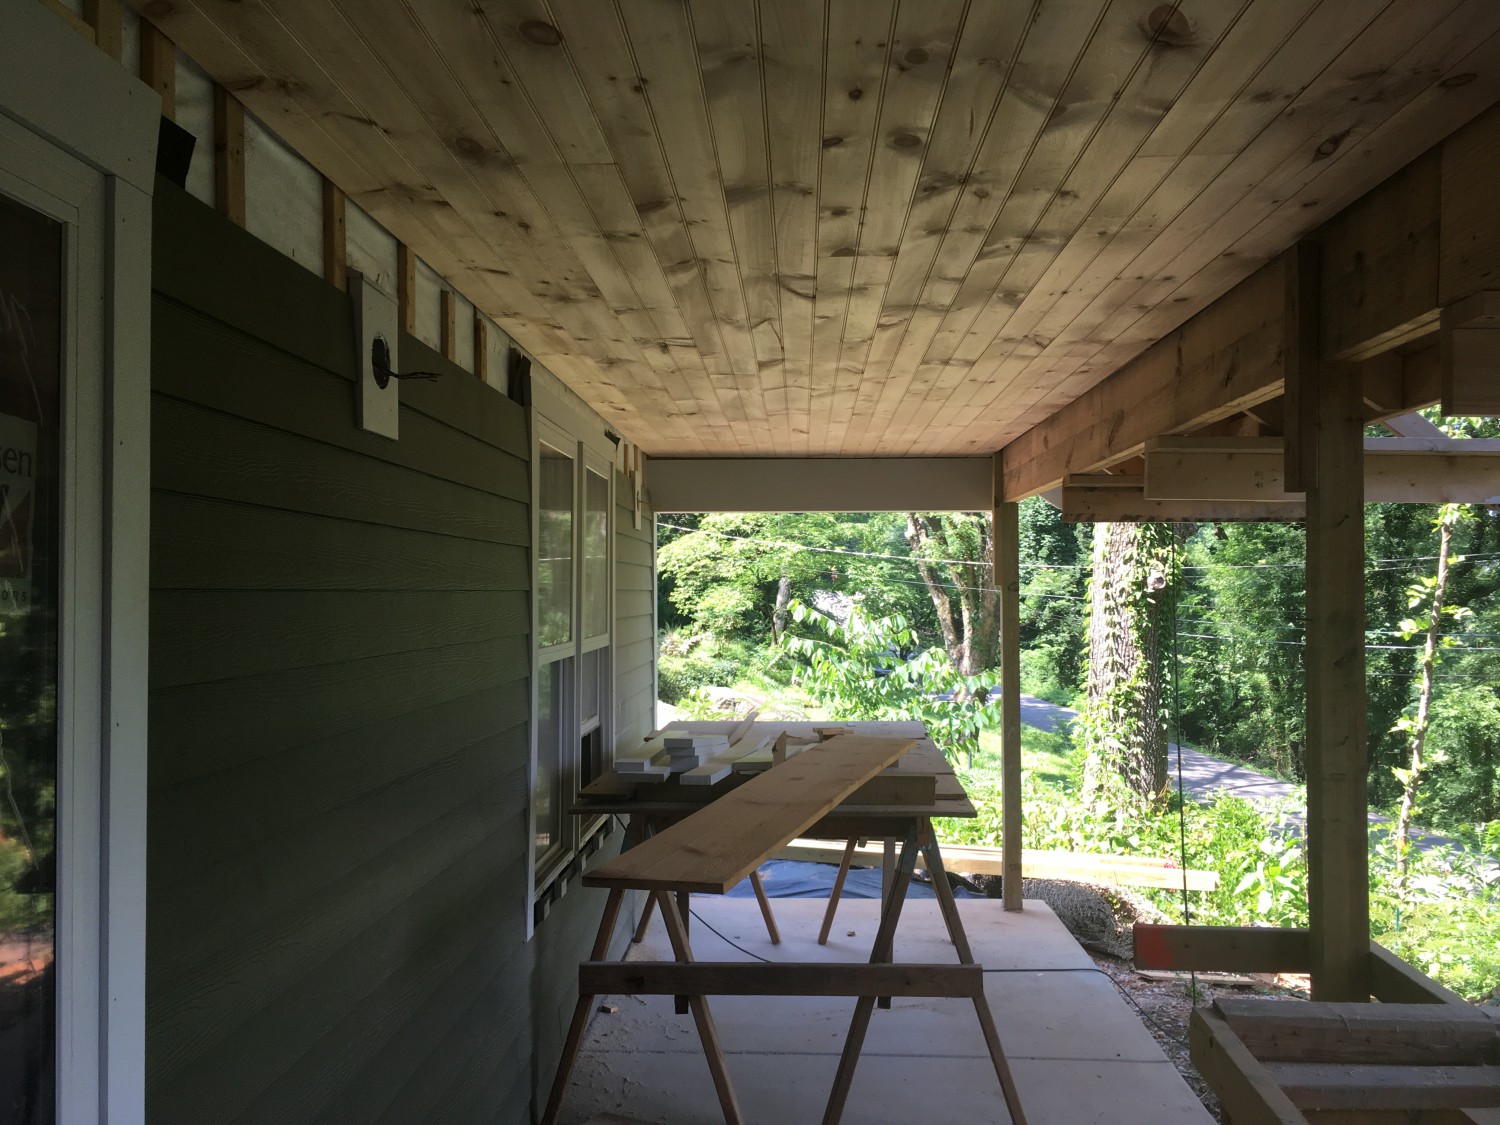
On my first attempt installing the wood panels on our long front porch, I ended up with a slight angle change between boards. As I tried adding additional rows, it proved impossible to compensate for and I had to tear it all down. Turns out the wall was bowing out as much as 3/4″ in the middle. Once the alignment was worked out, it was mostly smooth sailing – minus the fact that most of the wood panels bowed slightly, so putting one section into the groove would result in the other end popping out (a fun task when I was trying to put up the panels by myself).
The partially completed front porch ceiling.
Unfortunately, the front porch ended up being the easiest part. Our back porch has an area that slopes all the way down to the ground level, so putting the lowest pieces in required some crazy contortions. Also figuring out how to transition from the horizontal part to the sloped part required a bit of forethought.
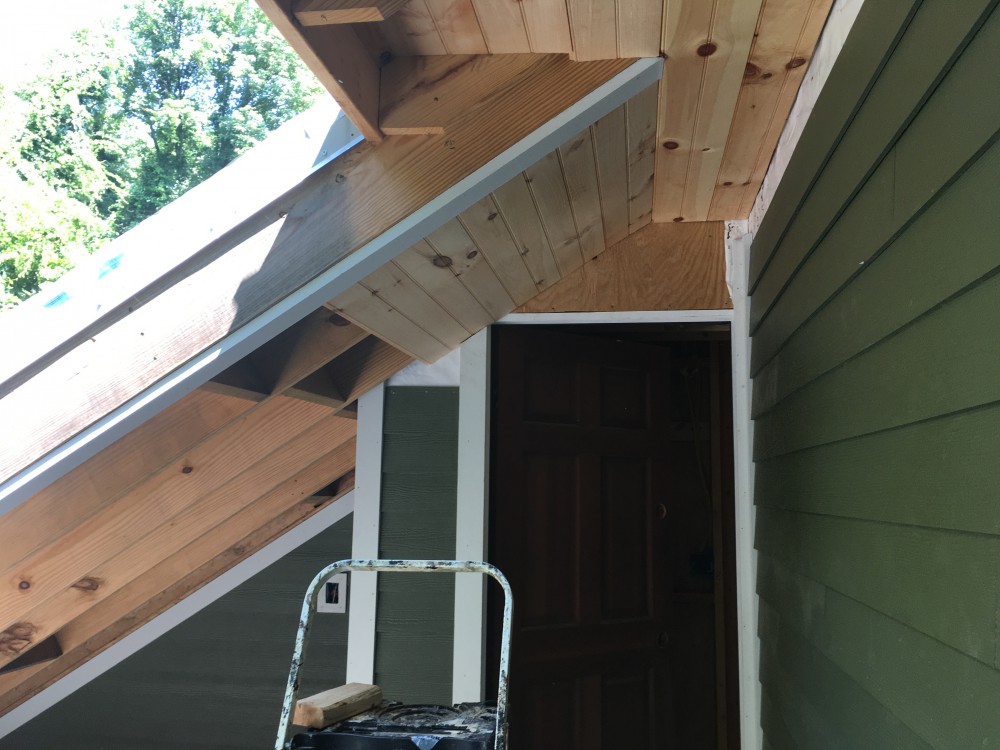
The joint where the ceiling transitions from horizontal to angled. The position of the starting piece was pre-calculated so that a board would end right at the joint.
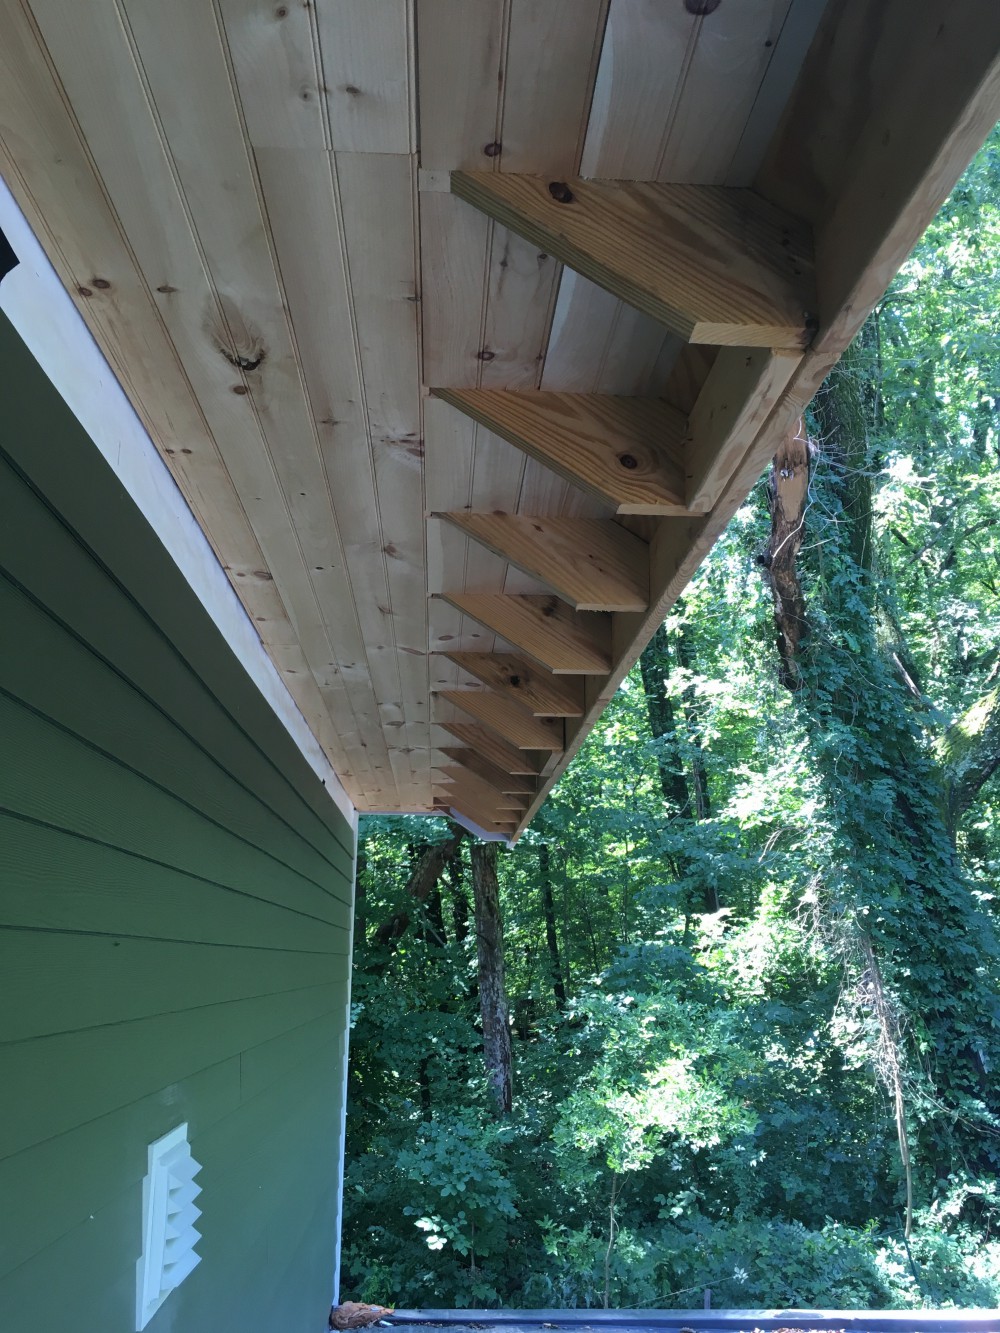
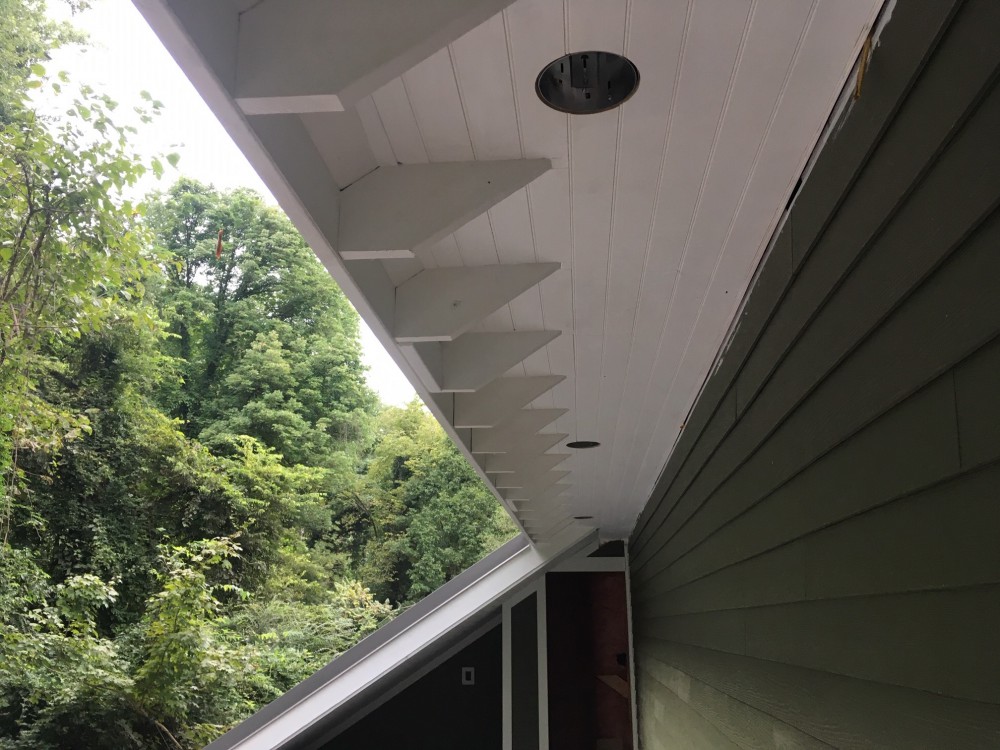
On the upper part, we had to figure out how to place panels around the structural pieces crossing at an angle. We eventually decided to cut pieces that fit in between each of the beams and give the illusion that the beams are poking out of a continuous flat ceiling.
Easier said than done. Every single section between two beams required four different pieces:
- Two short tongue and groove panels cut to fit between the beams: Each one has a slightly different width, and the angle at each end could vary up to four degrees. Being even the slightest bit off left awkward gaps that won’t be covered with trim. In addition, the second piece needed to be trimmed (sometimes at an angle) to fit the point where the ceiling plane intersected the angle of the roof.
- A slat with a 57 degree angle: We didn’t have a tool capable of putting the angle into the tongue and groove boards, so instead I created a jig to cut separate end-pieces out of small trim boards. Each one was installed at the end of the last tongue and groove board in order to seamlessly meet the angle of the roof.
- Tiny angled pieces to fit in the gaps at each joint: Where the ceiling pieces intersect the beams, there was a small gap in continuity. I created tiny pieces to fit into each one.
Did I mention that there are 19 of these sections? Needless to say, it was a long and tedious process. And all for something that most people will never even notice.
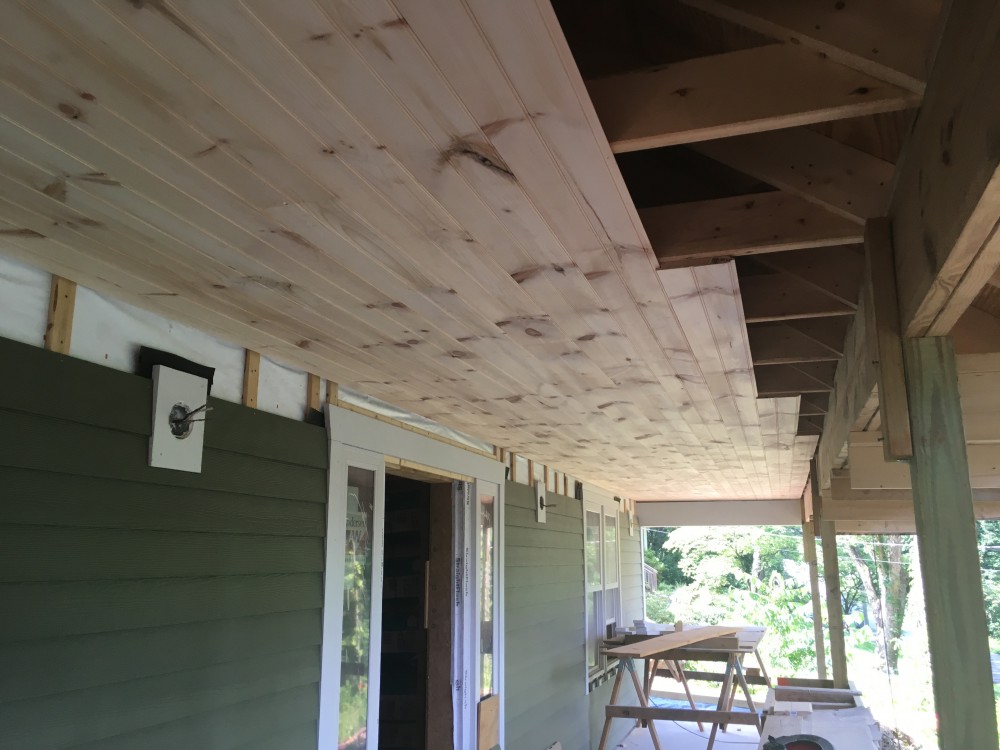
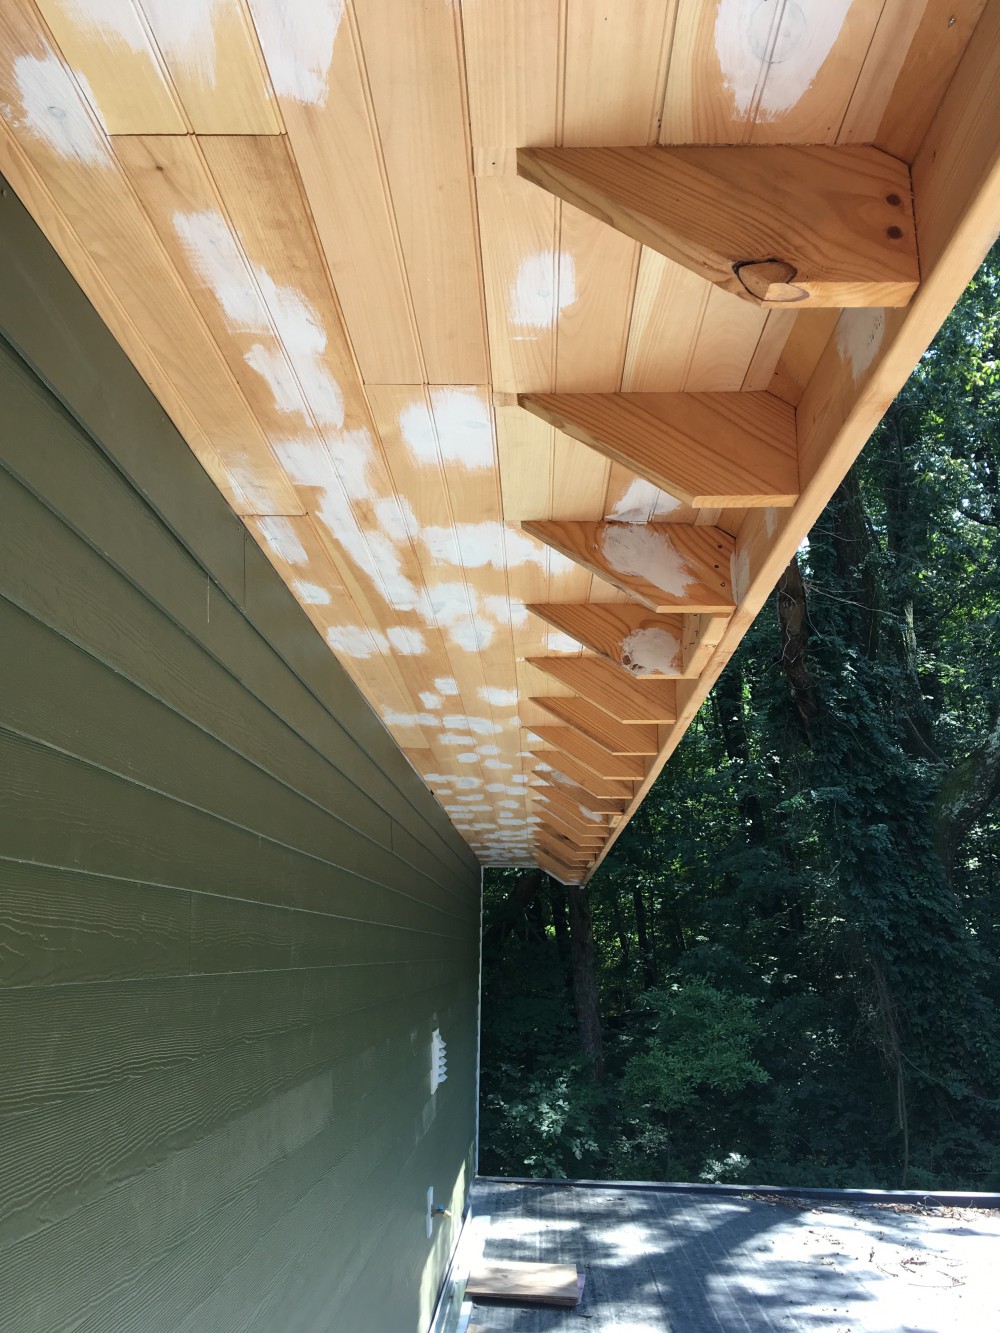
The upper part of the back porch. Individual boards were placed between each beam to make it appear as if it were one long piece.
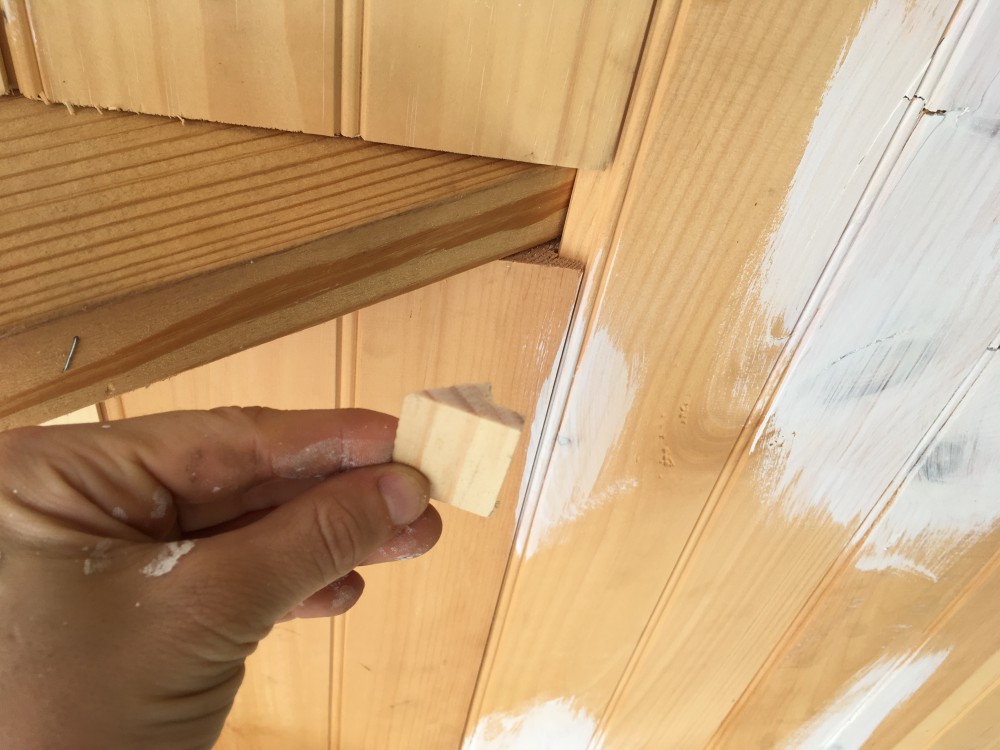
Wherever the boards intersected with a beam, I had to create these tiny (and precise) pieces to fit into the joints and give the illusion that the panels are continuous.
And the work wasn’t done yet. We also had to prime and paint everything, which is far harder than painting a flat ceiling; each groove required meticulous brushwork to avoid missing spots in the cracks and the beams on the back porch added a lot of additional angles to paint. I’m pleased with the final appearance, but was it really worth the effort?
After having knots bleed through as many as four layers of paint in other spots, we made sure to put primer on all the knots before painting.
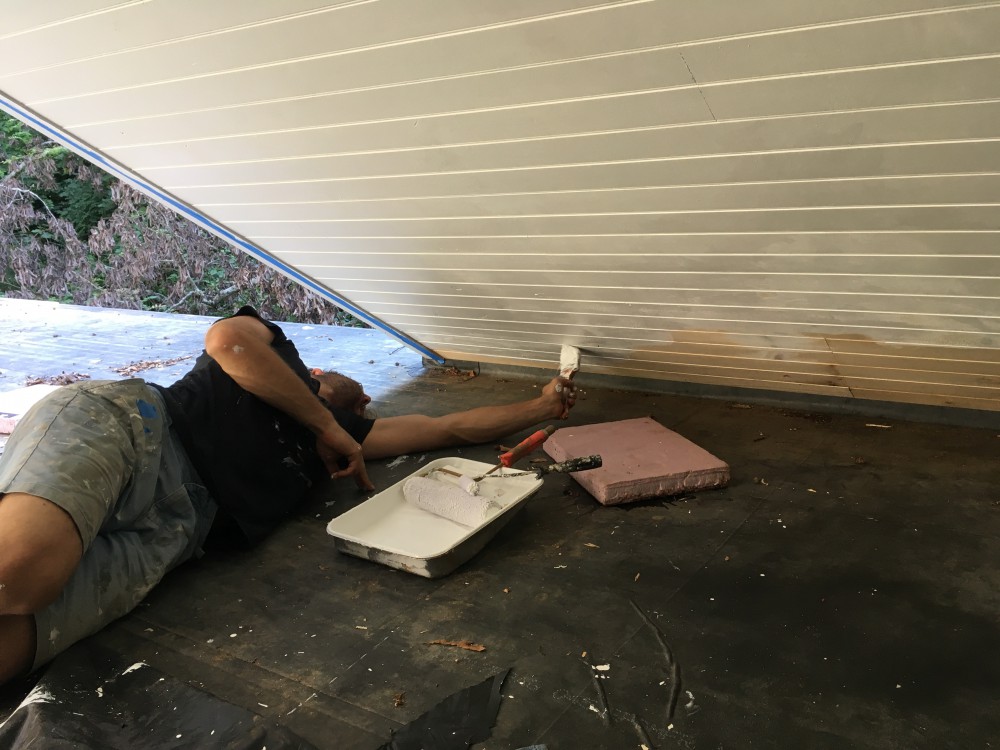
Painting was also incredibly difficult. Getting paint all the way into each joint took a lot of effort, and some of the areas were difficult to reach.
Here’s a view of our three porch ceilings, after painting. They still need another coat, and we still need to install the surrounding trim, but overall, they look pretty nice:
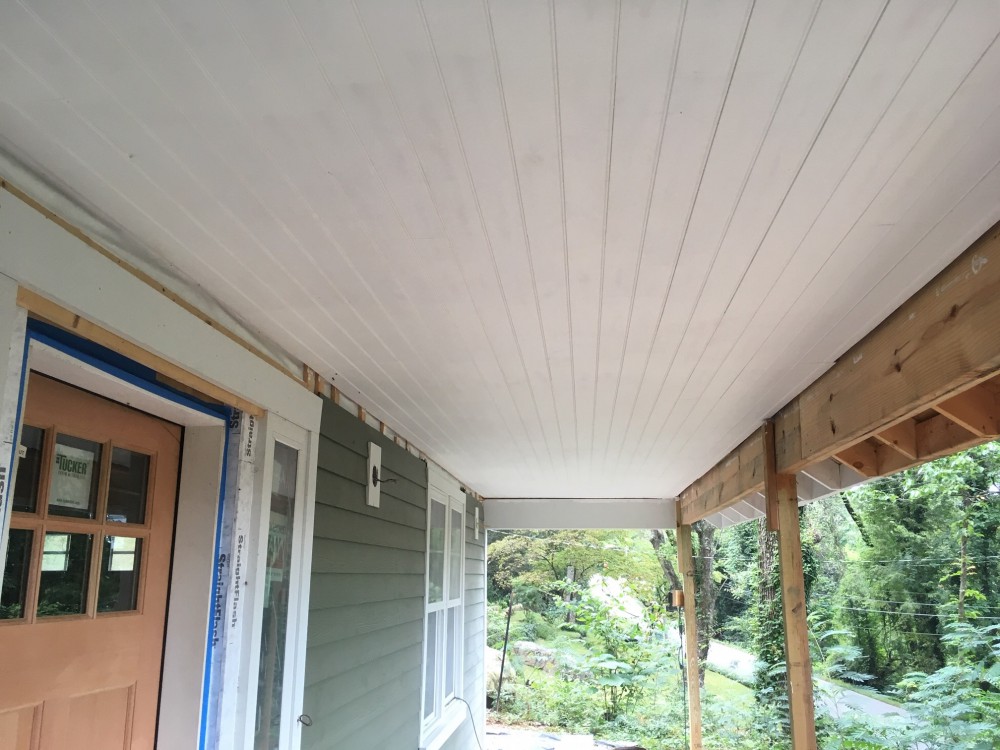
It looks fantastic. And well worth the effort, shows a dedication to the details, and craftsmanship. Excellent work.
Thanks!