The day our siding arrived, we excitedly picked the ‘easiest’ wall and decided to get some siding up the very same day. Four days later, we attached our very first piece…
Throughout this project, there is one thing that we have been completely consistent on; we always seriously underestimate how difficult any one task will be. In the case of the siding, we didn’t realize just how much needed to be done before the siding could actually be attached. Before any siding could be attached, all the trim needed to be in place, and before the trim could be attached, there were a multitude of little details that needed to be handled:
- The edges of our flat roof/back porch needed to be attached and sealed
- Corners needed wider furring strips to provide a flat surface for corner trim attachment
- Furring strips that were attached too close to windows, corners, or penetrations needed to be moved
- A railing system for our back porch needed to be figured out, since we want to mount the railing outside of the EPDM
- Cor-A-Vent rainscreens needed to be attached at the bottom of each wall and around each window and wall penetration
- Starter strips needed to be attached along the bottom edge so that the first siding piece would be mounted at the right angle
And that only got us ready for the trim! Because we couldn’t just build a nice, symmetrical, square house, every single corner required something completely different. Each penetration (of which there are way too many) was completely different, and creating trim for them demanded some creative building skills. Then there were the added complications of roof edges, porches, and zig-zagging stem walls.
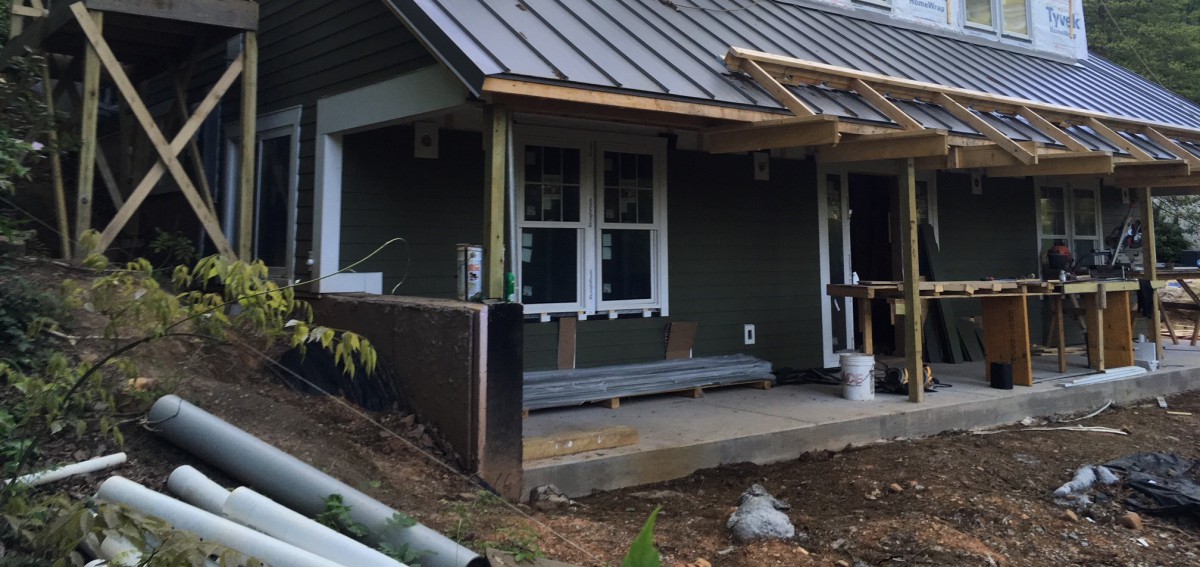
Our south wall is practically invisible from the road, so we didn’t care as much about the design and ended up with a rather erratic looking exterior. As a result, it contained a number of trim challenges: windows directly above a stem wall, various penetrations, the front porch edge (not visible in this picture), and zig-zagging stem walls.
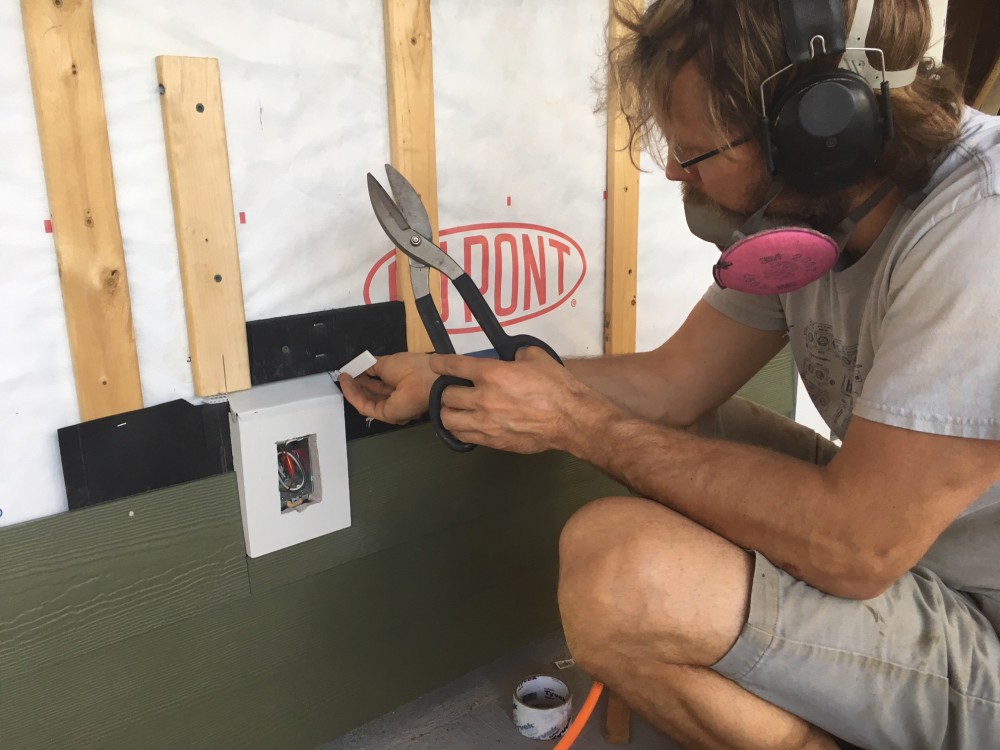
John working on the trim for an exterior outlet. This small penetration required a piece of fiber cement with a square hole (had to be cut by hand), cor-a-vent strips above and below, creatively placed furring strips, and a piece of flashing on top of the trim.
The windows themselves were another matter in themselves. Since we decided to use a rainscreen – an exterior wall detail where the siding stands off from the moisture-resistant surface of an air barrier to allow drainage and evaporation – we needed to figure out how to attach trim while also allowing for ventilation. Leaving a gap between the top of the siding and the bottom of the window trim looked horrible, so we eventually came up with a system of overlapping pieces to hide the air gap.
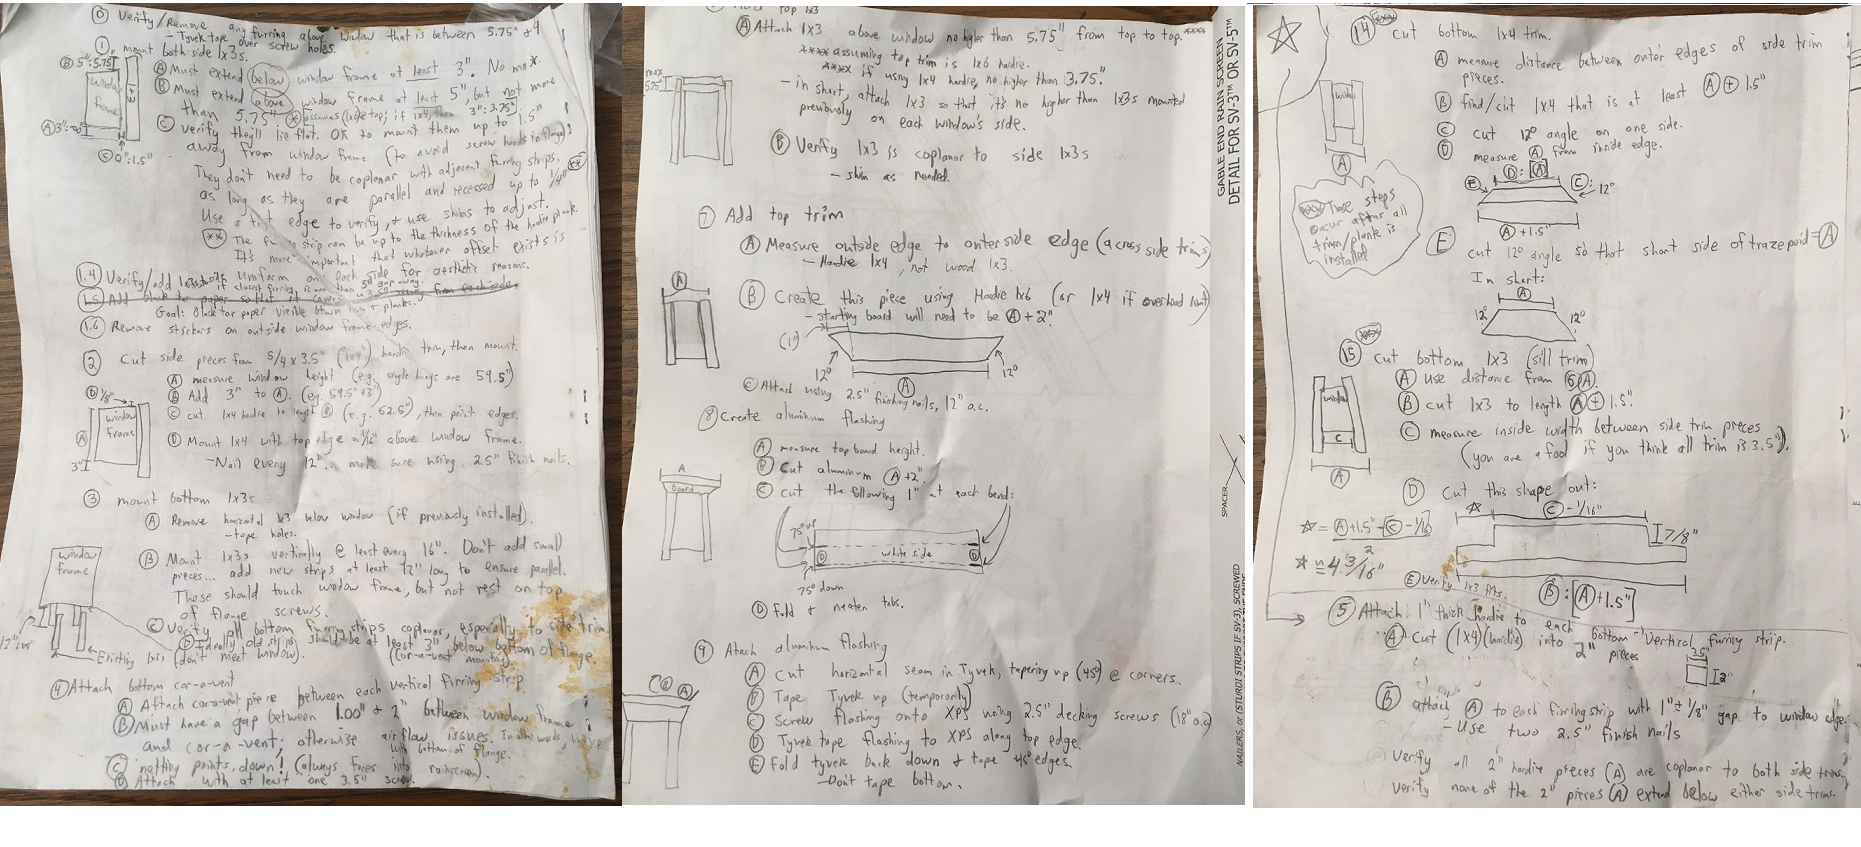
John wrote up a detailed list of steps required to attach the window trim, if this provides an idea of the level of complexity
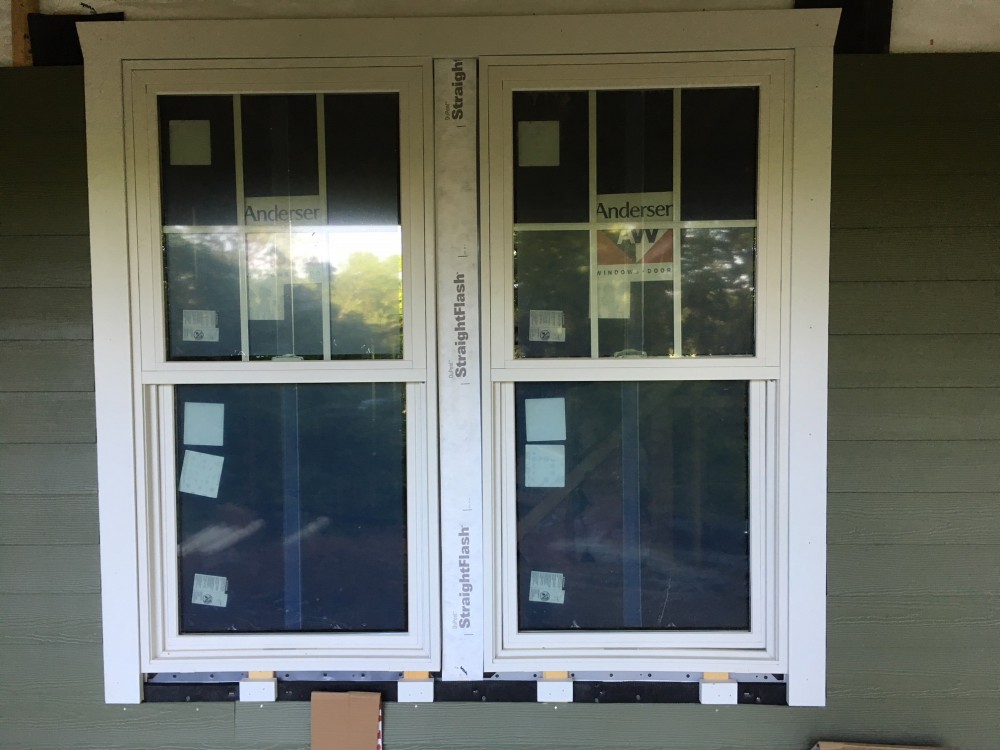
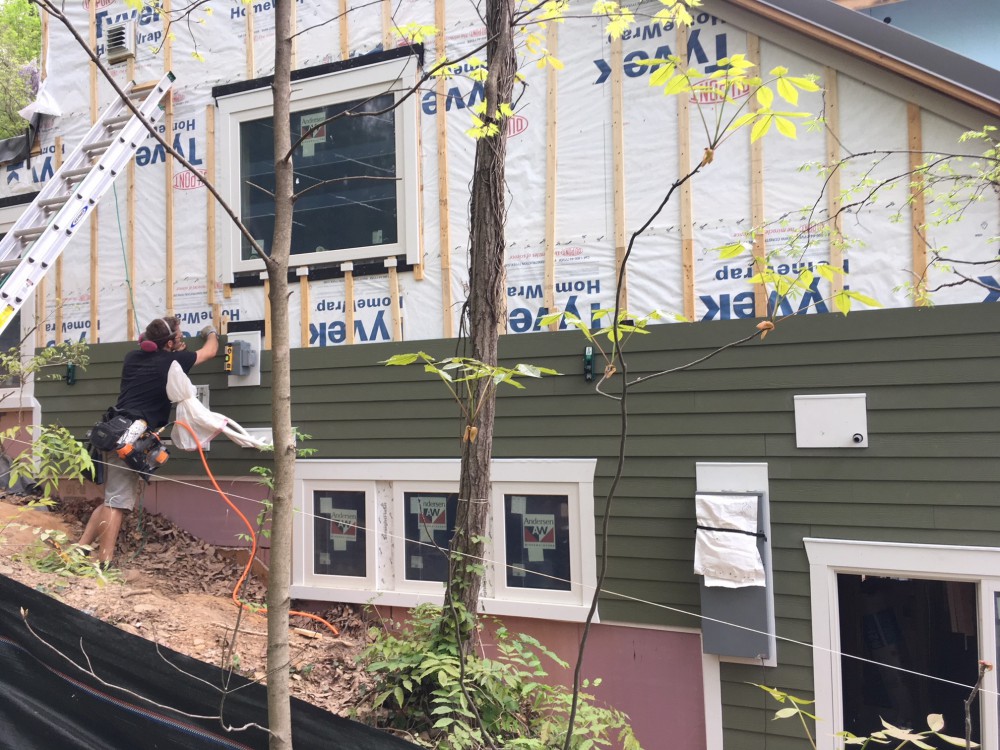
An example of the windows with trim (and siding). Since the window stools actually go on top of the siding, we aren’t attaching them until the end.
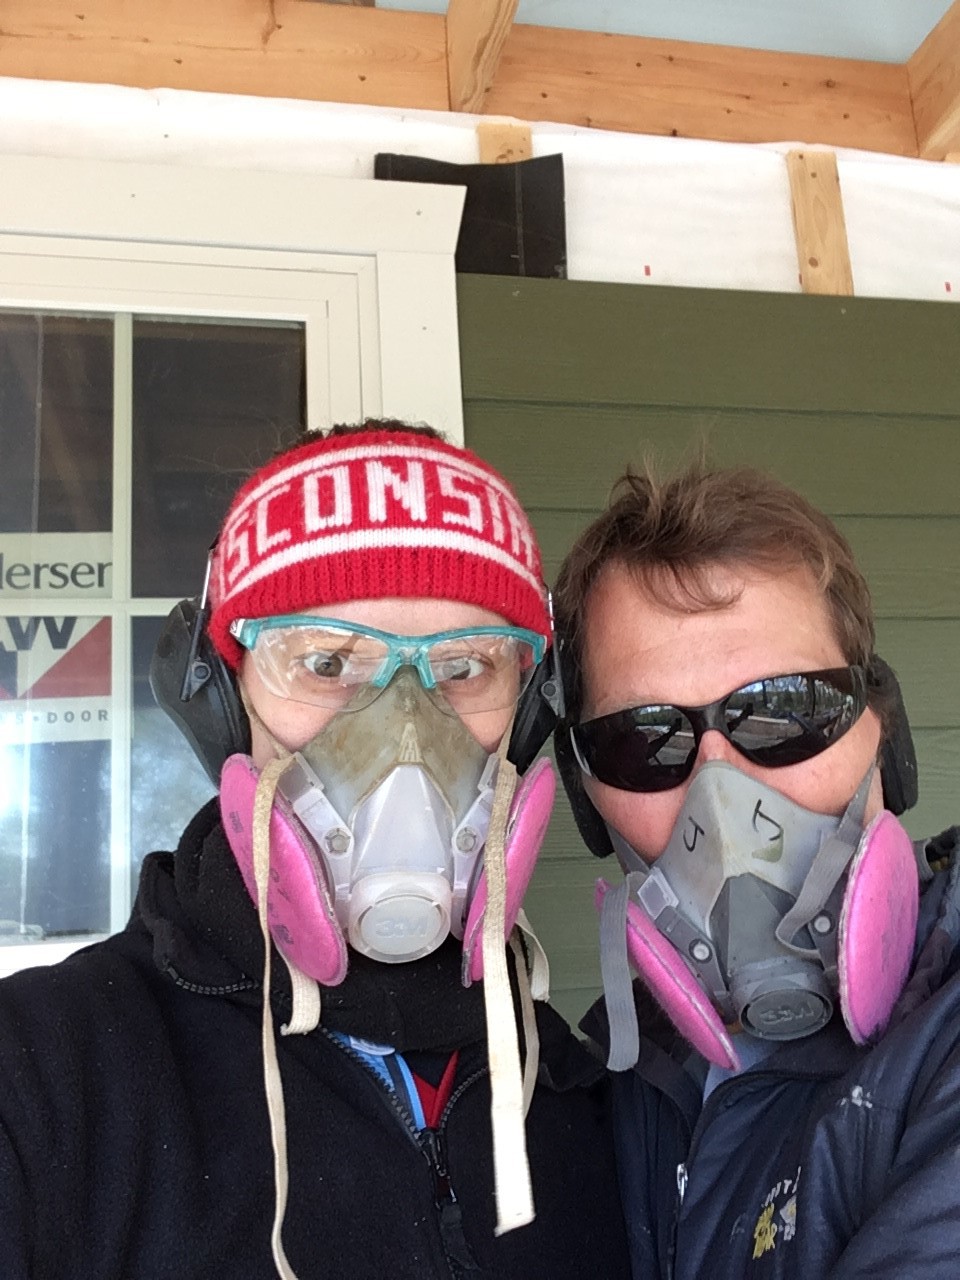
Looking hot! When working with fiber cement, eye and lung protection is crucial.
Its all coming together beautifully. A very long journey indeed for the both of you. It goes without saying you should be extraordinarily proud of your achievement. We are getting ready to sell our home after 15 years and move closer to where all the boys activities are. Reagan is hoping we find something that requires remodeling.
Thanks. It’s been a long and frustrating process, but there have also been a lot of rewarding parts. A house that requires remodeling sounds way more manageable than building from scratch.
Your home building project is coming closer to the end. It’s looking great. Very happy for you both. Would you do it again??
Work safely and take a couple days off to do something fun. Relax!!
Not a chance. We joked that now that we have learned all these skills, it would be so much easier the second time around. But we are exhausted and ready to be done.
Not a chance. We’re going to throw a “Never Build Your Own House Party” at some point TBD.