One side of our house is COMPLETELY done. Siding, trim, paint, soffits, everything. And it feels good (of course 4 sides done would feel better)!
We had already completed the trim around the windows, porch, stem walls, and penetrations as described in the last post. From there, it was simply a matter of attaching all the siding. Of course, the fact that there were so many deviations on this side of the house meant that almost every single piece had to be cut for its specific placement.
As an unofficial promoter of the EAB Multi-Purpose Flooring Cutter, I now interrupt this message to extol the virtues of this lifesaving device. In all seriousness, though, this tool may have been one of our best purchases. Instead of cutting the fiber cement with a saw blade – thereby sending a mist of harmful powder into the air – it uses a levered blade to make clean, precise cuts with no mess. I sound like a salesperson, but I can’t imagine if we had tried to do the siding without this tool.
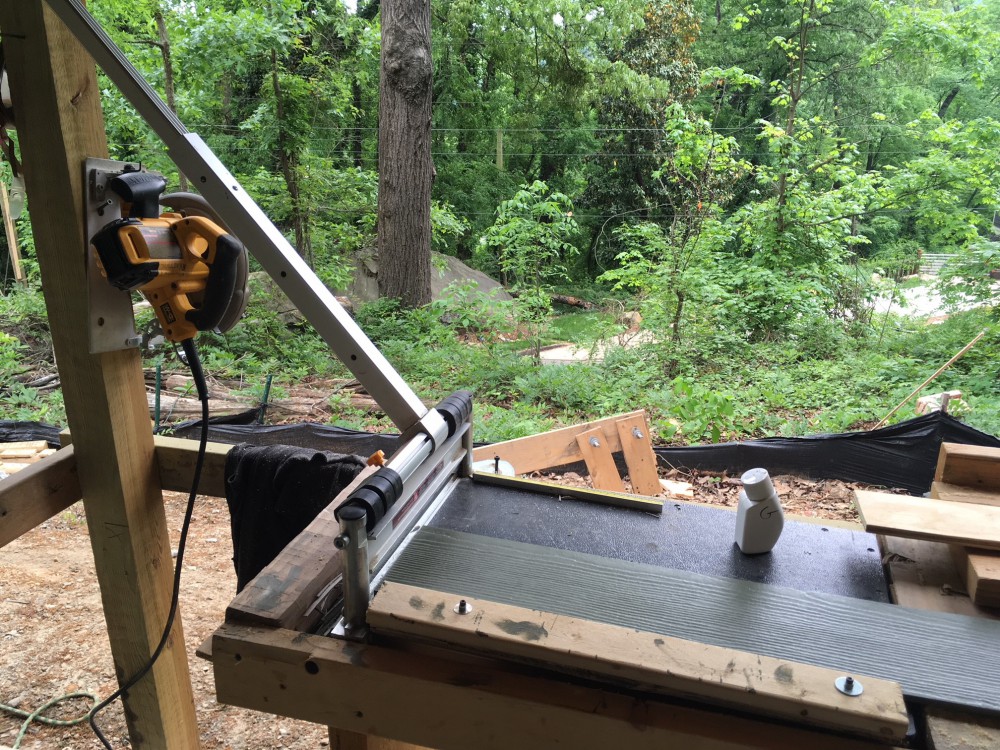
The miracle cutting tool. Simply line up the board under the blade and pull the lever.
The other tool that we couldn’t have survived without is the Gecko Gauge. A pair of these would hook into the Hardie Plank that has already been attached so that the next piece can simply be laid on top. Instead of needing multiple people to hold up a board while measuring the reveal and trying to level it, you just need to plop a piece on top, make slight adjustments to the gauges to get the piece as level as possible, and nail away.
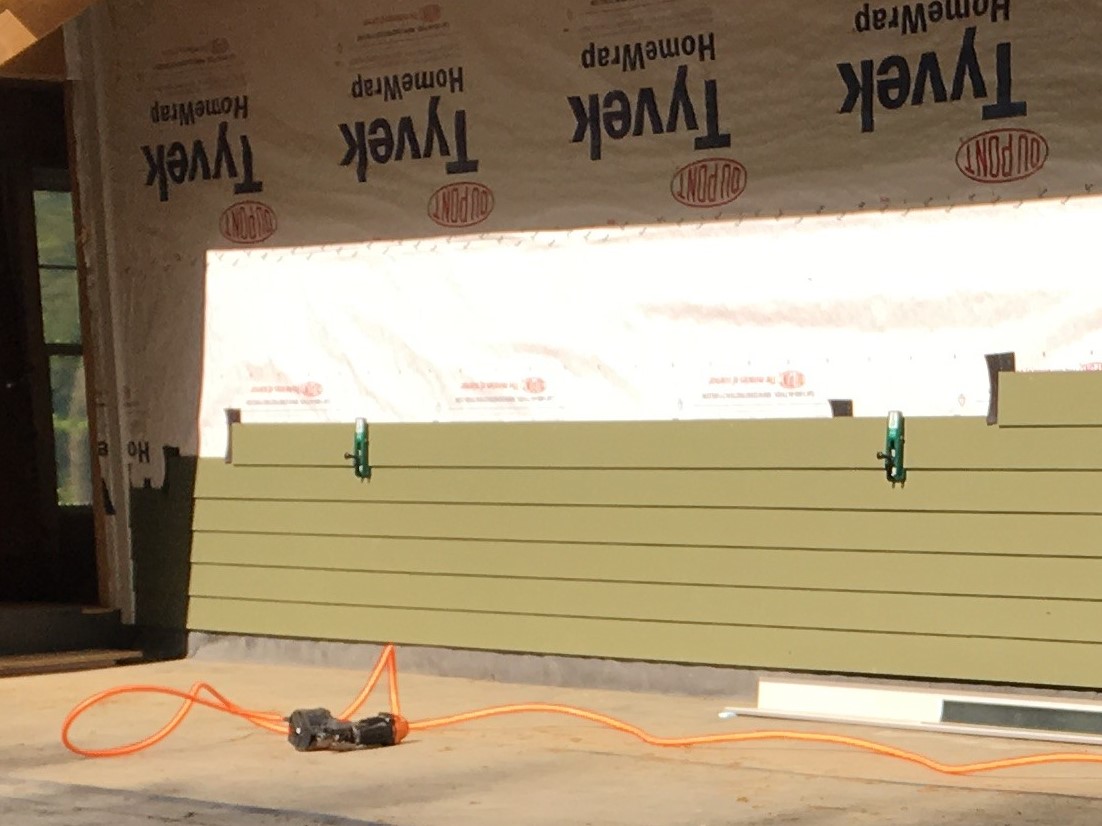
A view of the Gecko Gauges in action. They hook into the bottom of the boards that has already been attached, allowing you to simply lay the next one on top, with the desired reveal.
For a single piece of siding, the general lifecycle is such:
- Cut a piece to fit in the desired space:
- In the case of a long, unbroken space, the piece needs to be cut to stop in the middle of a furring strip.
- If the space is too short to fit a full board, cut it to fit, leaving a gap of approximately 1/16th of an inch between the Hardie Plank and the trim to allow for expansion.
- In cases where the board meets the corner of a penetration, the circular saw must be used to cut out the specific shape.
- Paint the cut edges of the piece with touch up paint. Even if the edge will not be visible, it is important to paint it to prevent chipping down the road.
- Attach the Gecko Gauges and lay the piece on top.
- Staple tar paper behind the Hardie Plank at the joint where two pieces meet.
- Make sure the board is level and make adjustments if necessary.
- Nail the board in place.
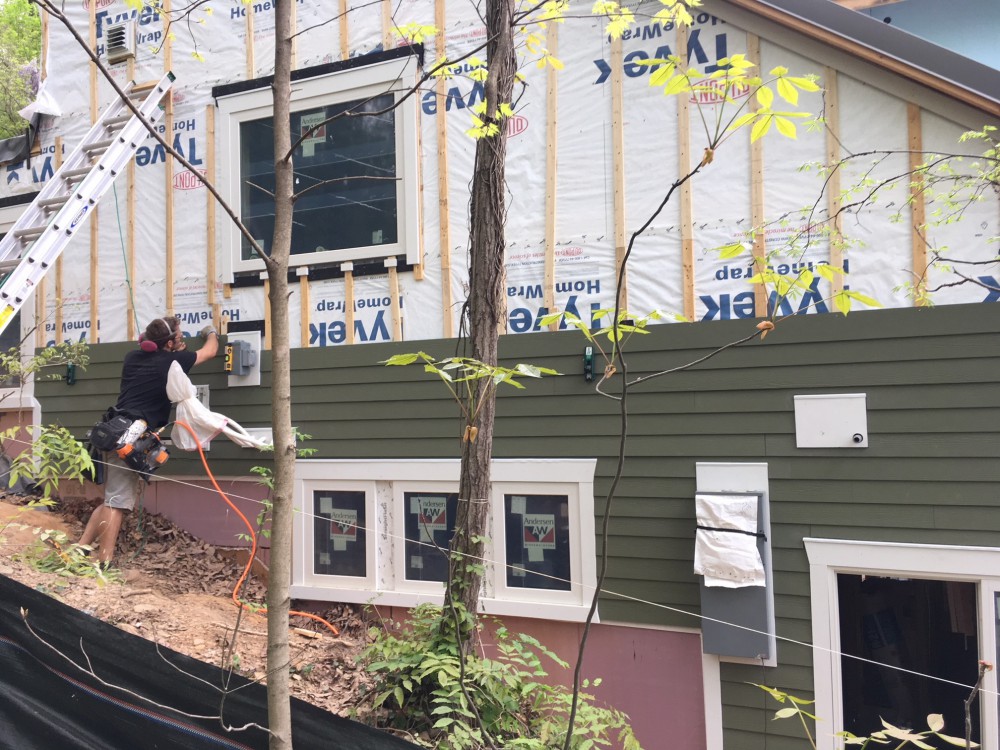
Working our way up the wall. This side is barely visible from the road, so most of the penetrations are placed rather erratically.
As we worked our way up the wall, it became increasingly difficult to reach anything. The south side of the house is on extremely uneven terrain, making it difficult to set up a ladder. Add even if ladders were useful, it was extremely inefficient to climb up a ladder to set a piece in place, climb down and move the ladder to level it, then move the ladder about 3 more times to nail it in place. John – the resident wizard/structural engineer – came up with a design for scaffolding that we whipped together in a few hours, making the process exponentially easier (and less terrifying for people like me who don’t love being at the top of unstable ladders).
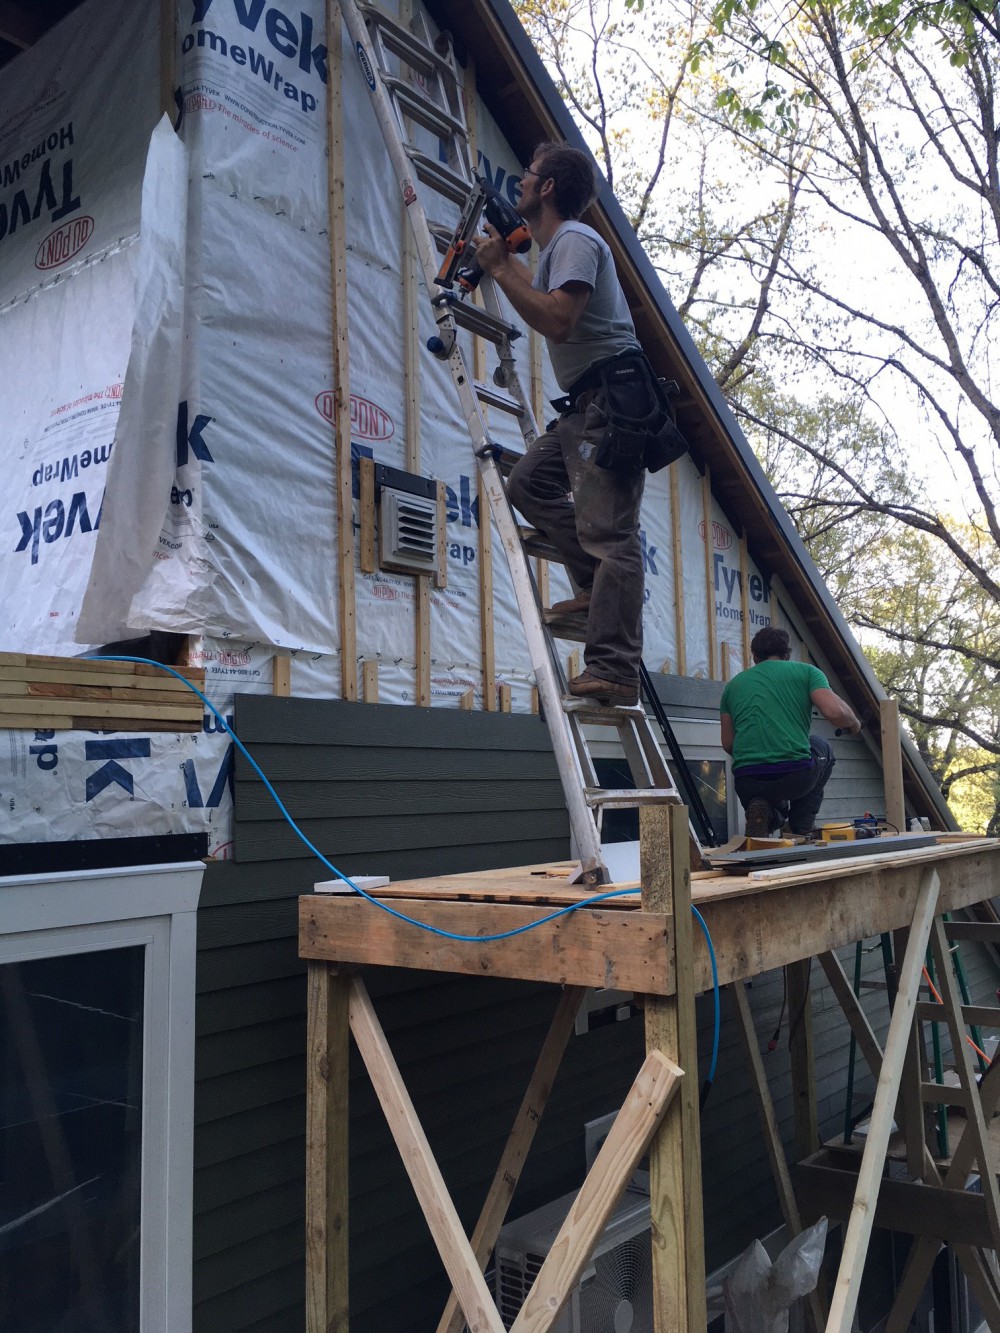
John and Reid working atop the scaffolding.
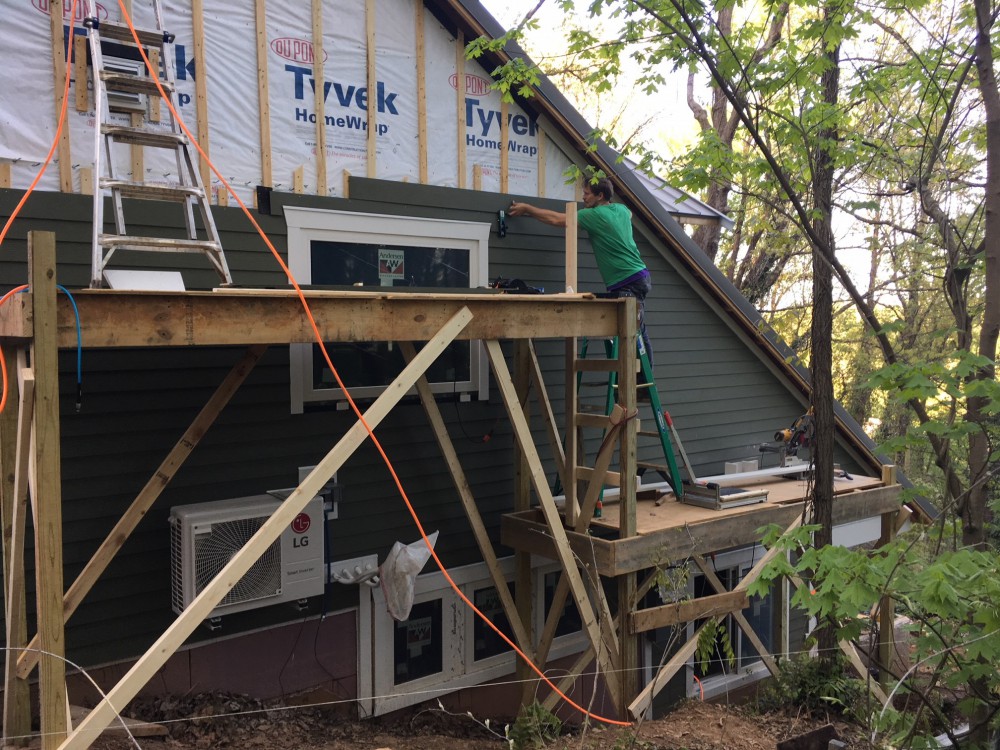
Another view of the scaffolding. Since the ground was so uneven, each base point is at a different height.
Once we finished all the trim and siding, the only step left was to install soffits on the underside of the roof eaves. Unfortunately, we quickly learned that it would have been much easier to install these BEFORE installing the top trim. We had to shave off the corners of the soffits in order to jam them into place above the trim. We painted the eaves and took the scaffolding apart, declaring this side complete.
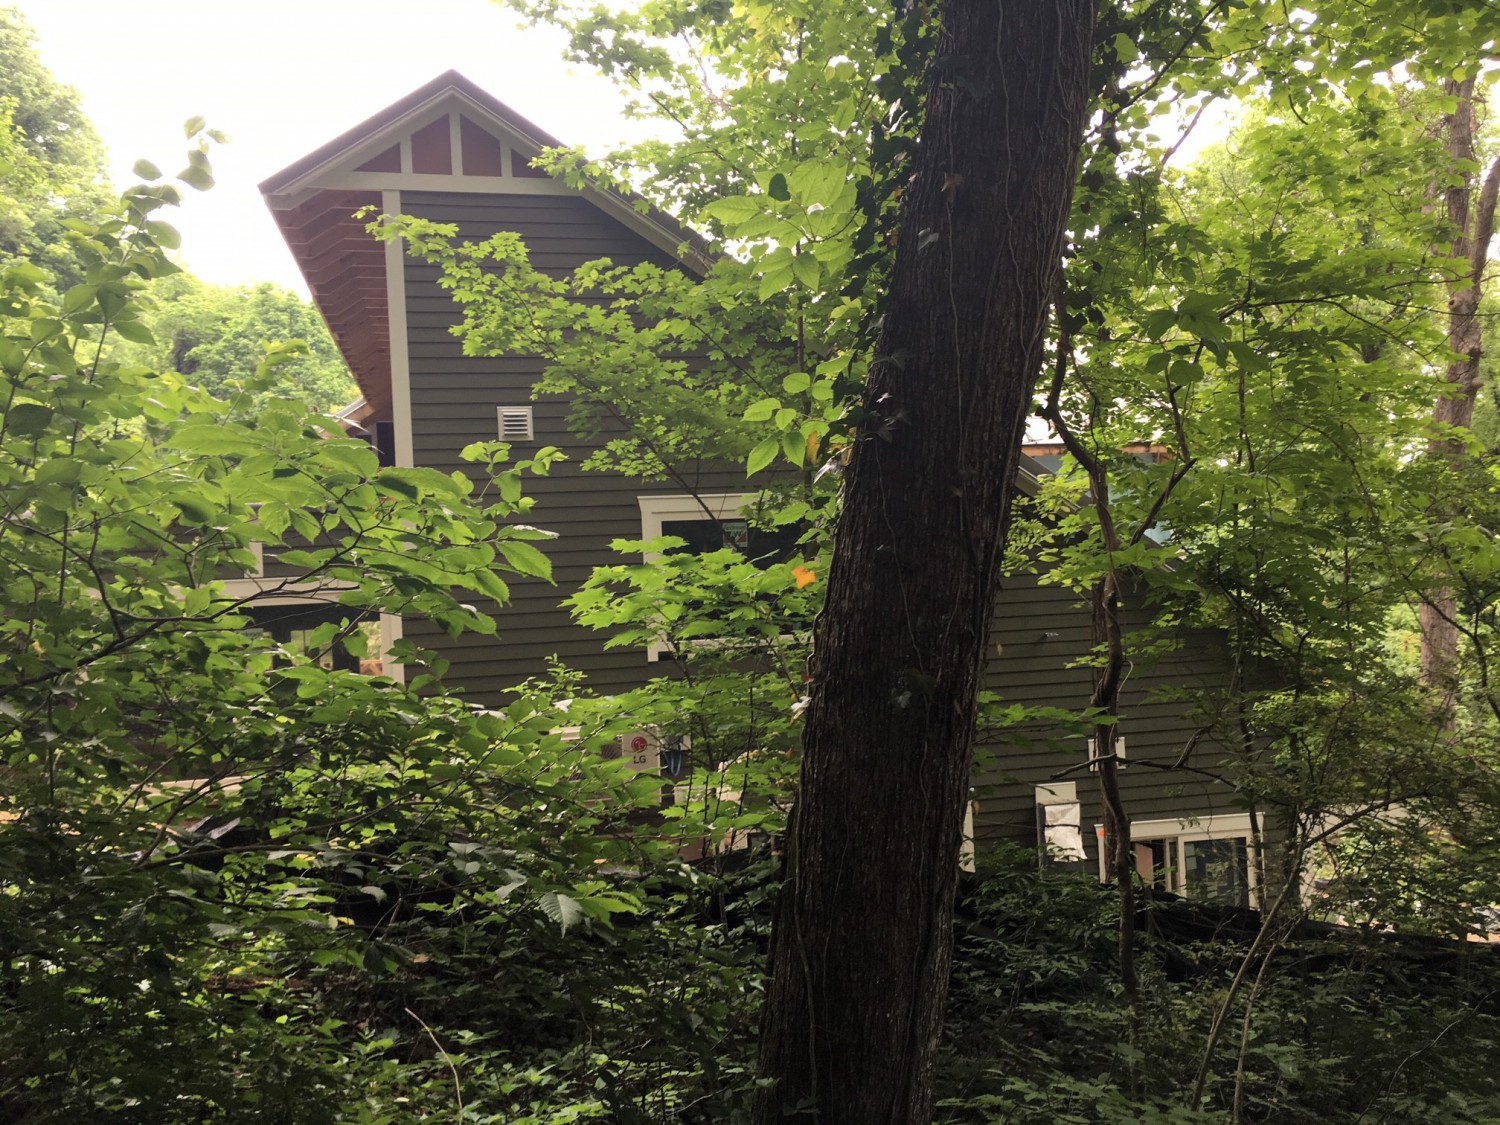
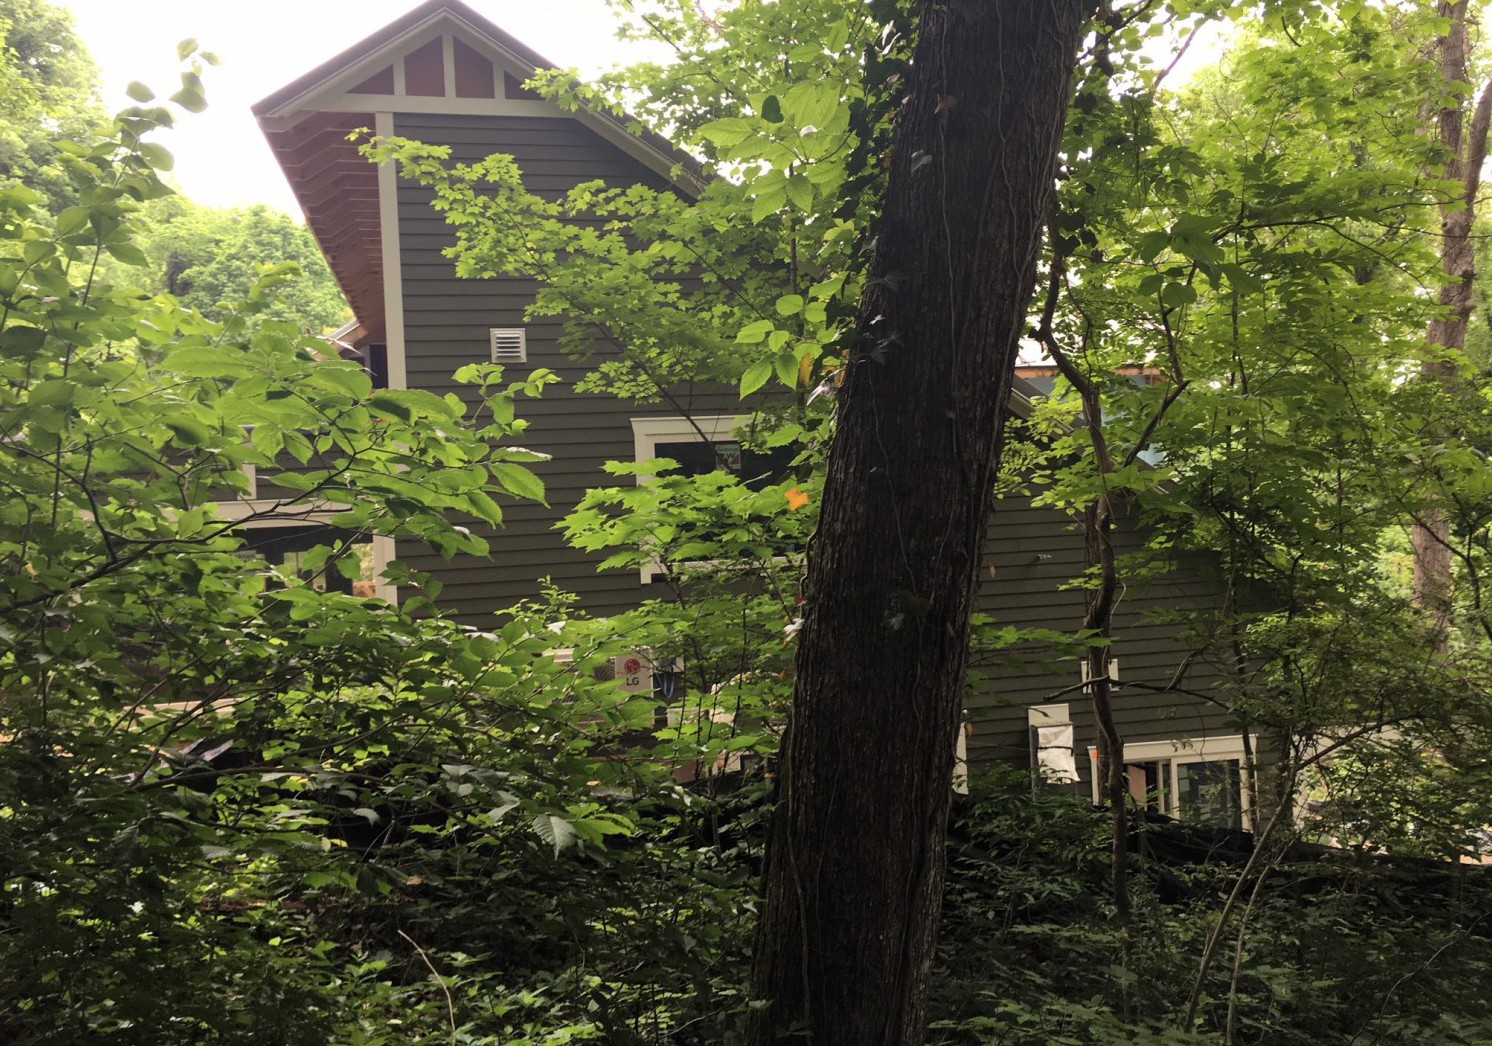
It’s hard to get a good photo of this side of the house, but here is a view of it completed.
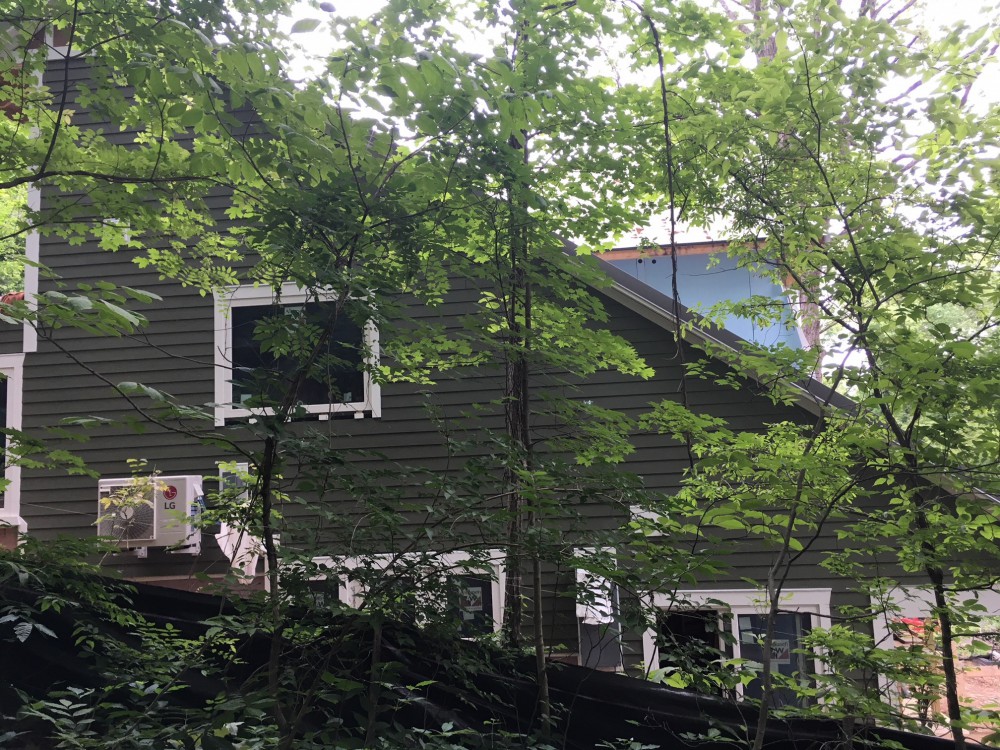
Another attempted view of the completed south side (with the exception of the window stool that will go under that large window).
Again and again John engineers a better way to get the job done. I agree regarding having the right tools for the job. It definitely makes thing easier. The finished side looks great. When you’re getting tired, just walk around and admire your work!
Thanks for posting.
Tom
Its great having an engineer and creative thinker on the job. Looks great.