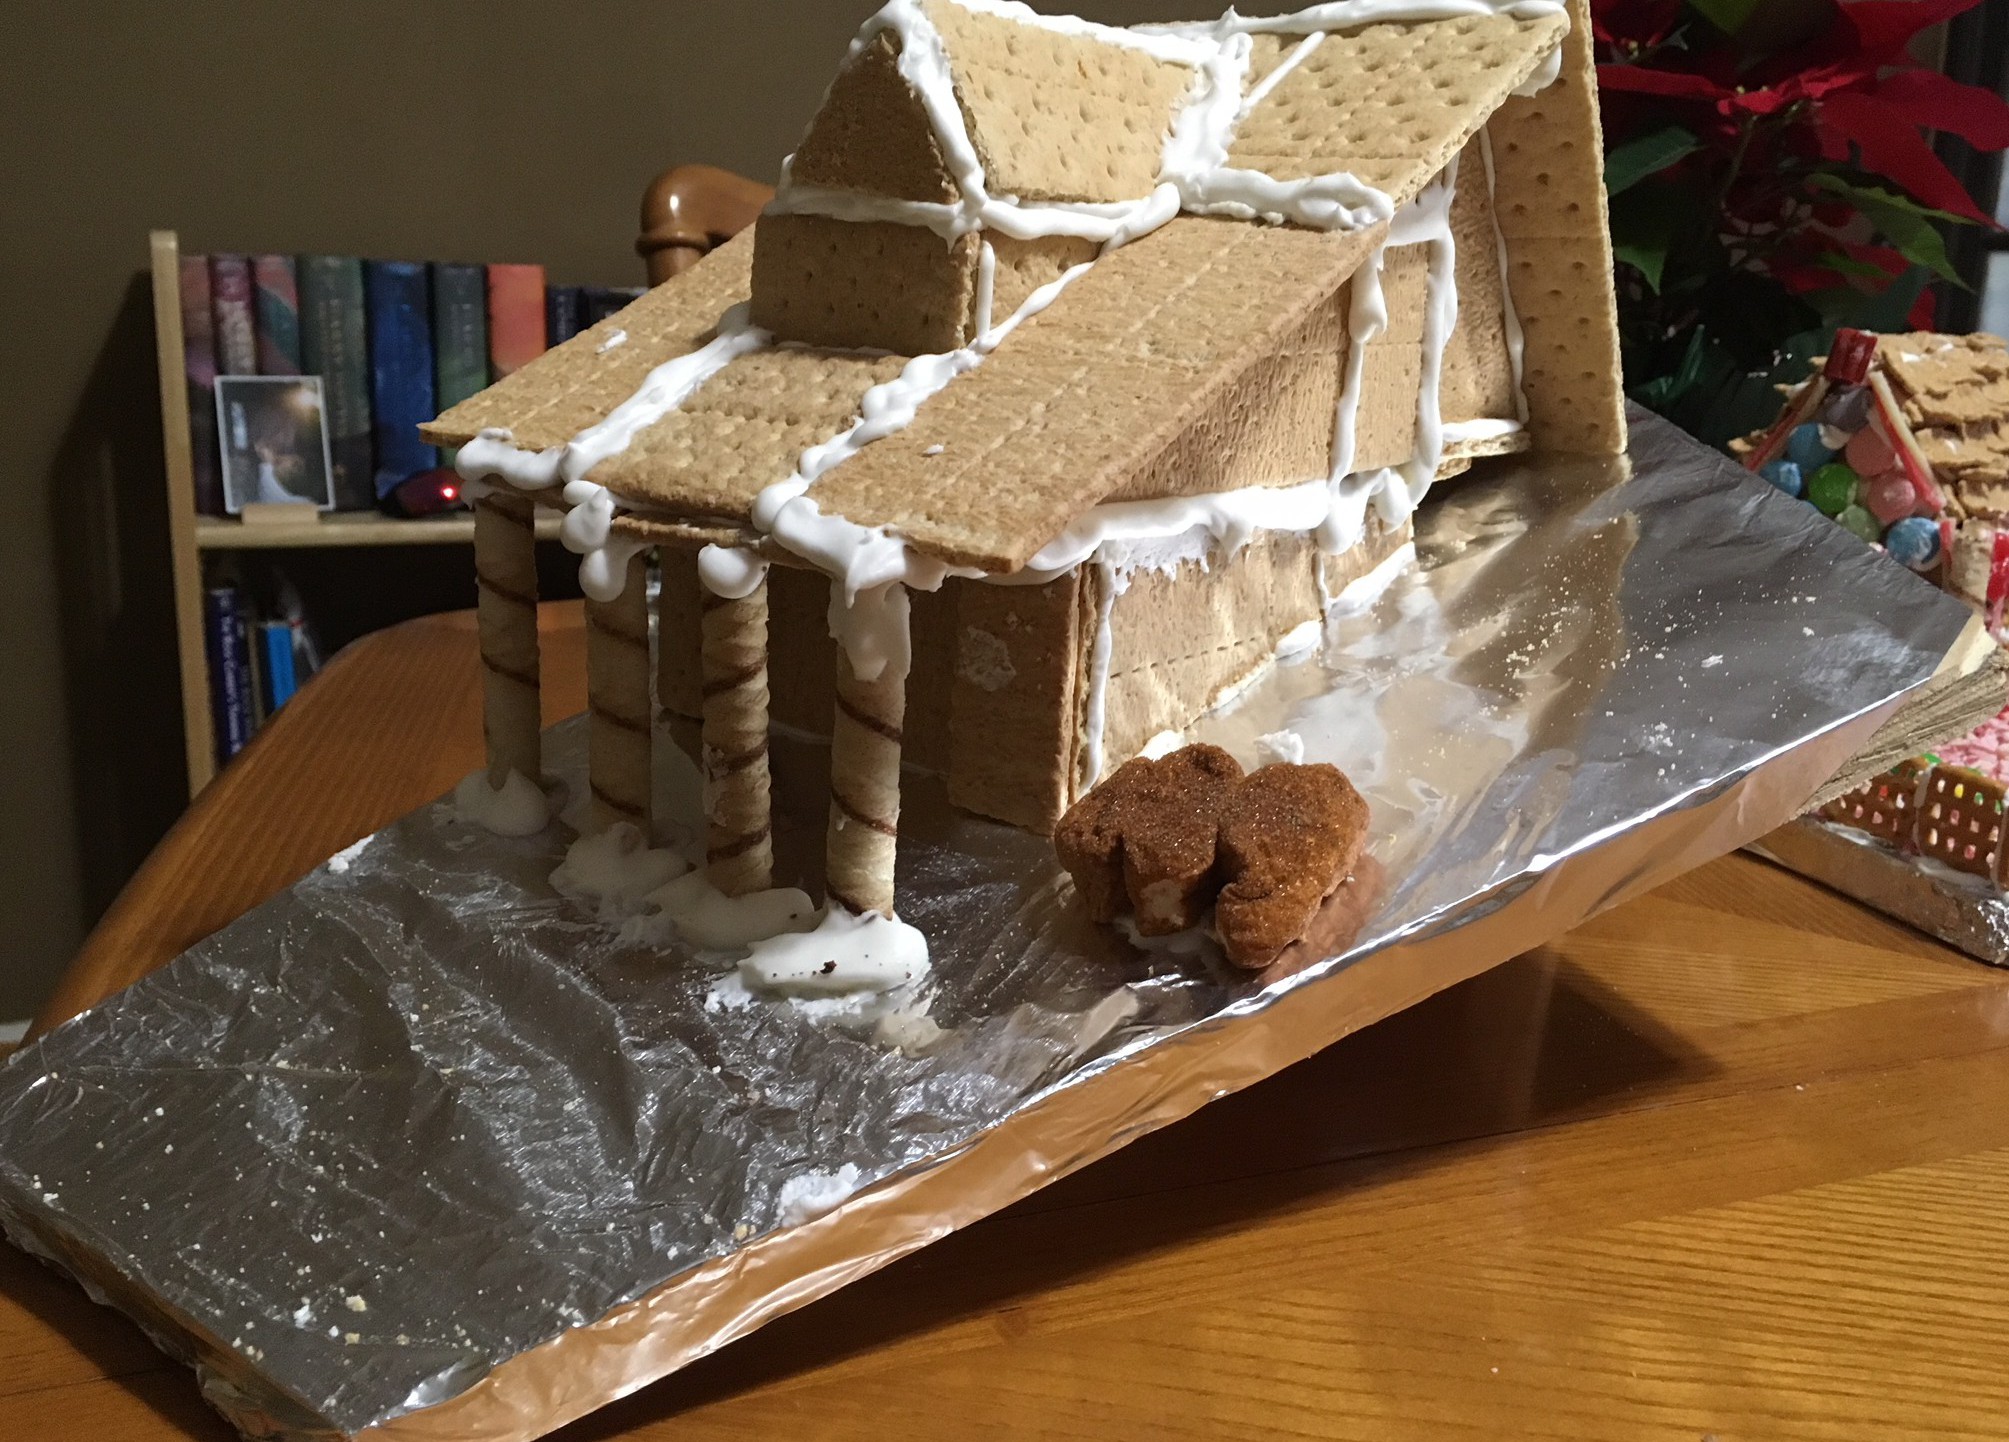
John took a brief break from building our house in order to build a miniature version of our house out of graham crackers…
For once, we weren’t dealing with constant rain; this time is was an ongoing cold snap where it never got above freezing for more than 10 days. In fact, our rental house was so ill equipped that the heater – running full blast – could not get the house above 62 degrees (and the basement where we sleep was hovering in the low 50s). As bad as that may have been, it was still significantly warmer than the job site.
The final roofing step was to waterproof the flat roof above our kitchen for use as a back porch. We started out by layering the porch with tapered foam, in order to both insulate the house and add an angle for water runoff. Unfortunately, the glue we used to attach the foam didn’t adhere well in the cold. Even when using four times as much glue as expected, the panels still wouldn’t stay down. In the end, we had to lug up wood pieces to weigh the foam down while the glue dried.
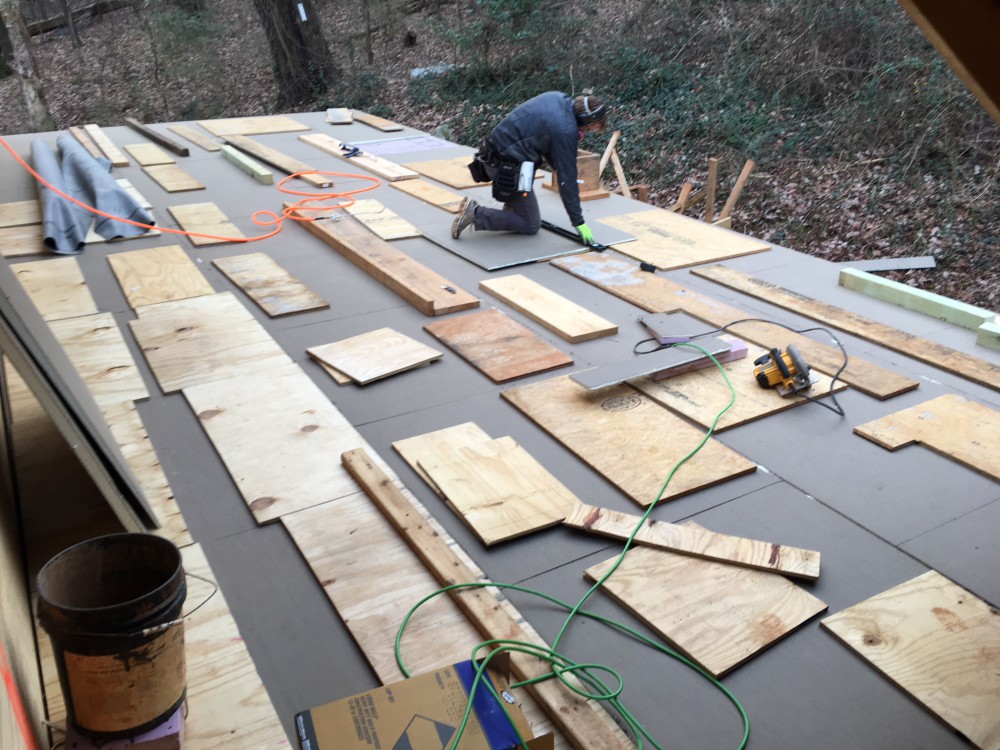
Covering the foam with wood in an effort to get it to stick in the cold. The one plus side? Hauling all that wood helped me stay warm.
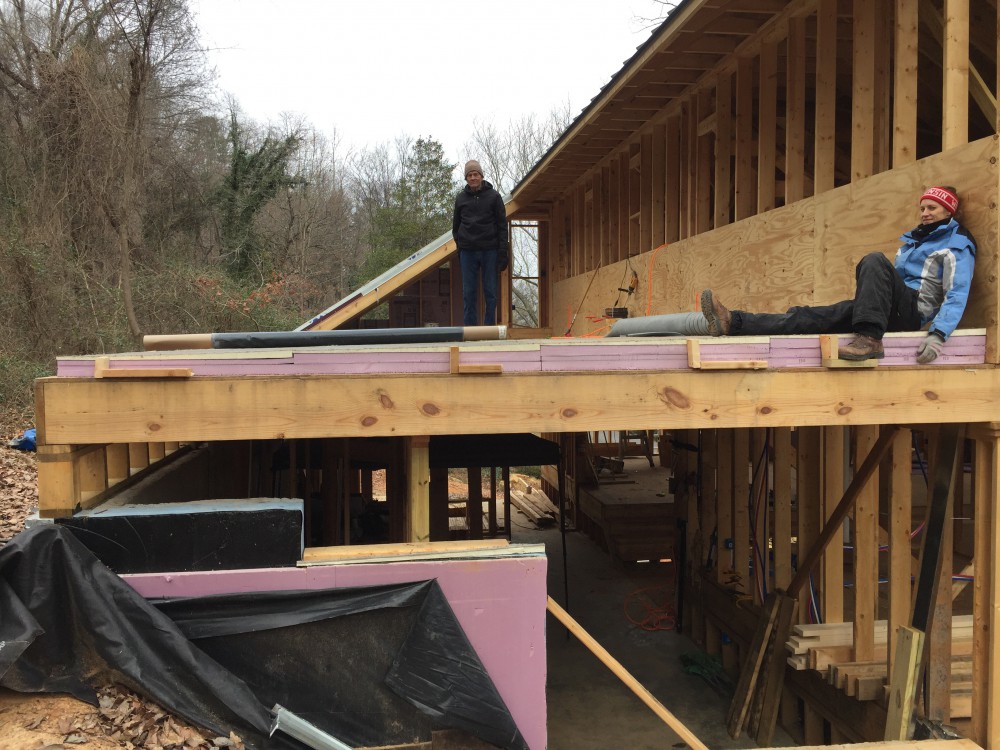
From this angle, you can see the slope (one inch of rise every four feet) added to the back roof using tapered foam
The next day it was time to attach the EPDM, a synthetic rubber used for waterproofing flat roofs. Naturally, the VOC laden adhesive used for attachment must be kept warm (not to mention that’s it’s known to produces euphoria and amnesia). We built a foam insulated box and used our mini propane heater to keep the jugs of adhesive warm while on site.
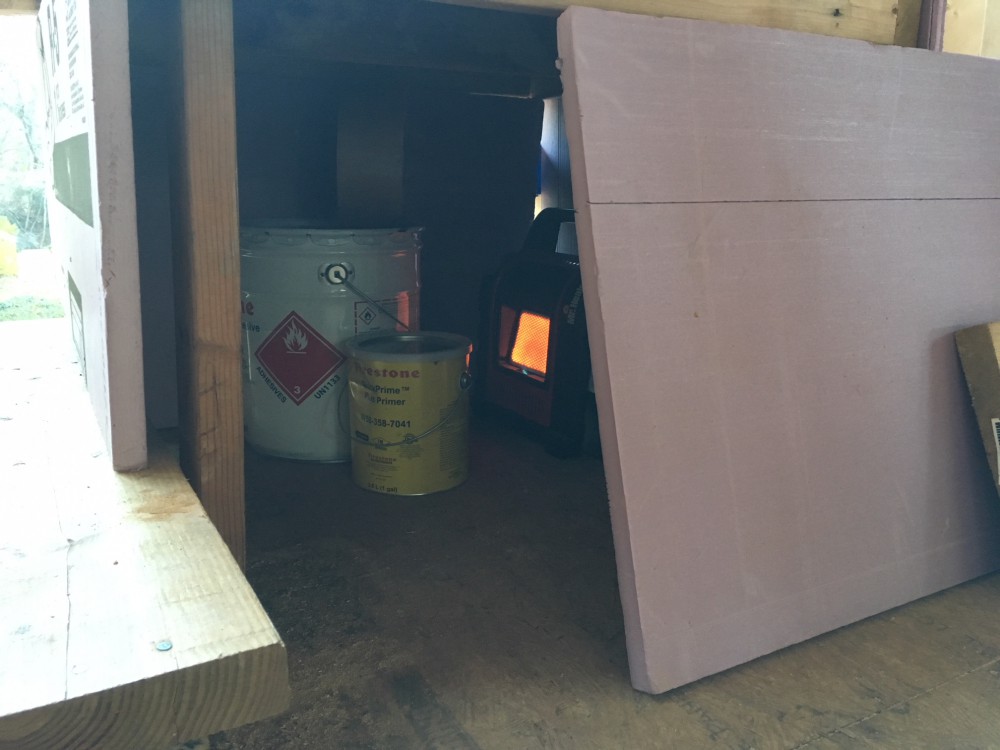
The insulated warming hut for the adhesive (and later, it doubled as my own little warming hut)

John using a giant mixer attachment for a drill to stir the adhesive
The full process involved:
- Rolling the EPDM across the entire length of the porch, and cutting it to fit
- Folding the EPDM back to the halfway point, making sure to keep it flat and aligned
- Coating both the exposed roof section and the bottom of the EPDM with an adhesive eerily reminiscent of rubber cement
- Waiting for the adhesive to dry (an exceptionally slow process in the cold)
- Rolling the EPDM back out – evenly – so that the two sides with adhesive would stick together.
- Folding back the other half and repeating the above steps
- Waiting for the adhesive to dry
- Repeating all the steps with the next roll of EPDM
- Waiting for the adhesive to dry
- Waiting
- More waiting…
Sensing a trend? We got impatient near the end, and applied the EPDM before the adhesive was fully dry. The off-gas created by the continued drying process meant that when we showed up the next day, that section was covered in bubbles.
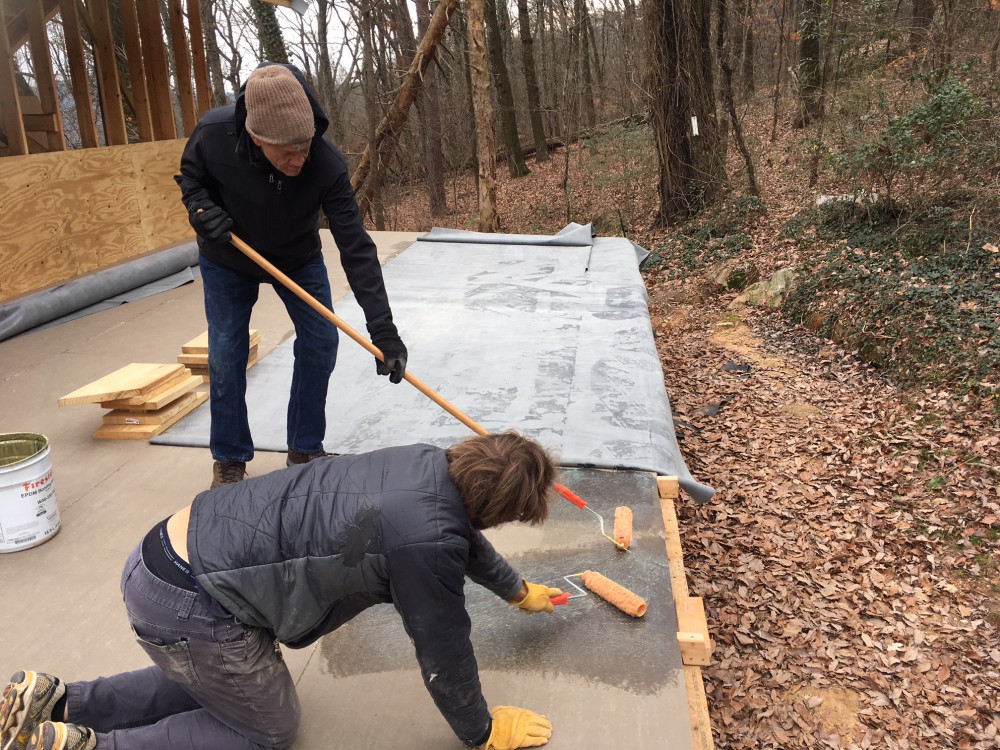
John and my dad rolling out the adhesive onto the foam. These days, family visits are more like “Great to see you, now let’s put you to work!”
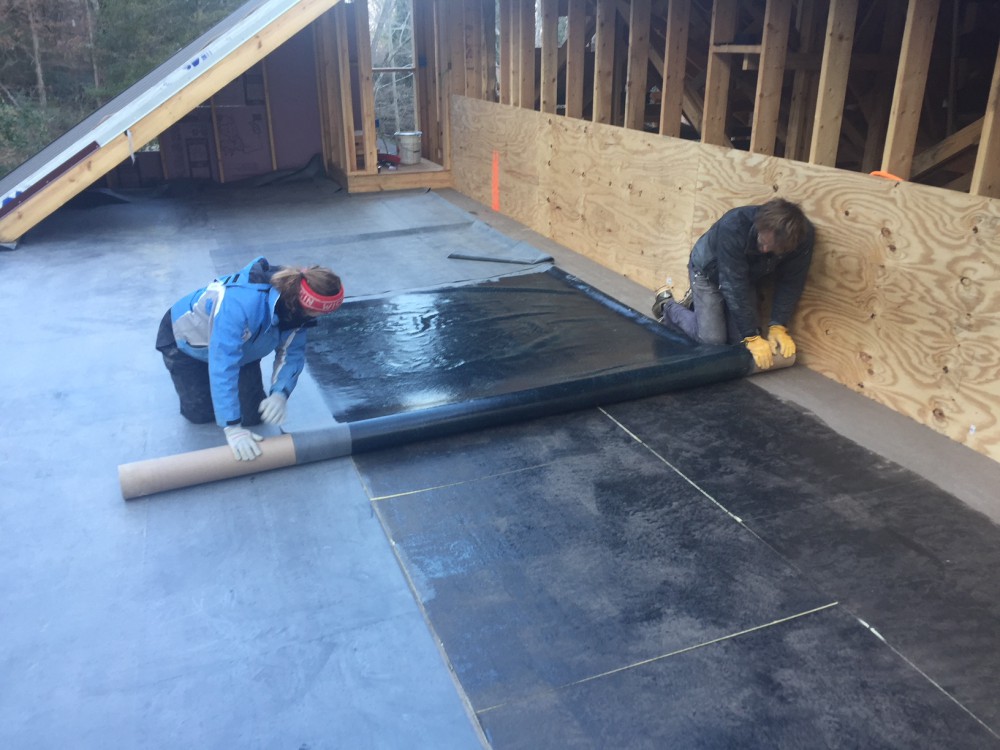
John and me rolling the EPDM back after applying the adhesive to both sides. It was tedious, because if any creases or bubbles appeared, the pieces were already stuck firmly together.
We had to get creative in rolling out the rubber in corners and against walls, but eventually got a fairly smooth covering of the entire porch. John grabbed a Nalgene and poured it out, eager to watch the water stream down the incline and off the edge… only to watch the water spread out for a few feet and promptly froze.
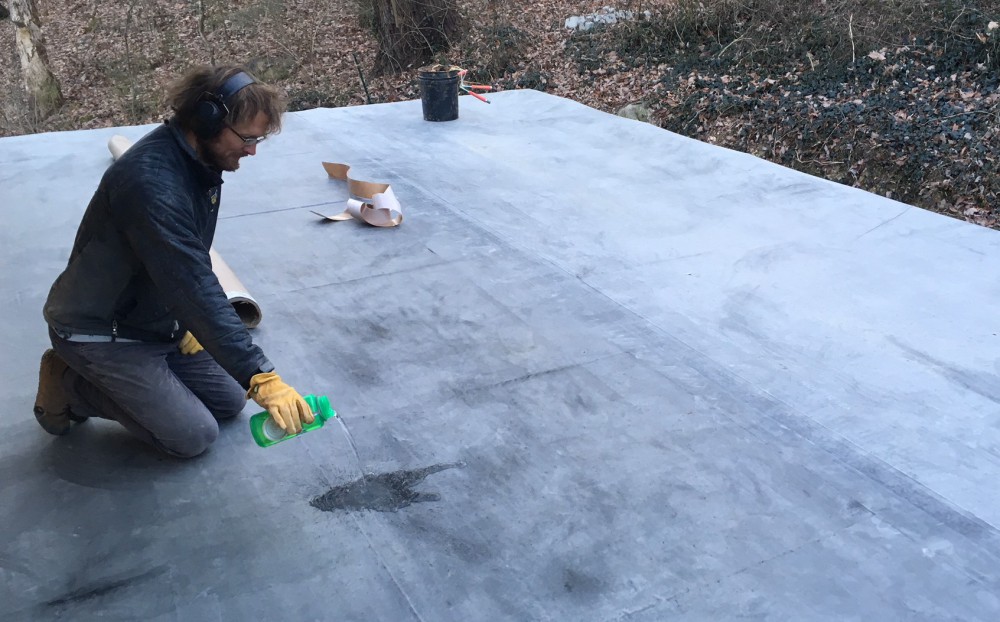
The failed water run-off test. That water only flowed a foot or two before freezing.
Absolutely LOVE the open flame heater next to the “WARNING THIS STUFF BURNS” logo on the EDPM adhesive… similar to my heat-gun usage to get the PVC cement “up to temperature.”