With the exception of the roof and the concrete slab in the garage, the windows are officially the first thing we have installed that will still be visible when the project is complete. It’s crazy to think that all the beautiful work we’ve done so far will be hidden. Maybe we should install clear drywall to show off our handiwork…
Before we could even consider adding windows, though, we needed to add three layers to the outside of the house.
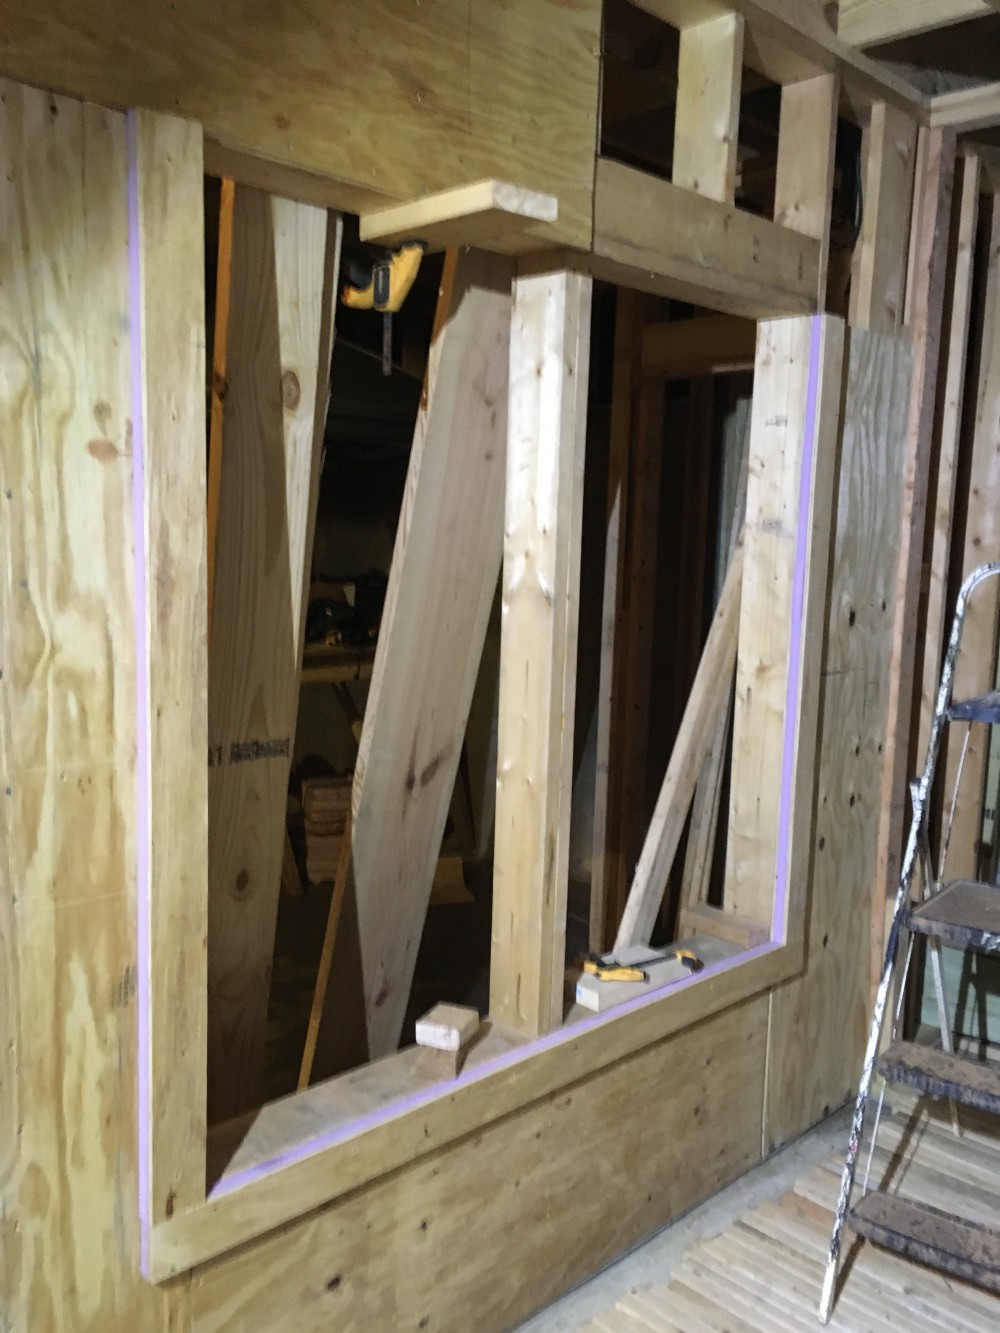
- 15/32″ sheets of plywood to cover the outside of the house. Every edge needed to be on a stud, and we had to cut around shapes like windows, angled roof edges, and air vents. In fact, it was a rare treat when a full 4’x8′ sheet could be applied without any cuts.
- 1.5″ sheets of insulated foam on top of the plywood. Again, these needed to be cut to fit around all the crazy angles on our house, and screwed into the plywood using plastic caps.
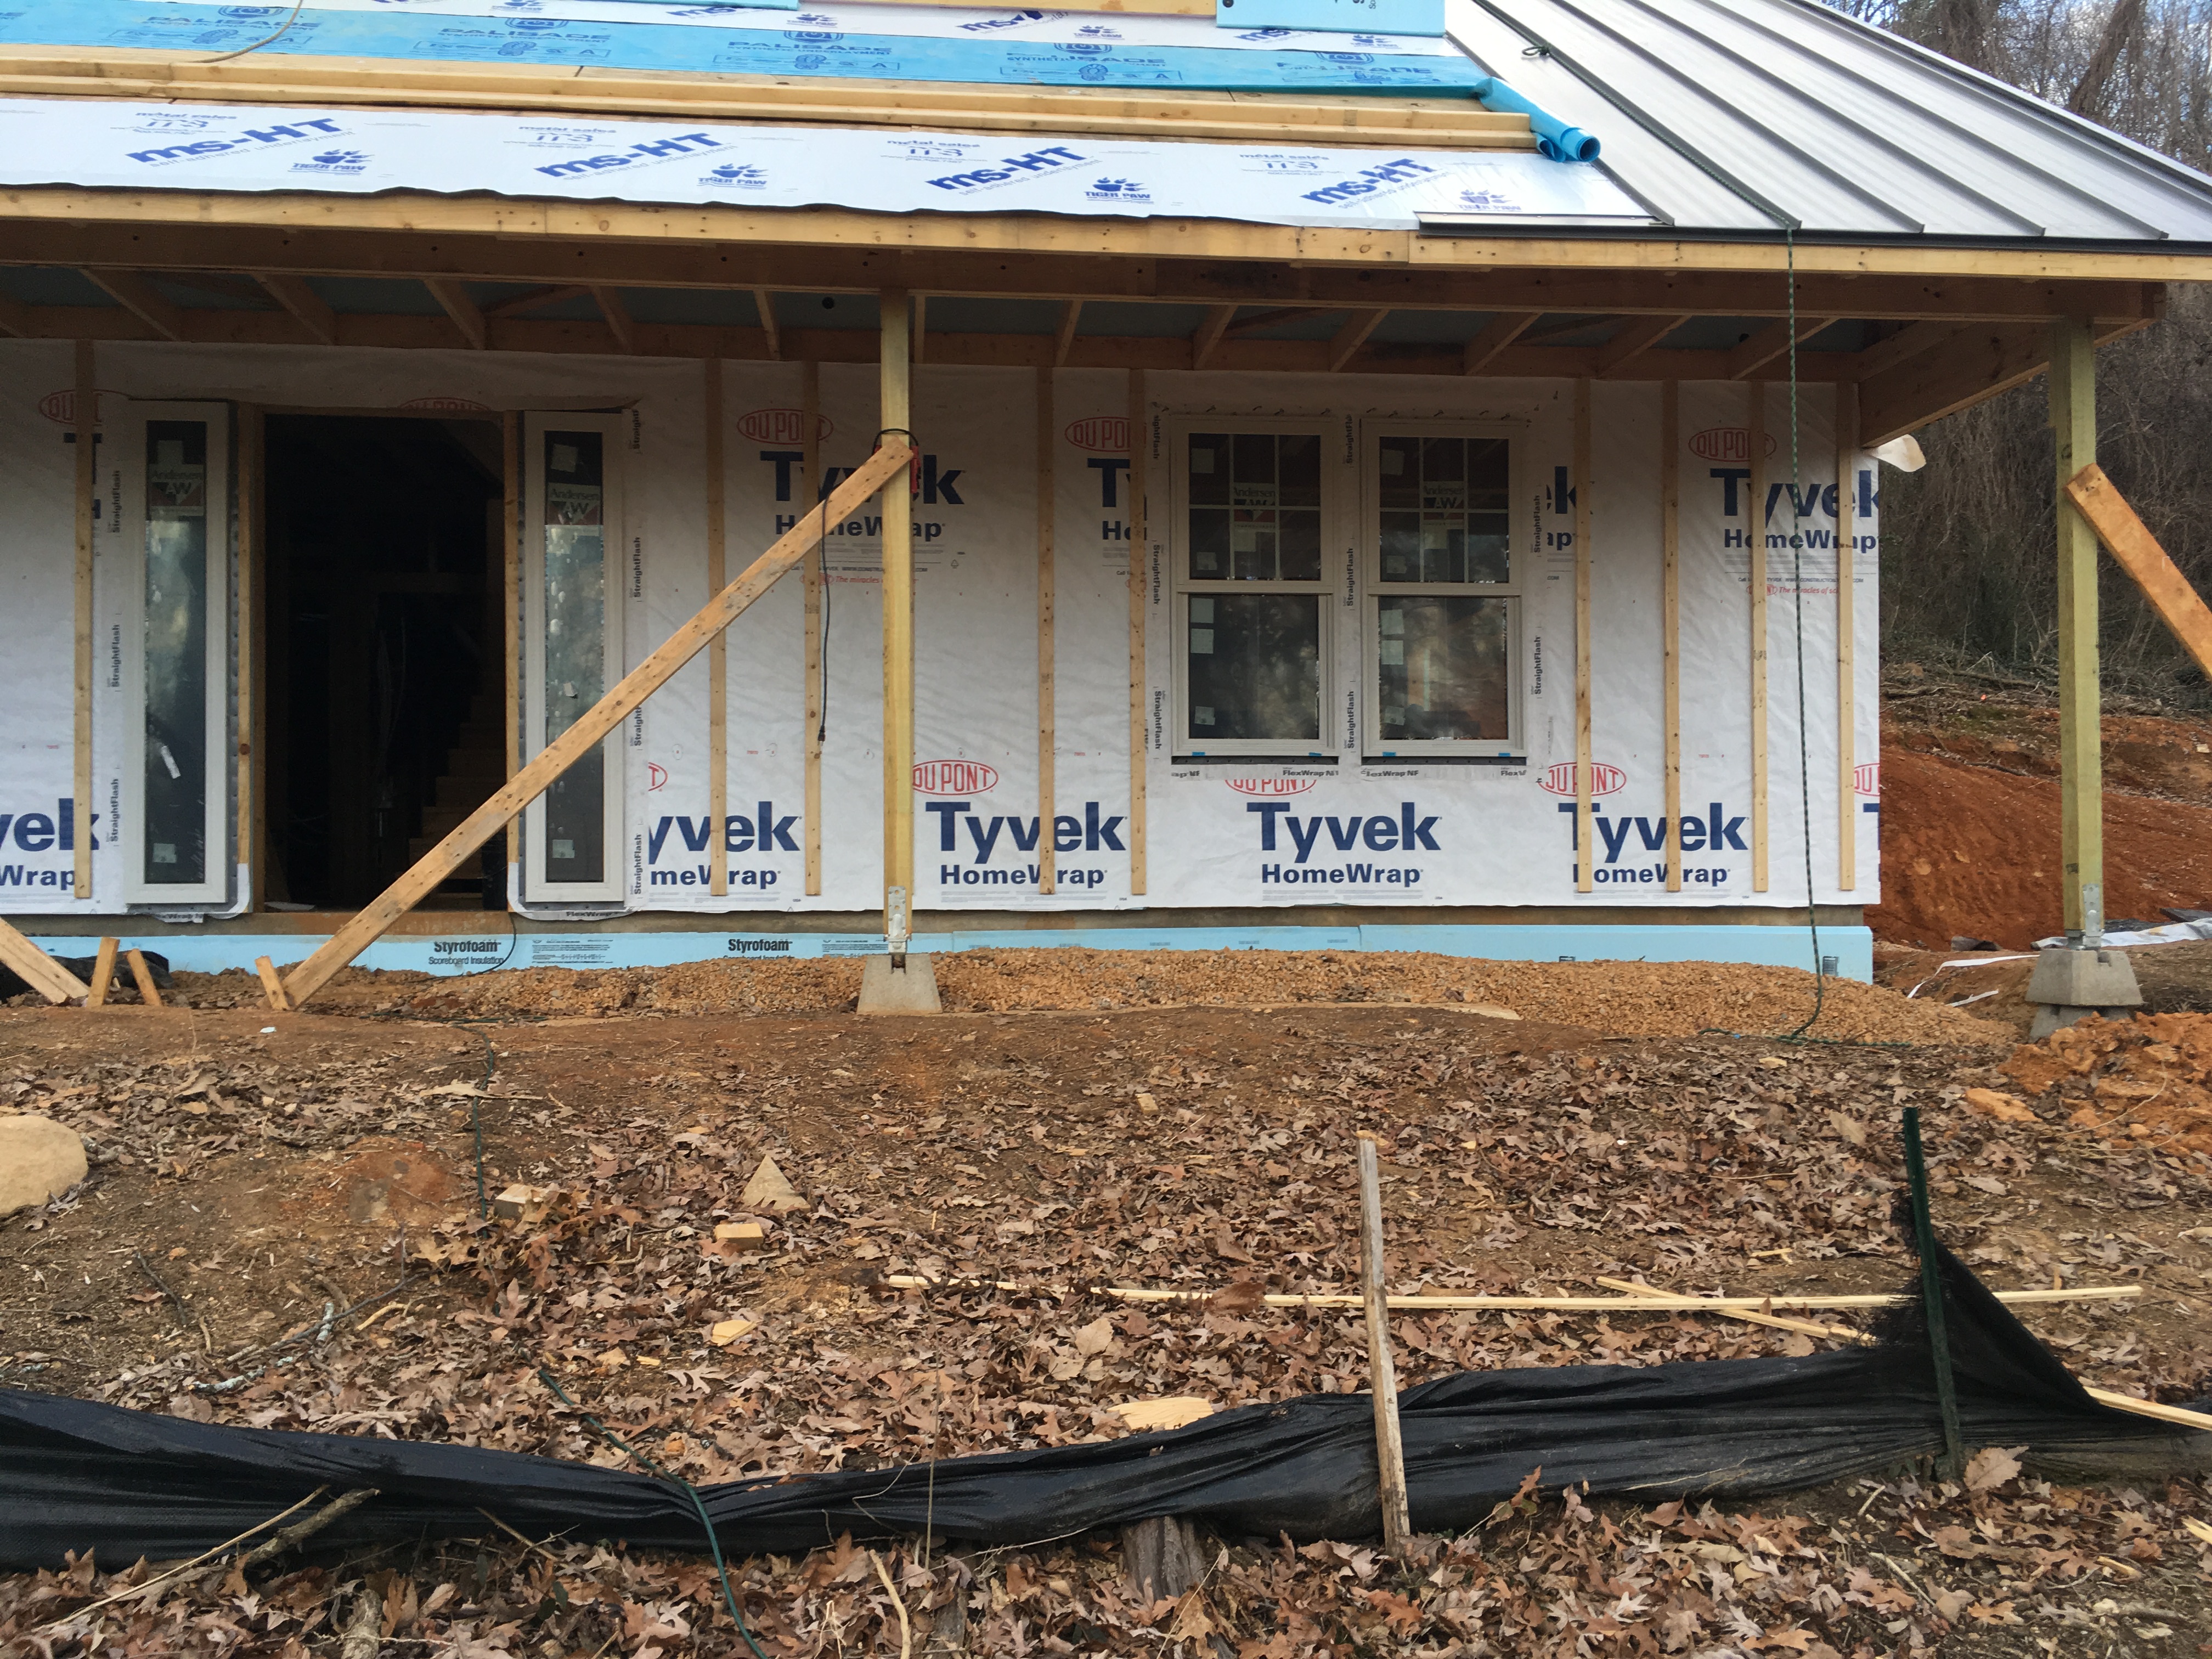
- Tyvek home wrap on top of the foam. One person needed to hold the Tyvek roll as evenly as possible, while the other screwed slats into the wall (through the home wrap) every 18 inches.
While not particularly difficult, these task were tedious and time-consuming. The higher parts of the walls were especially interesting to coordinate as we leaned out windows and perched atop ladders.
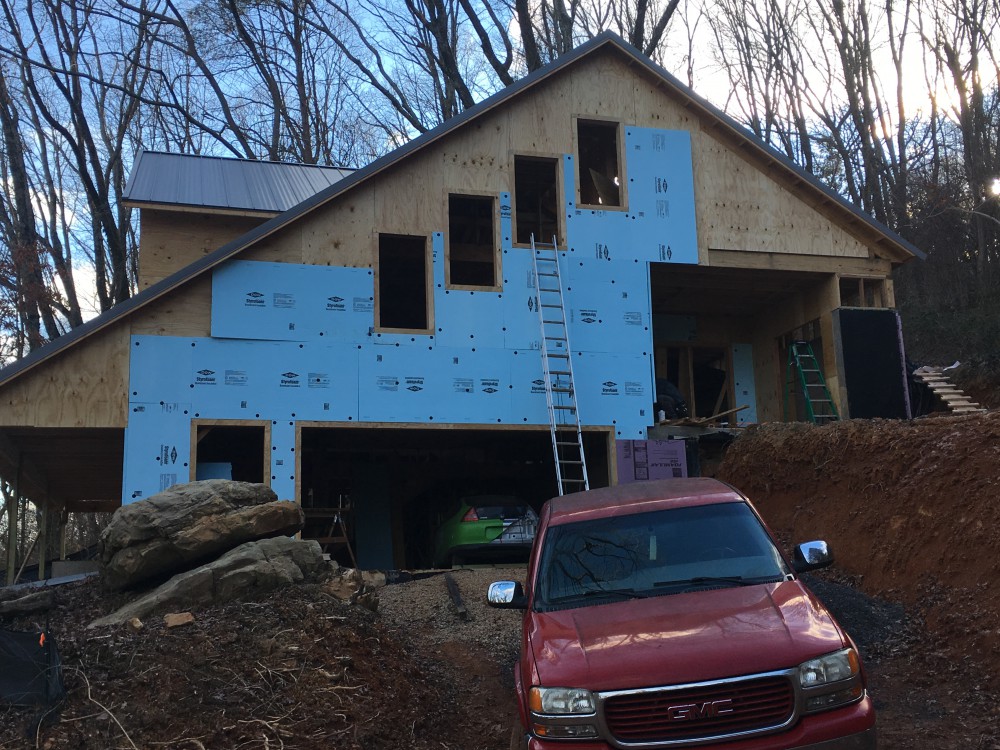
A view of the north side of the house with the plywood layer complete and the foam layer partially finished.
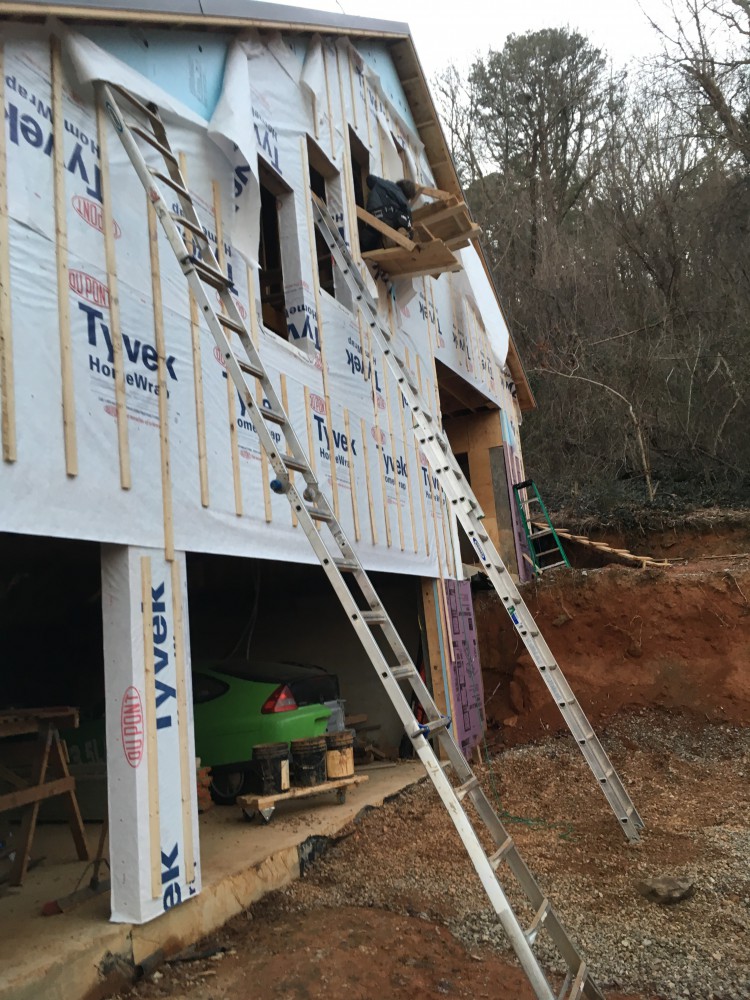
Applying the home wrap to the north side of the house. You can see that we used a combination of ladders and temporary window platforms to install it.
Compared to other components, the window installation was surprisingly easy and only took about 15 minutes per window. Around each opening, we attached the plywood on the outside of the foam (instead of the inside), so that the window would have something to screw into. We cut the Tyvek out around the windows, folding it in on the sides, and created a sill pan using an elastic flashing tape that stretched around corners. Each window was then placed carefully into position and attached via screws and caulk, keeping a small gap at the bottom for water flow. Finally, flashing tape was attached to the top and sides for a final seal.
A view of the border we installed around each window, putting the plywood outside of the foam to provide a hard material to screw the windows into.
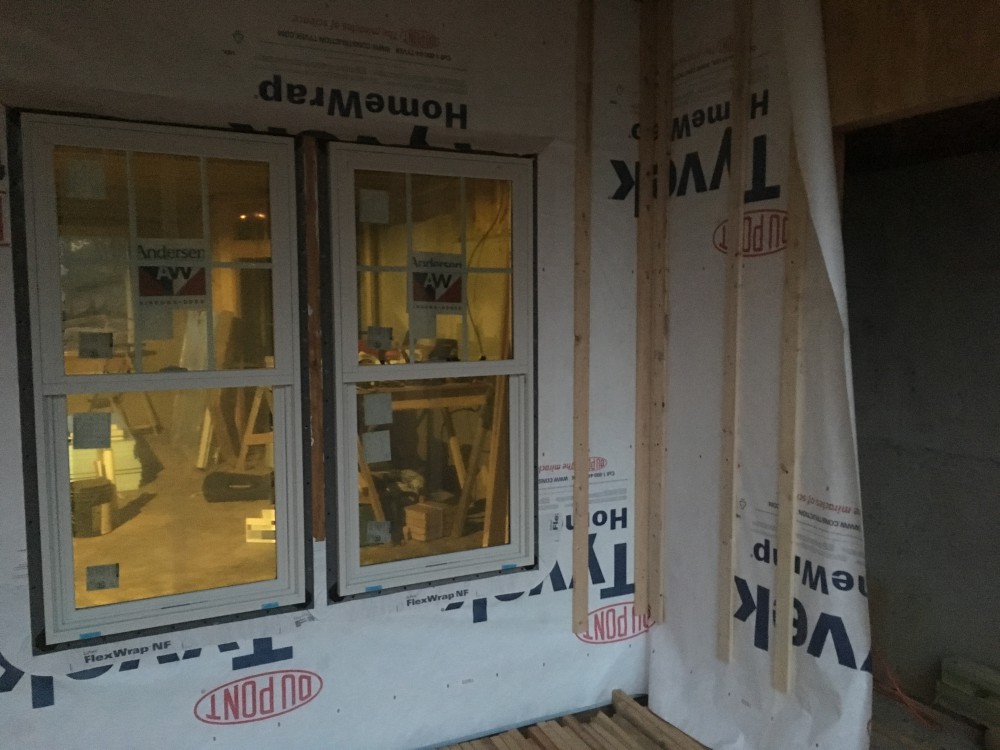
A close up view of the windows looking into our (future) kitchen.
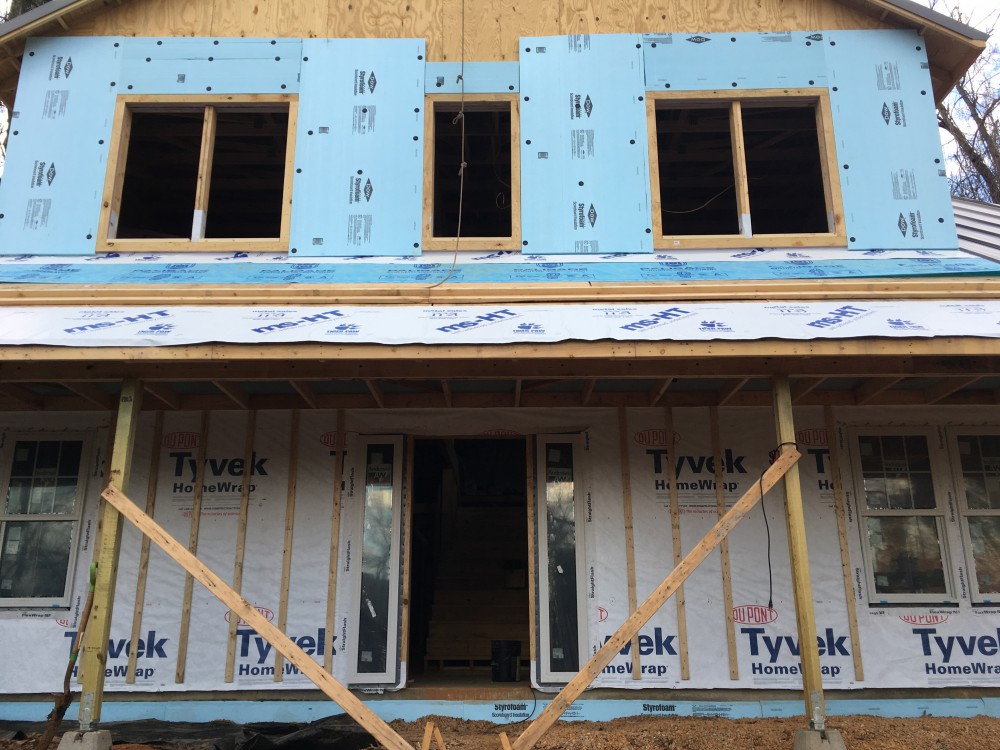
The front of our house, in all stages of completion: plywood only, foam layer, Tyvek with slats, and windows installed.
Great work!! Your new home should be VERY energy efficient. Doesn’t look like you have much snow… for sure not as much as we have in Wisconsin. Will be nice when you can get the exterior doors installed and button the house up. Thanks for the update- and keep up the good work!