Problem:
We had 14 roof trusses delivered to the bottom of our driveway. Somehow, we needed to move them up the driveway, up to the second floor, and then up onto the existing walls – about 45 vertical feet – using only 2-3 people. Each truss is 33 feet long, 11 feet tall, and over 240 pounds; carrying a structure of that weight alone is difficult, but when that narrow structure is constantly threatening to tip over, it makes it nearly impossible.
We considered renting a crane, but the trusses were blocking the narrow entrance to our driveway. John also researched machines with an articulating arm, but as they are designed to move people they couldn’t meet our needs in terms of weight and stability. Not to mention the added expense and safety factors involved in any equipment rental.
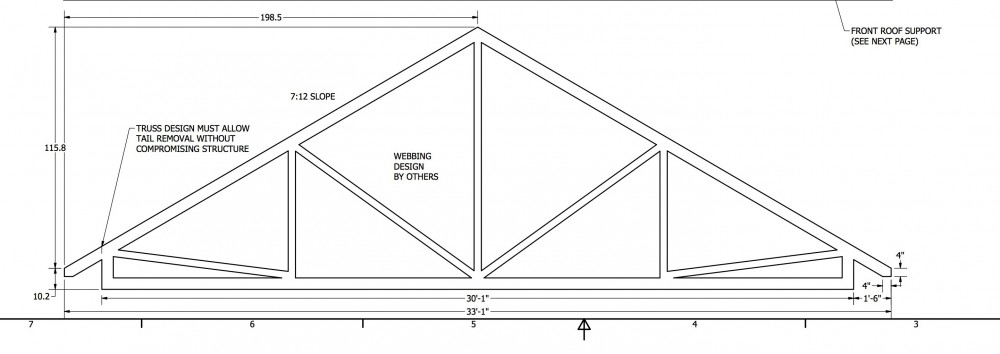
Each truss, bearing in mind that it’s 11 feet tall and 33 feet wide.
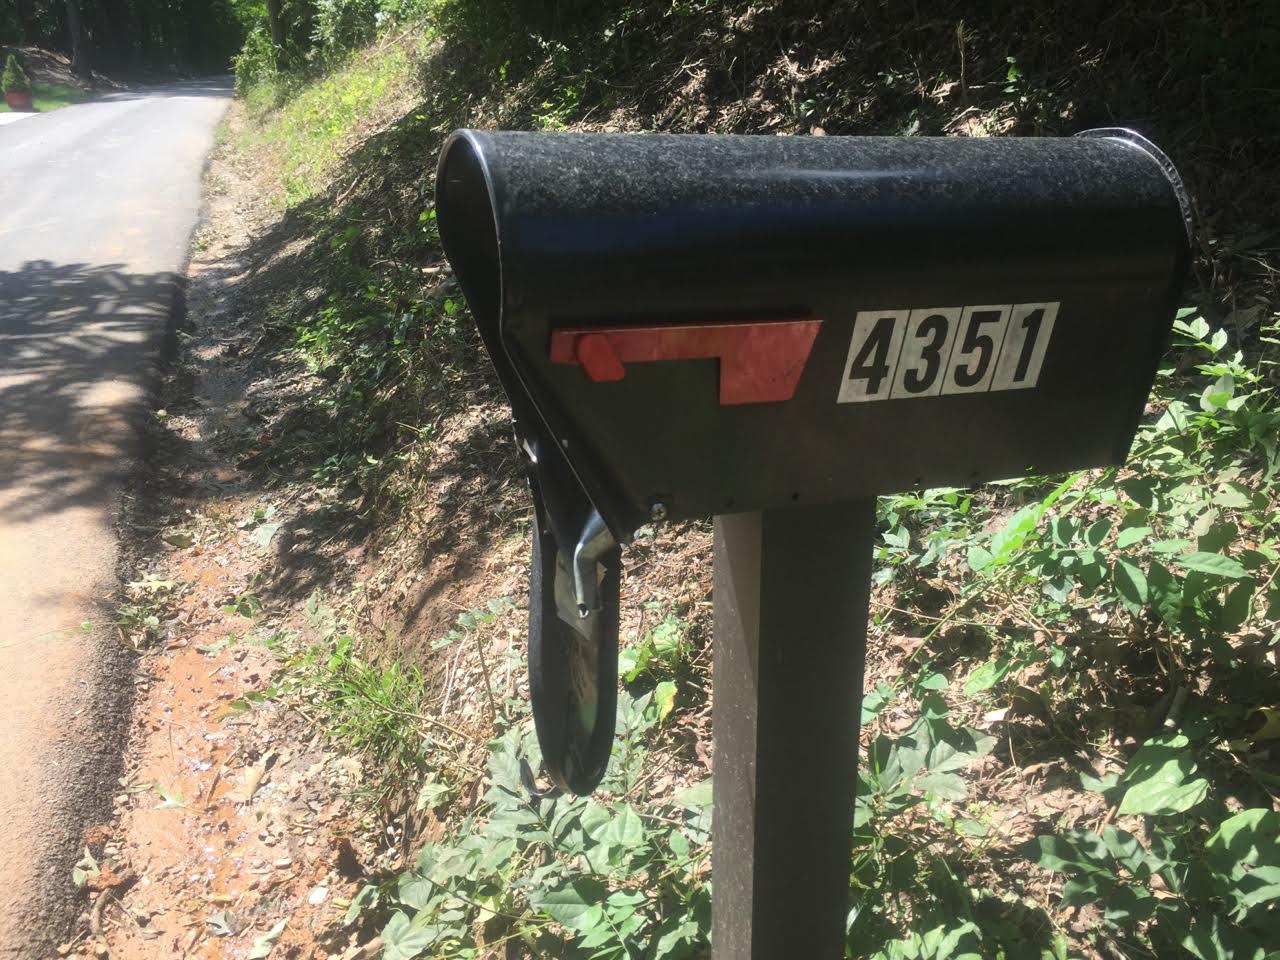
The trusses were so wide that our mailbox got destroyed during the delivery process.
Hypothesis:
John came up with three theoretical devices that could accomplish the task. If we’re being completely honest, I was convinced they were more likely to result in injury than success.
- For getting a truss up the driveway: Our steep driveway has an average grade of 15 percent and is currently a bumpy, unpaved mess. John’s vision to transport each truss to the top of the driveway included a two-wheeled device that could be attached to one end of the truss and used to secure the truss in an upright position. Then two people could maneuver the truss by pushing and steering from the other end, without needing to stabilize.
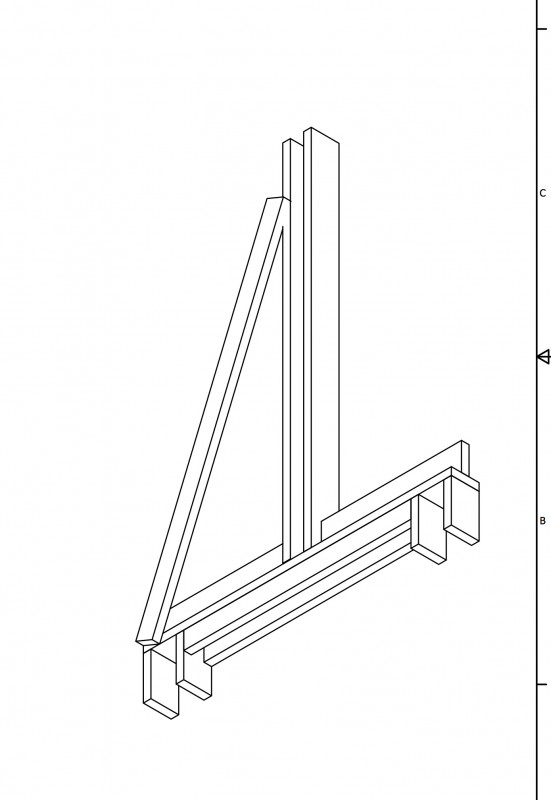
Rough sketch of the first machine. Imagine a wheel mounted on each end, and the truss placed between the two vertical boards in the center.
- For getting the truss up to the second floor: In order to move a truss from the top of the driveway to the base of the second floor, John imagined a 4:1 weight reducing pulley system mounted on a pole upstairs. At the top, the truss could be pivoted 90 degrees to align it with its final – eventual – position.
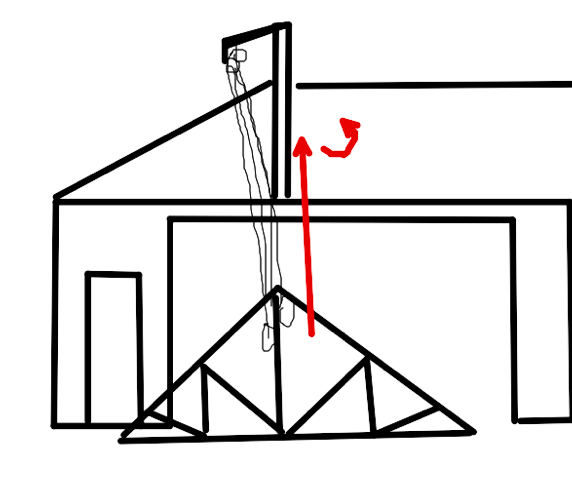
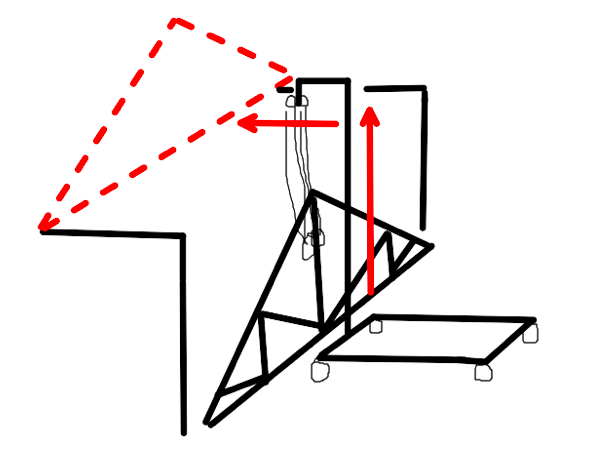
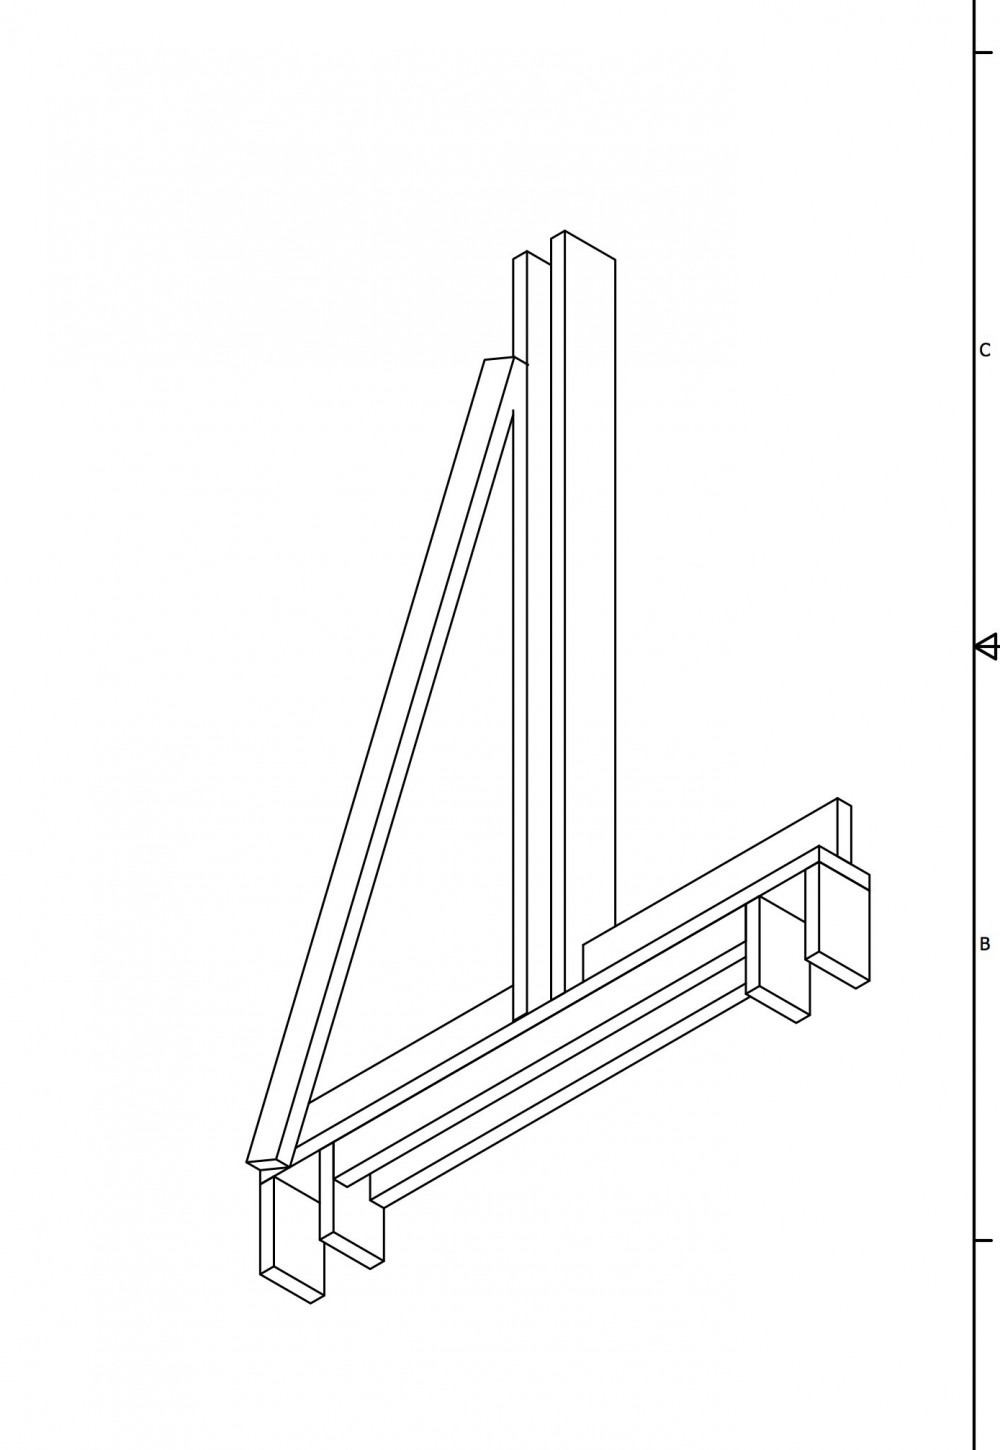
- For getting the truss onto the walls: In order to place the truss on top of the walls, John came up with another pulley system. This one included a 17 foot tall pole mounted on a 4-wheeled base. This way, once the truss was hoisted just above the walls, the base could be wheeled forward to place the truss in position.
Result:
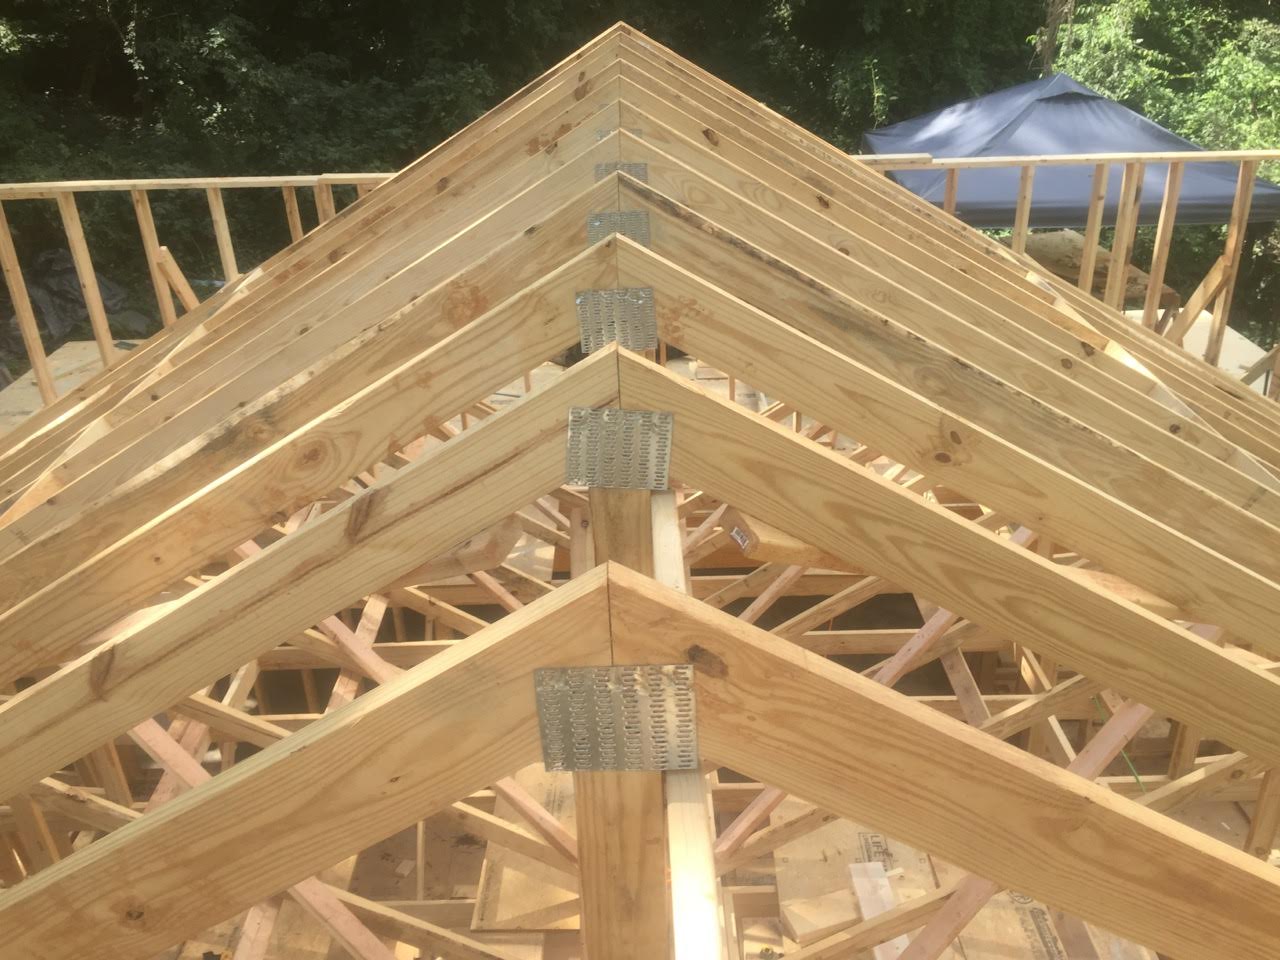
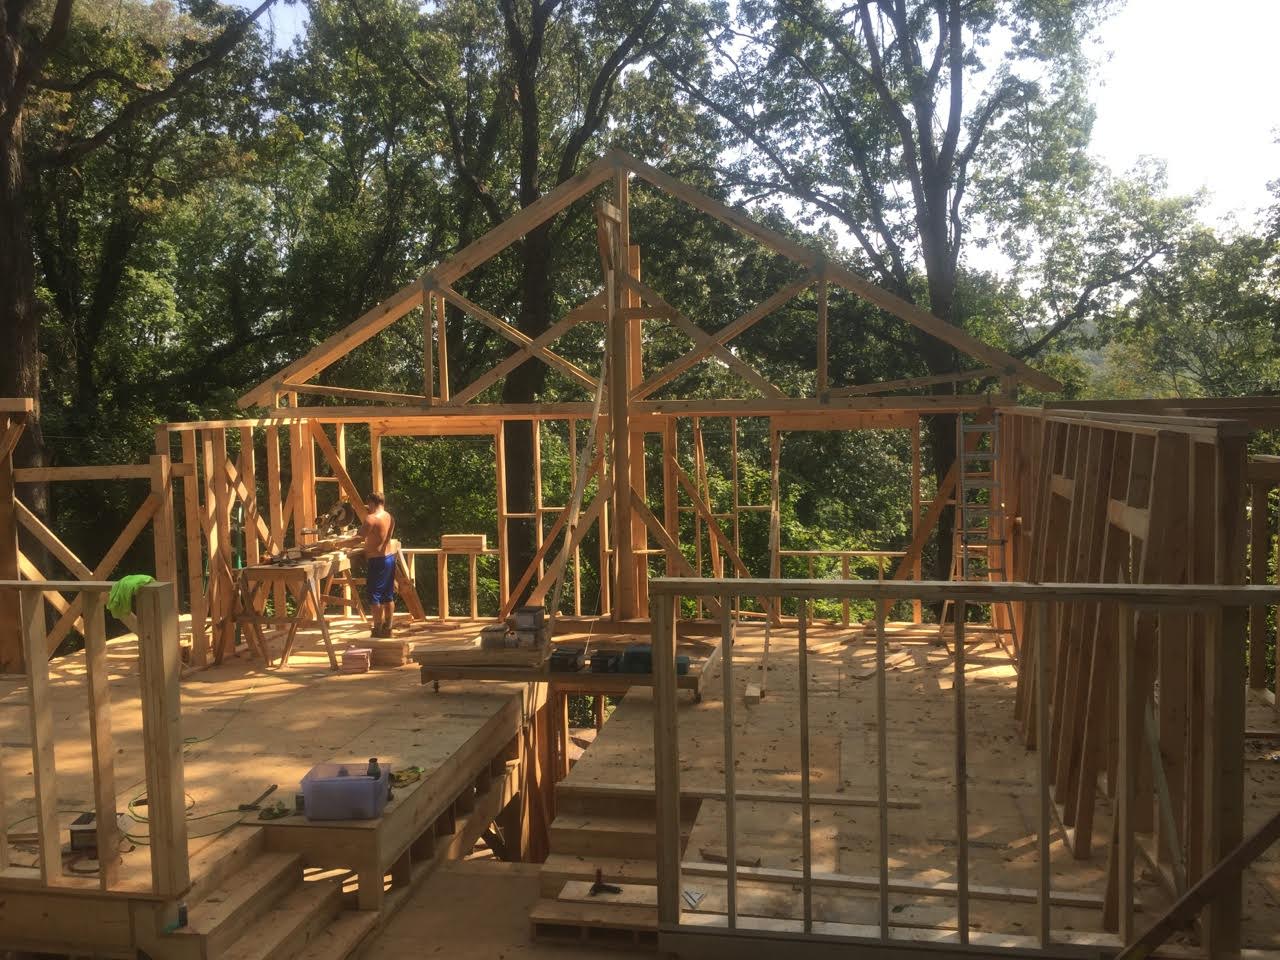
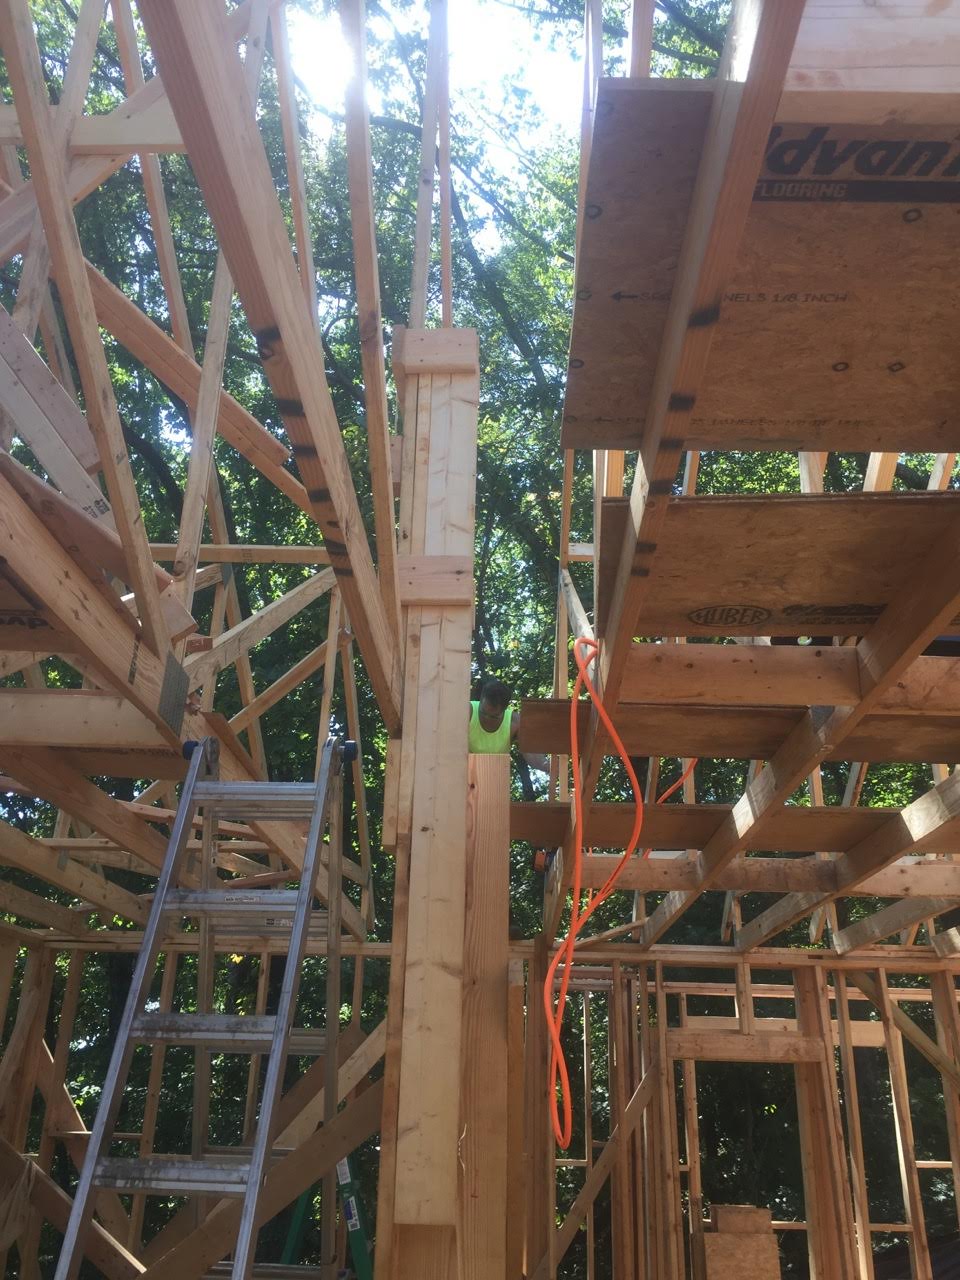
Every single one of them worked! There was a little bit of a learning curve to master each step, but by the end, John and Reid were placing trusses by themselves.
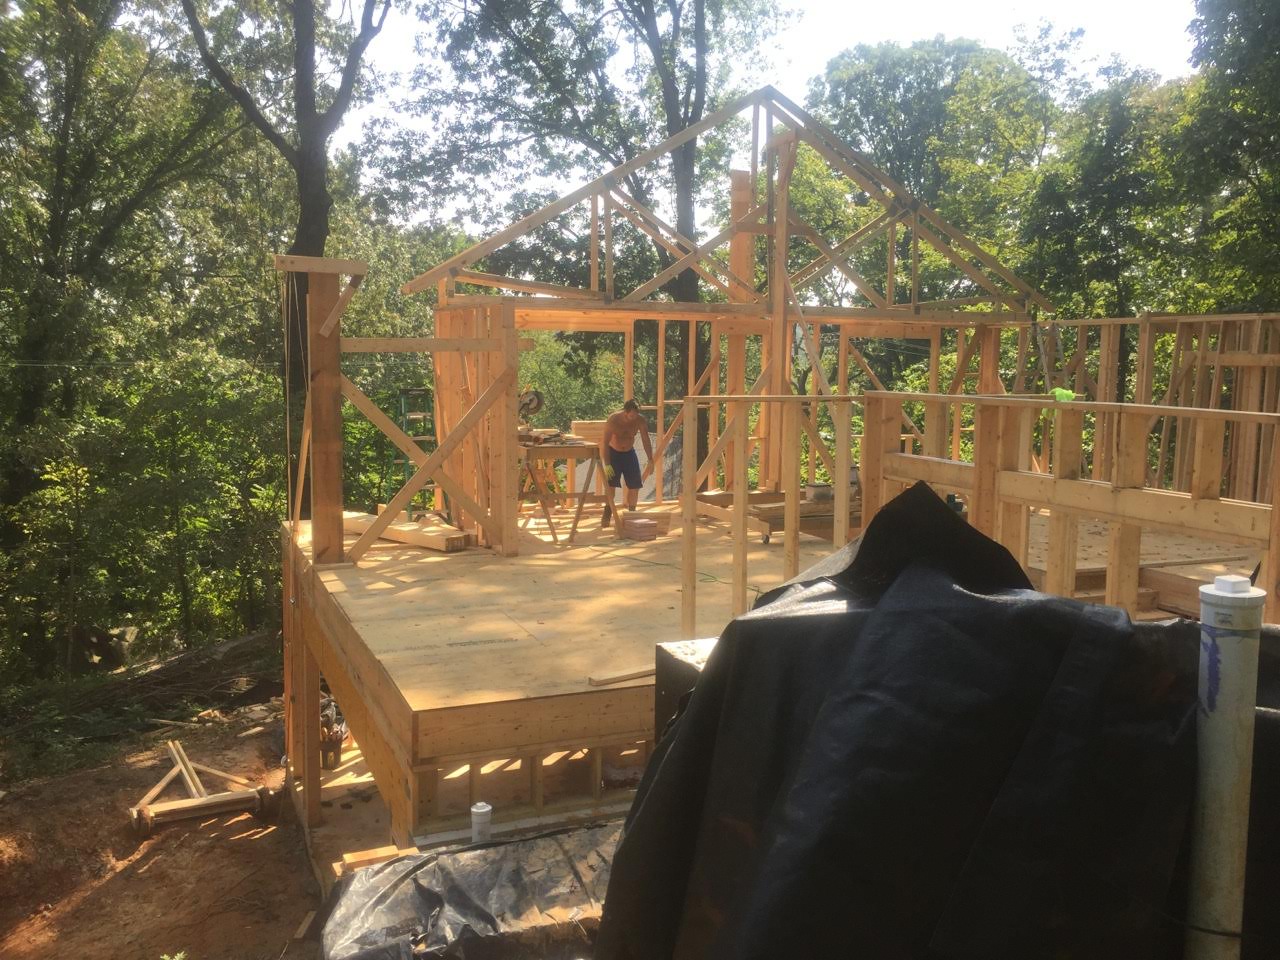
All three devices can be seen here. The first is on the ground in the lower left, the second is mounted on the wall on the left, and the third (harder to see) is in the center.
A clearer view of the third machine, the “Juggernaut”.
More:
This wasn’t the first time we have utilized some ‘creative’ engineering in order to get something to work:
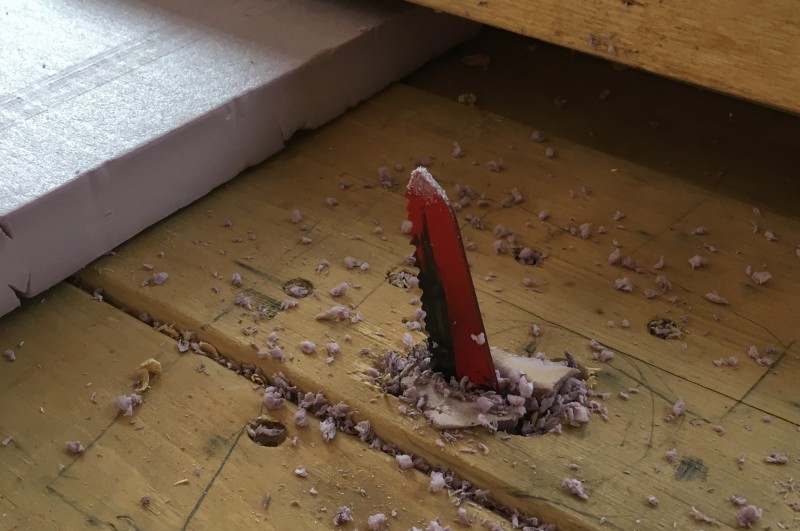
- We needed to cut foam insulation and quickly learned that a razor blade was useless. Our first disastrous attempt involved a cheap electric knife, before we succeeded with a sawzall. We mounted the sawzall under a table with the blade poking up through a hole and connected it to a variac (variable transformer) for speed control. Initially, the blade moved around too much to make straight cuts, so we stuffed the hole with nails and pieces of foam to guide it… and it actually worked!
-
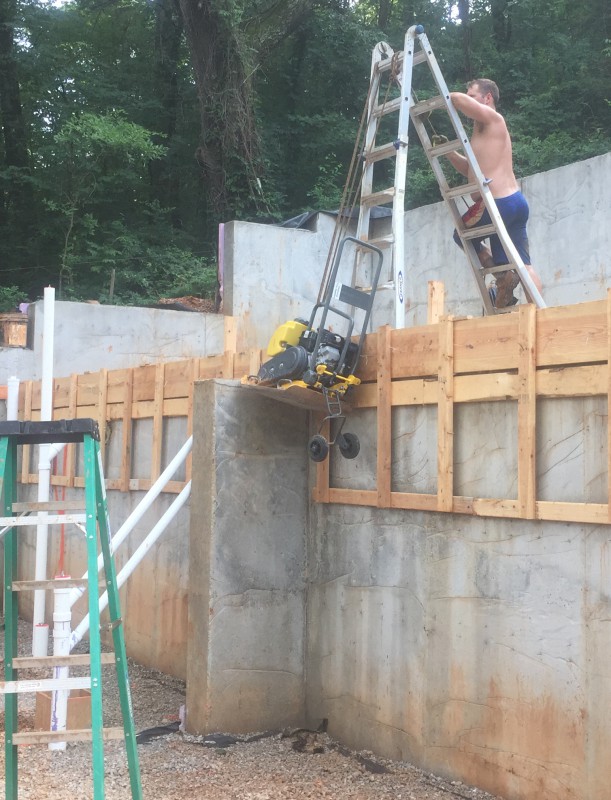
John and Reid got creative one day when trying to move a plate vibrator up to the back of the house:
- After building the rest of the walls (we needed to leave some out in order to lift the trusses up), John modified the Juggernaut – as he affectionately called the four wheeled pulley tower. This version used a power clamp to lift the truss up a few inches so that it could be wheeled into it’s final resting place.

This shows the modified juggernaut used to move the trusses into their final positions. The mast had a guide system the truss could slide up and down in, using a clamp (not visible).
-
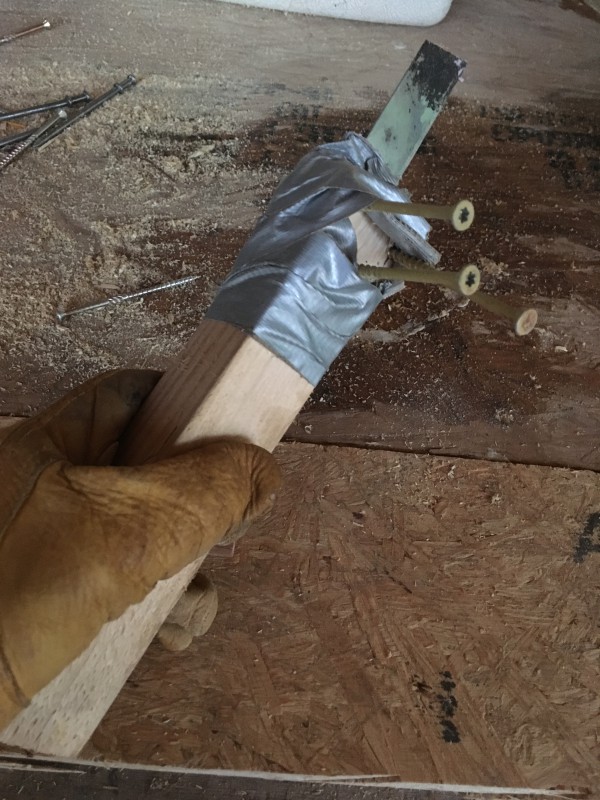
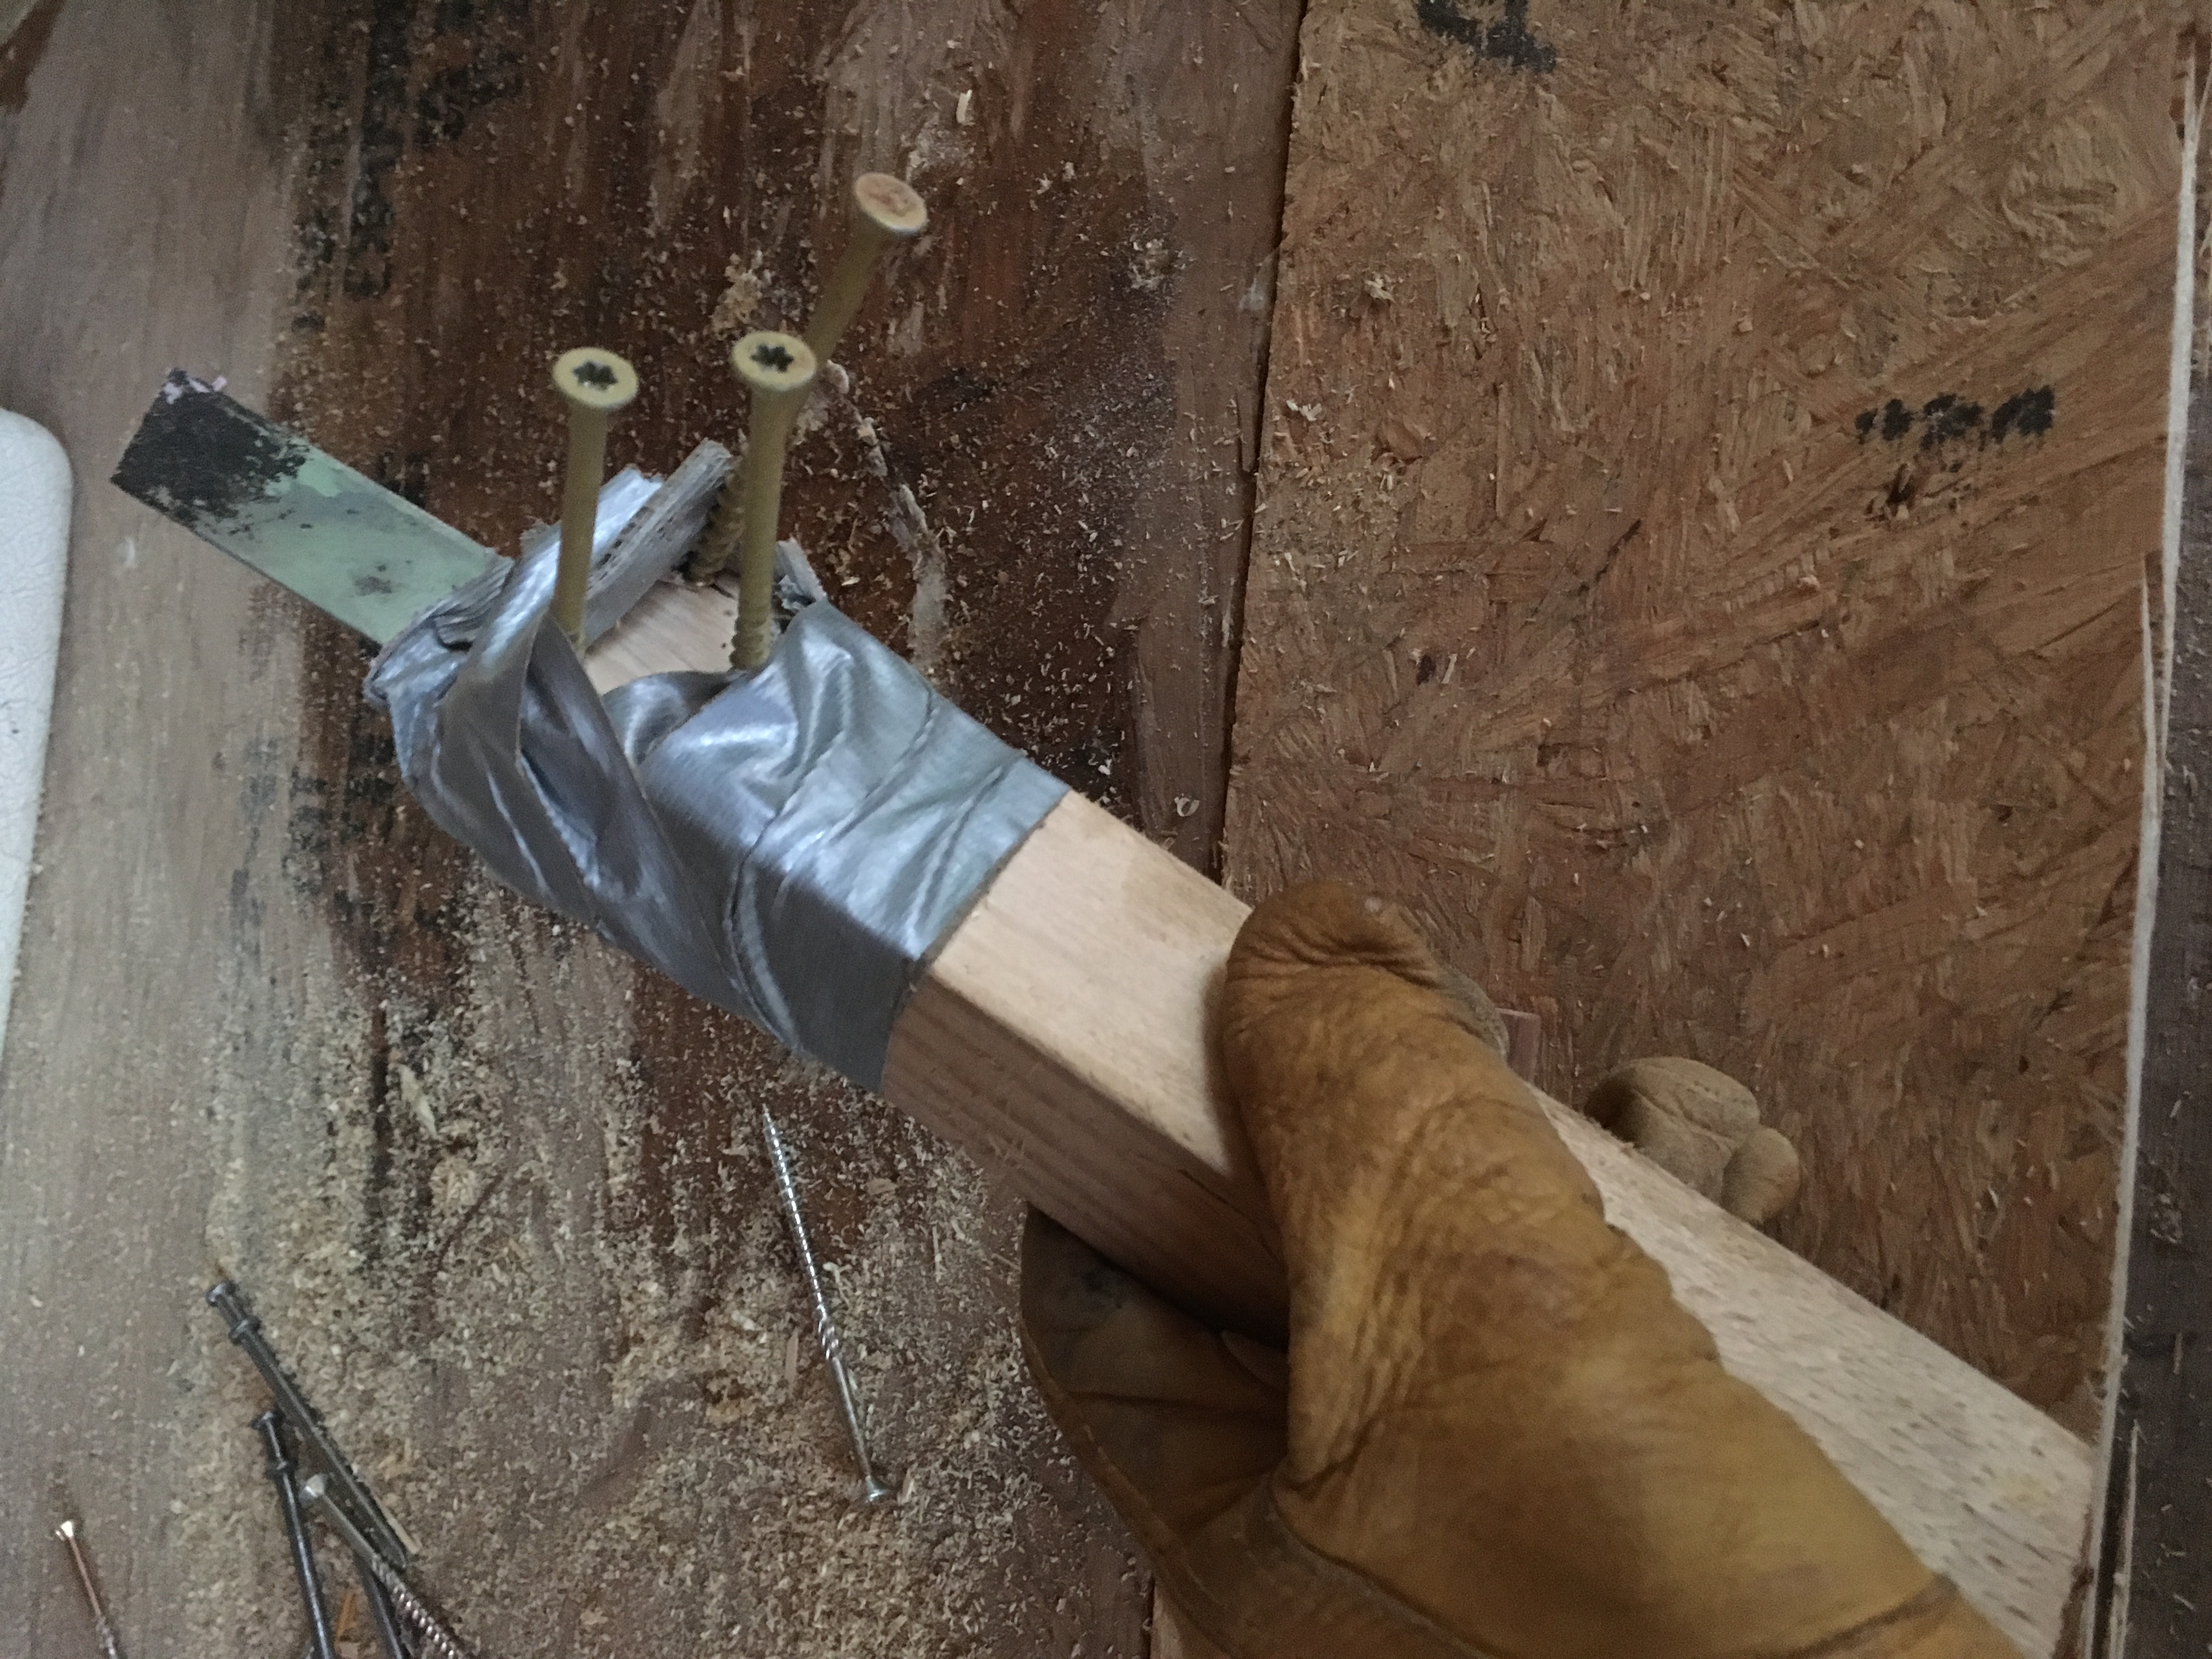
The blade wasn’t long enough for our purposes, so we mounted it on a piece of wood:


John / Lauren:
Well…. that’s not what I call “Red-neck” engineering!! Rather, I’d call it back-saving solutions to some difficult construction challenges. There’s no way two or three people could accomplish the placement of those trusses without some engineered machines. Great work!! I’m wondering what you plan to use on the roof?? Metal or asphalt shingles?
Thanks for posting and stay working safe!!
Tom
We’re doing a metal roof. I’m sure I’ll have an update about that soon.