Several readers have requested more details on our beloved Ludwig Van conversion. We finally kludged together the few in-process pictures we took, but then we one-upped ourselves and made a cheesy, scripted video walkthrough, all for your viewing pleasure! Ask and you shall receive!
Before and After
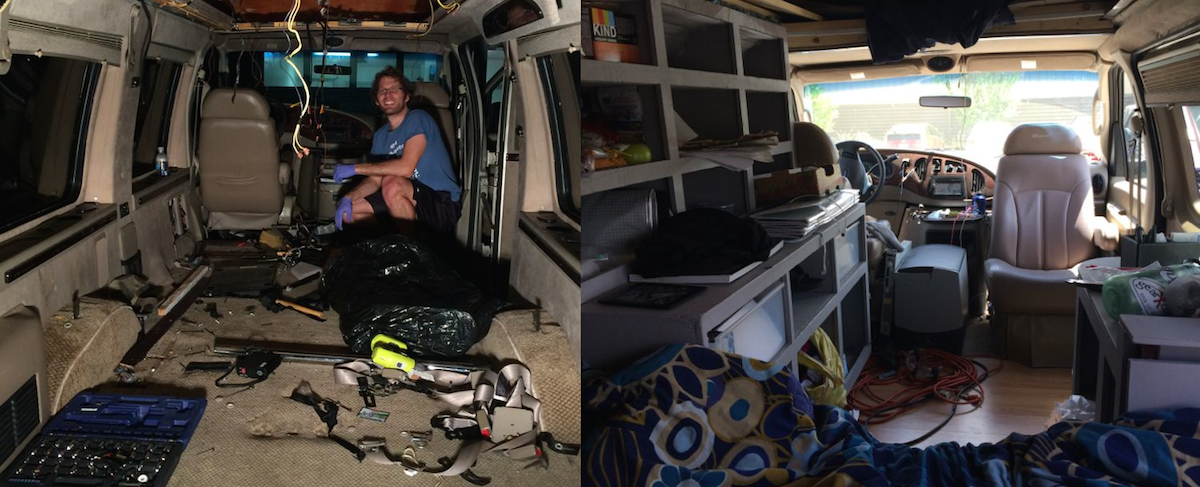
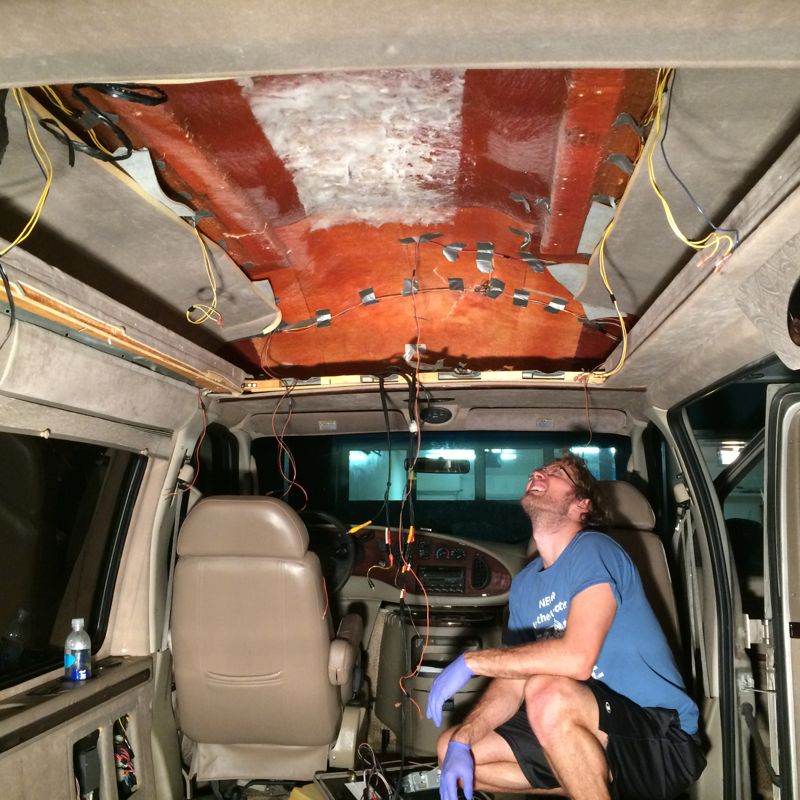
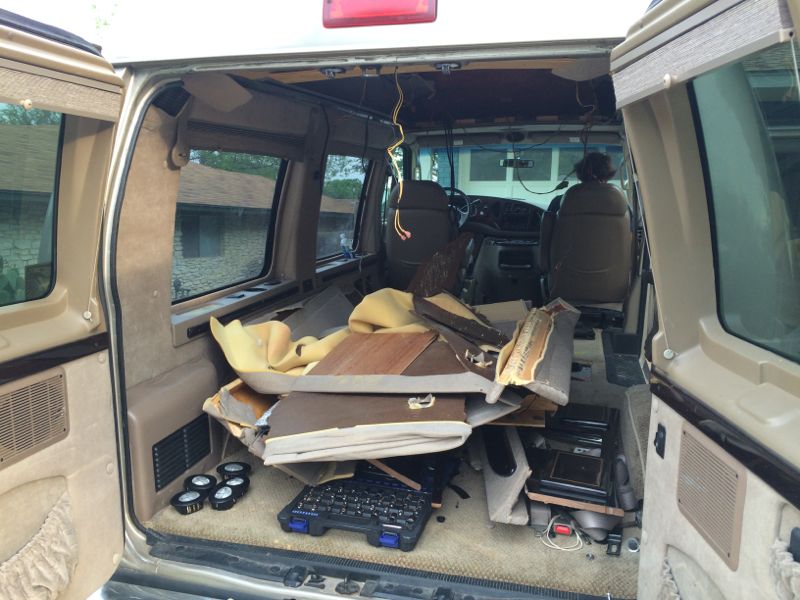
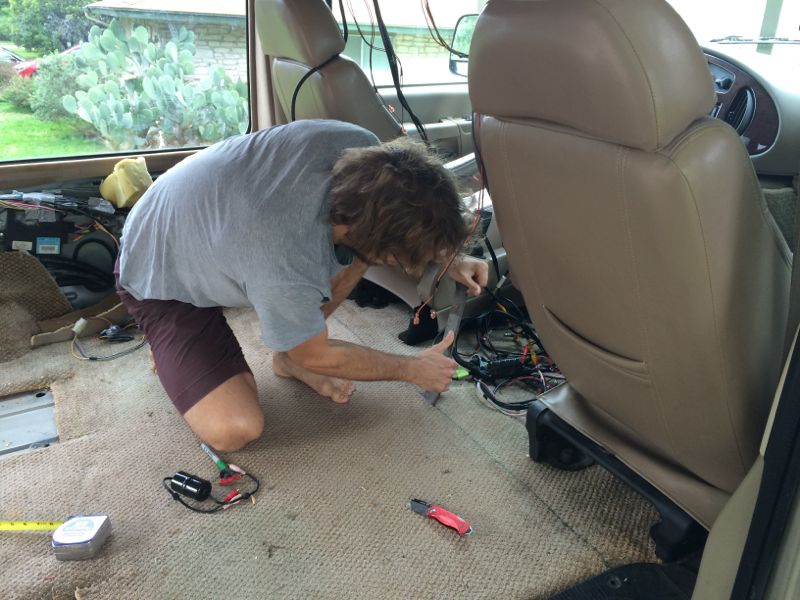
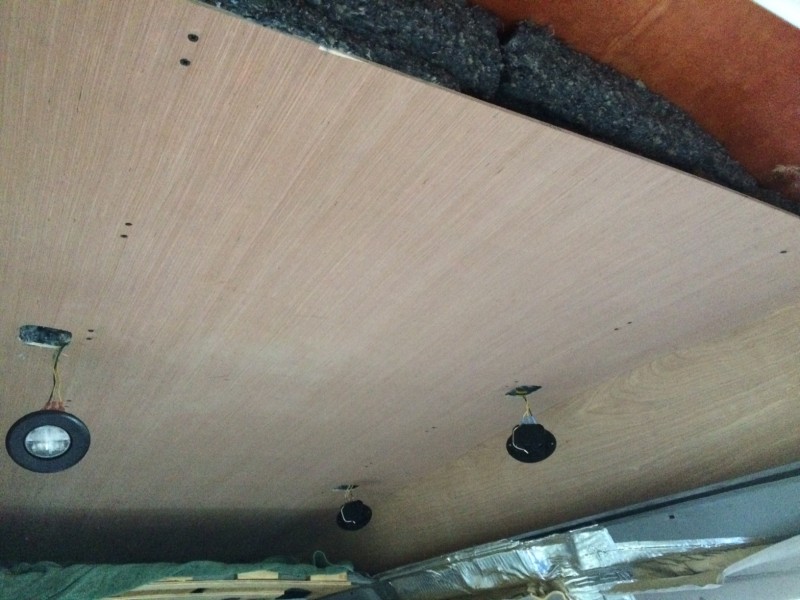
We started by gutting the entire van, even the beloved 13 inch TV with a built-in VHS and original Nintendo connectors. The ceiling was insulated with a single piece of formaldehyde infused fiberglass, but only in the middle where you can see the remainder in a white rectangle.
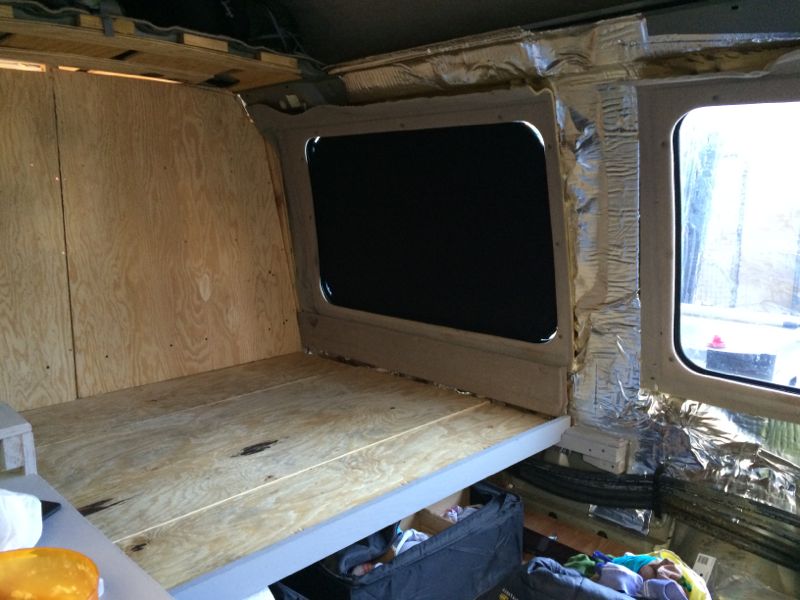
Tearing down the walls added an additional 6 or so inches on each side, making it just barely possible for us to sleep side-to-side.
We tore up the carpet starting behind the front seat and bought insulating foam from a carpet store to fill in the gaps that didn’t already have foam (such as where the captain’s chairs were).
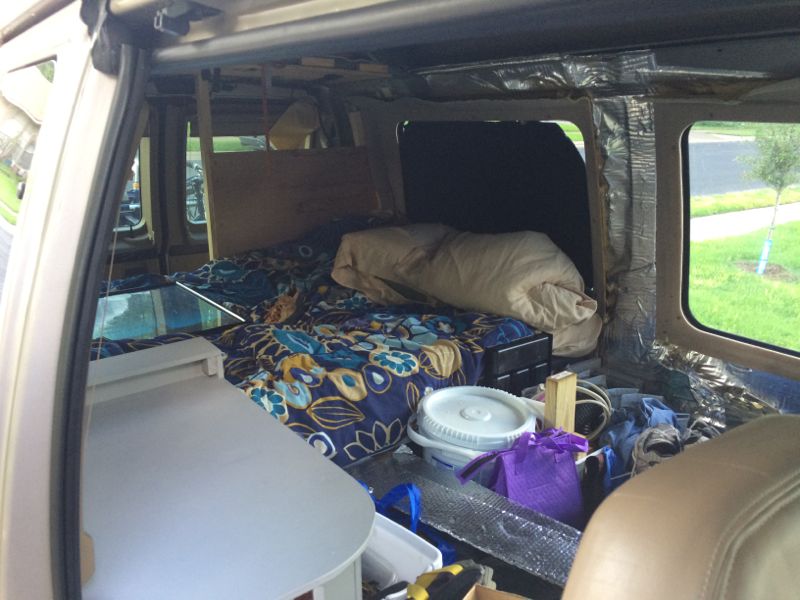
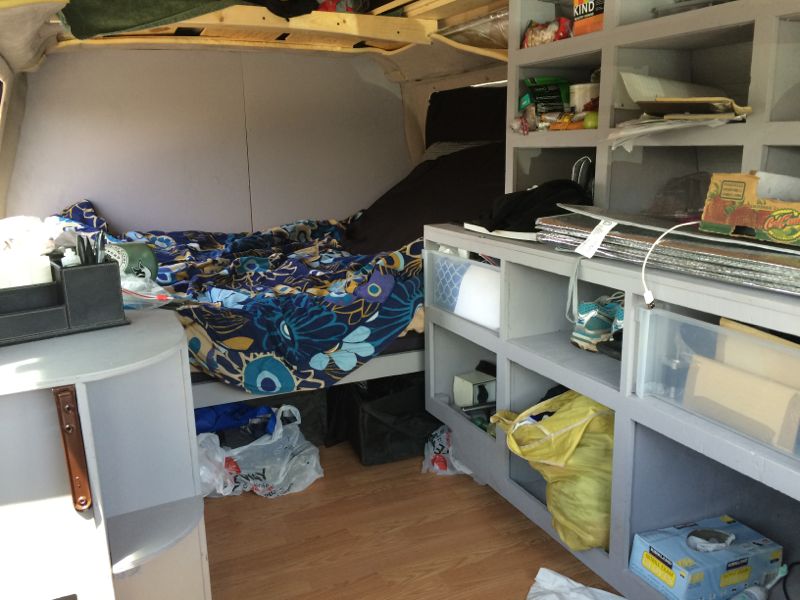
My dad designed and built our bed, which is a plywood board separated into two long sections and supported on the sides and in the middle.
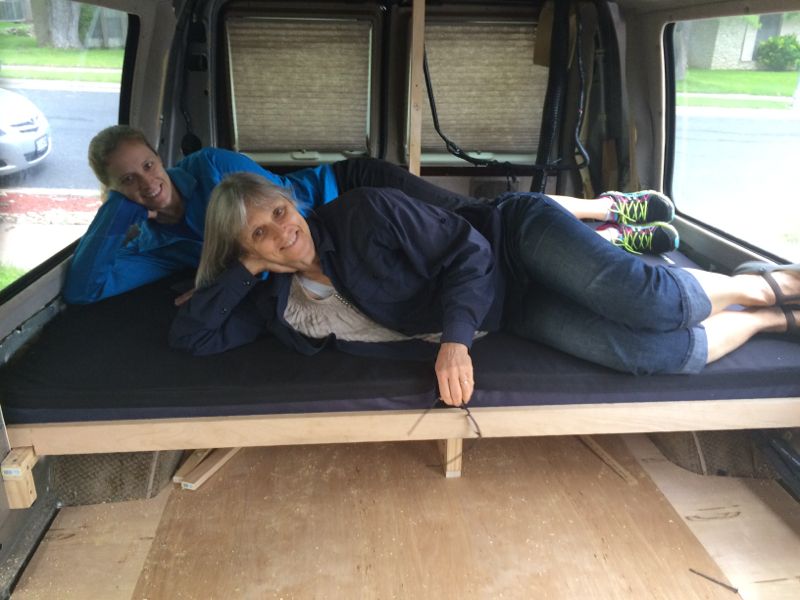
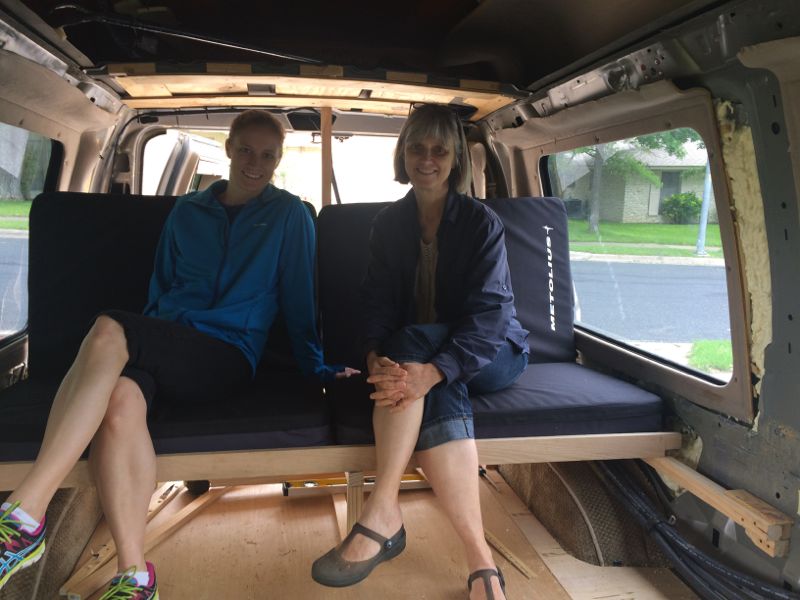
The front board slides back in order to create leg-room in bench mode. We purchased two Metolius crash pads that ended up being the exact dimensions we needed, including the ability to fold in the middle.
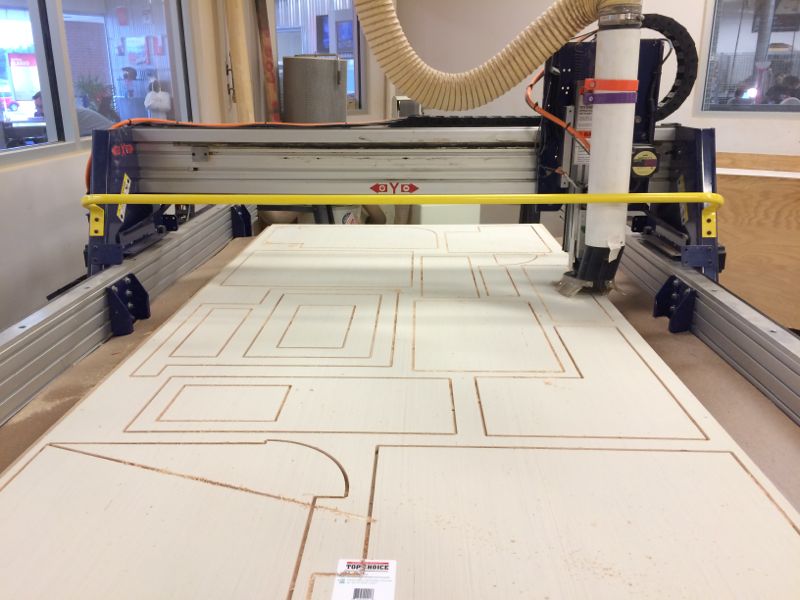
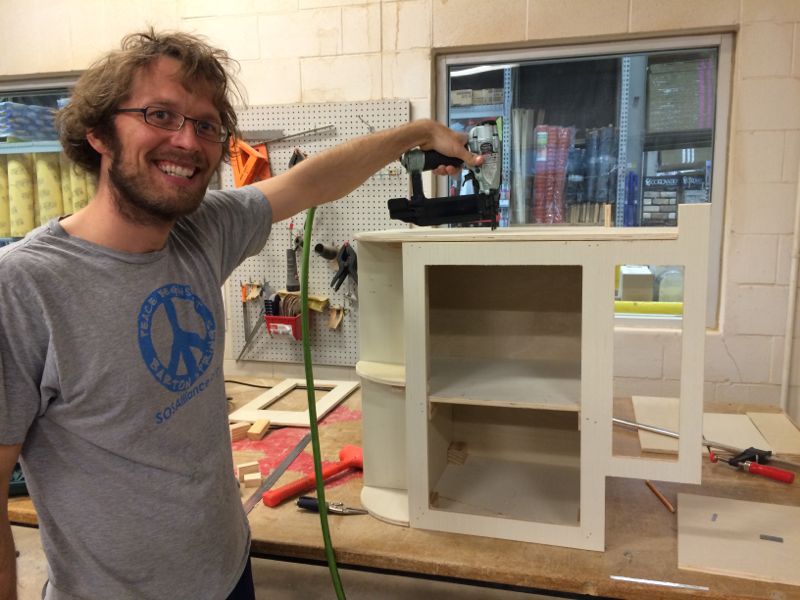
John designed our kitchen unit in Inventor, and the files to both the kitchen unit and the side shelves (shown later) can be downloaded here. We then used a ShopBot at TechShop to cut the shelf from a single 4×8′ plywood sheet.
We pieced the kitchen unit together using pneumatic nails, and then reinforced it with screws and small blocks of wood.
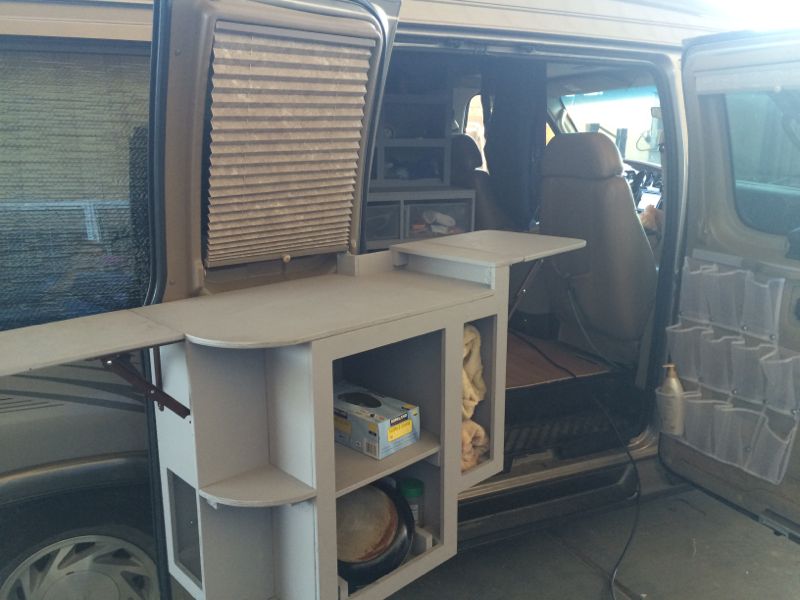
We mounted the kitchen unit on the left side door by putting a wood piece behind the metal (the cardboard shown in the picture below is hiding a hole in the metal), and screwing into the metal and the wood.

We insulated the walls using canned foam insulation in the large cavities and metal-backed rubber strips with tar adhesive (this was a huge mess to clean up, and tar does not come out of things easily).
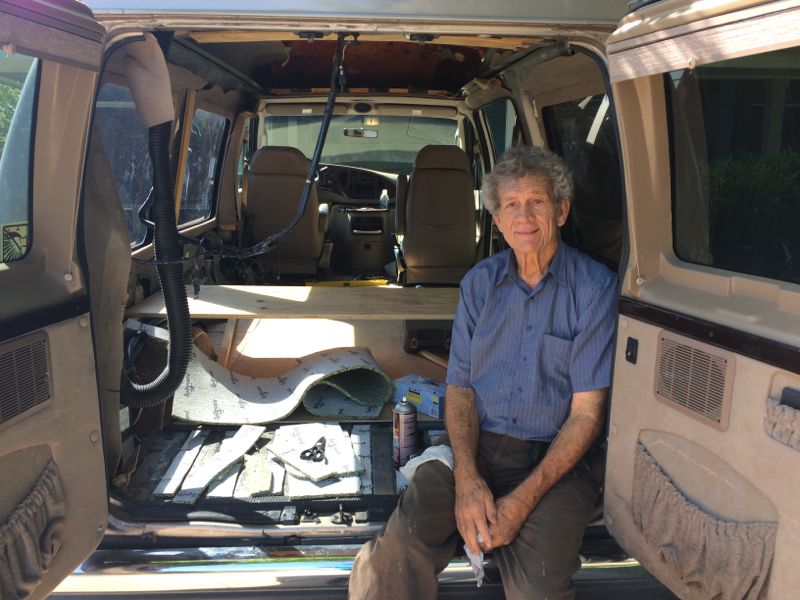
At this point, we ran out of time and had to go to Phoenix for a friend’s wedding. With only the kitchen, the bed, and the floor done, we piled everything we could possibly need into the van and hit the road.
Once we reached Phoenix, we basically moved into the TechShop there and worked 11+ hour days. John used a 6″ grinder to remove extra strips of metal that were in the way after we gutted everything.
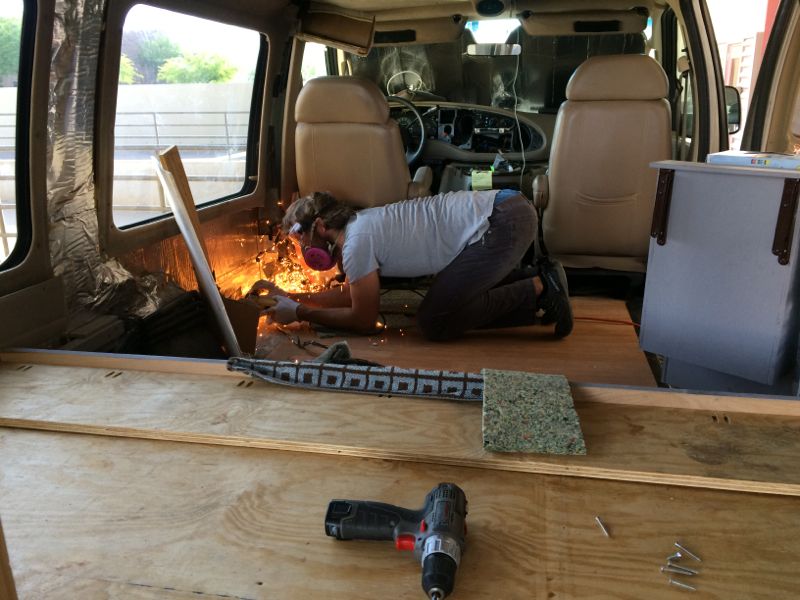
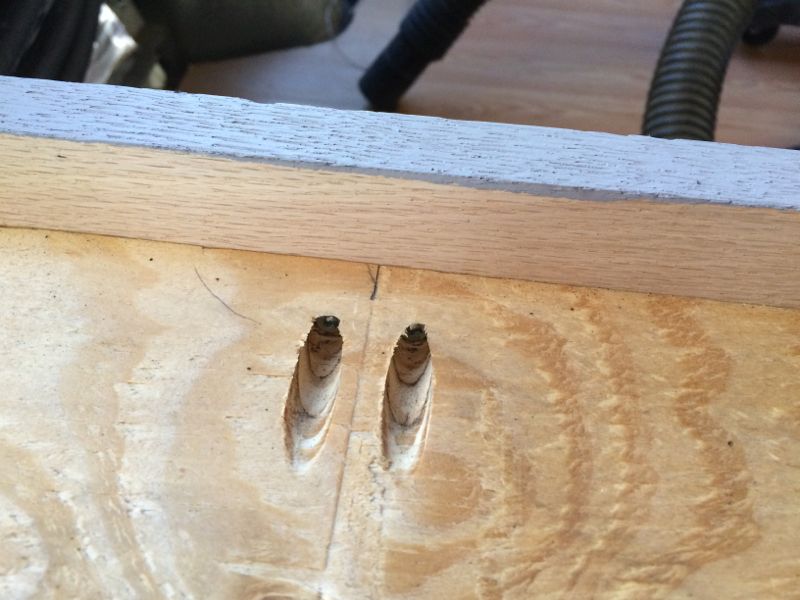
We used a Kreg Jig to attach strong rails on both the front of our bed and on the upper side rails.
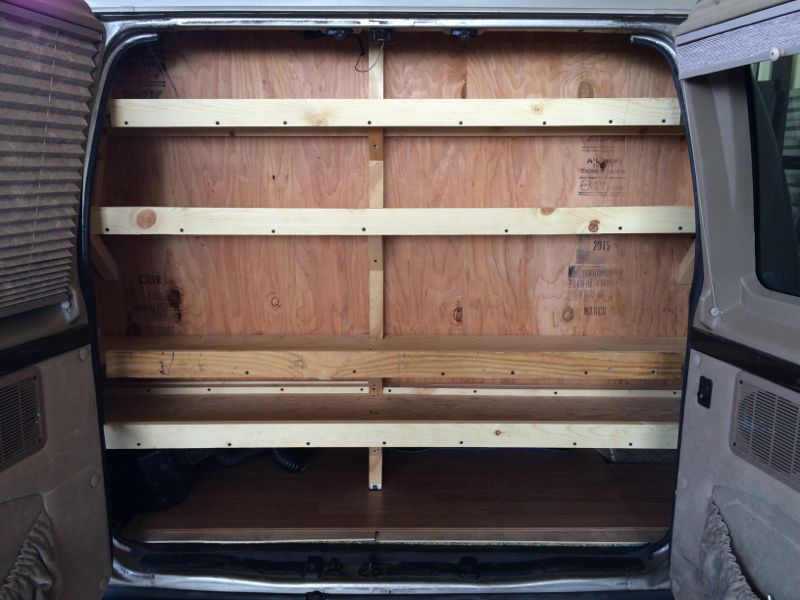
We added a back wall, making sure to use sturdy plywood. We decided it was worth the extra expense to ensure that the contents of our shelves don’t come through into us in the event of a crash.
With the back wall in place, we were able to install the back shelves. We purposefully spaced them out so that we’d have a tall shelf for large items like backpacks and climbing gear, and a short shelf for all our climbing shoes.
And then I painted… a lot.

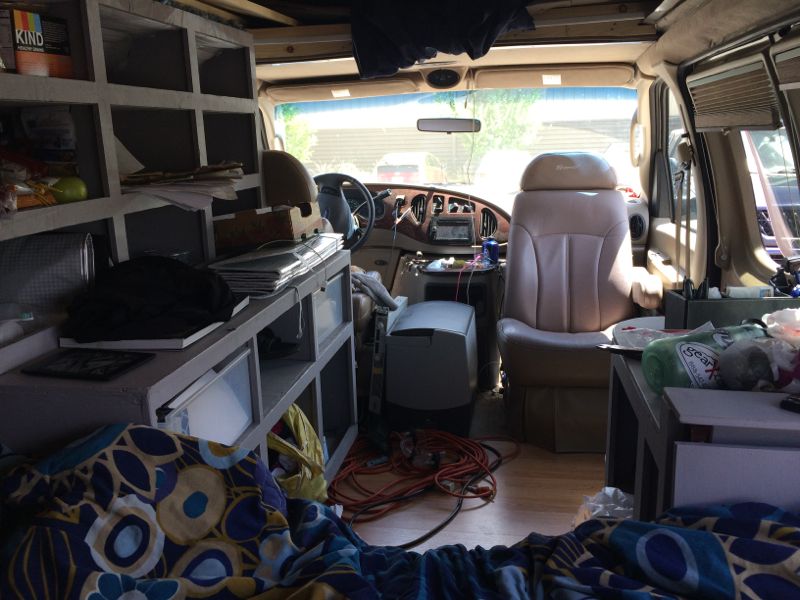
Again, John designed our side storage shelf in Inventor, and the files are available above (with the kitchen unit). This way, he was able to make it fit the contours of the van, maximizing the space. Additionally, he built an airflow chamber into it so that a fan could suck air from a hole in the floor.


It became incredibly clear after only a few days in Phoenix that good insulation is highly important. We bought multiple bags of denim insulation and put eight inches between us and the ceiling.
We installed the side shelves, and added rails on the front, back, and sides… and more painting; I hate painting…
Voila!
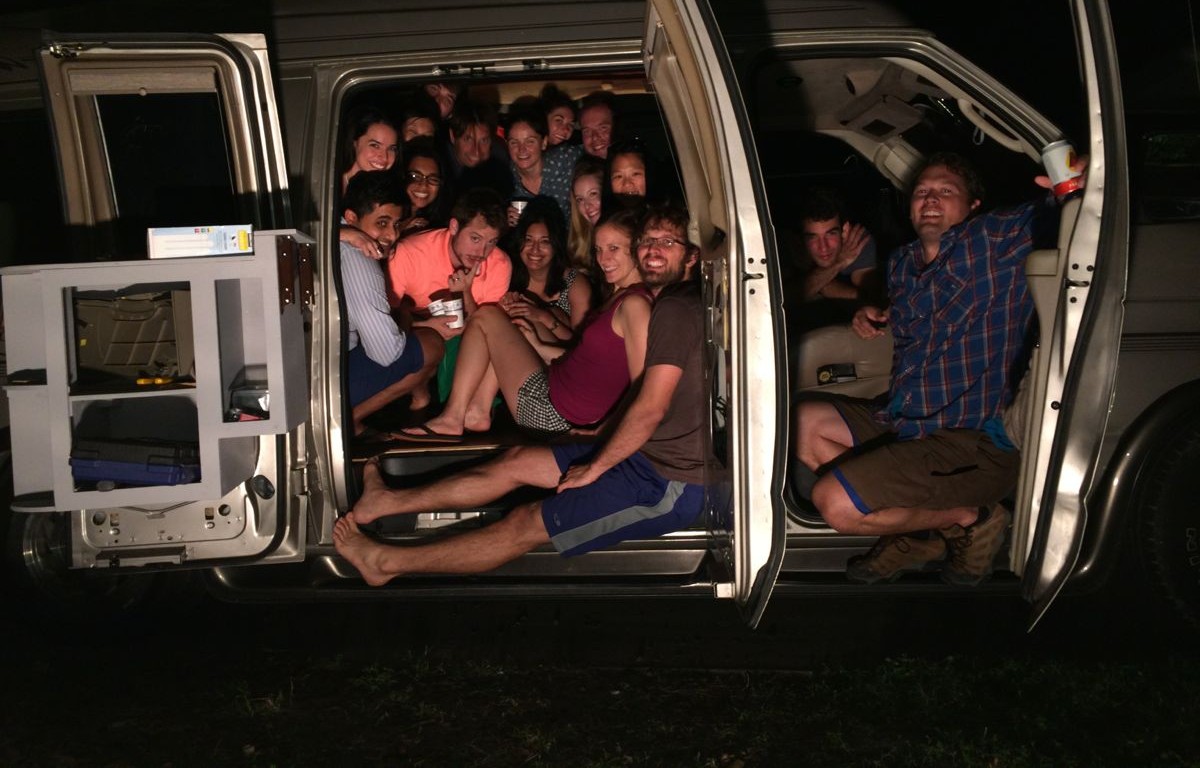
We’re really satisfied with the outcome and everyone we show Ludwig to is impressed. We’ve got room for one guest, if you’re looking to transition, but just can’t commit (yet). Buy a van and hit the road!
Mark this NSFW. This is engineer porn.
Holy crap! This is fancy!!
Yes it is! Lot’s of time put into this job.
love it! so similar to how we converted our van! really love your ideas.
I’ve looked a many many vans and helped build out several and I like your so much…I’m working on building foam cabinets and they are so light and save so much weight. I tried to download the plans but was not able to open them on my MAC. Thanks for taking the time to post and keep enjoying your van…Terry